How to teach your child music notes
How to Teach Kids to Read Music Notes
By Arctic Meta,
Learning to read music is an impressive and useful skill to have, even if you never plan on being a professional musician. The ability to take written sheet music and know how to transform it into something that can be played, enjoyed and listened to is something most would love to have.
Although it is possible to play instruments without ever undertaking a formal musical education, learning to read and accurately play music notes helps to build a strong foundation that gives a music student much more freedom and control over their abilities.
Teaching students to read music can seem a bit scary. It’s basically like learning a whole new language that is completely alien to them. The lucky thing is that, especially when they are young, kids have brains that are perfectly primed to take in new information and learn new skills.
To successfully learn how to read music, there needs to be some practice, repetition and commitment, but it doesn’t mean it has to be boring.
So what’s the best way to start teaching kids to read music? What are some exercises and tips? How can you make it fun? Read on to find out all this and more.
First Steps For Kids Learning to Read Music
For most kids, they start learning how to read music because they are learning how to play a particular instrument. This is a great way to get the ball rolling because the student will learn the notes as they go. They get to pick up music knowledge almost on the fly, and they see the results of their education almost in an instant.
Still, there are a few steps music teachers, and parents can take to help make the learning process easier and more fun for students.
Learning the Note Time ValuesIn written music, there are different time values for notes. It’s a bit like learning the value of ‘number 1’ and then learning that you can also have a ‘half, quarter, eighth’ and so on. Depending on how old the student is, this can be taught through explaining the math, or it can be done with some games that involve rhythm.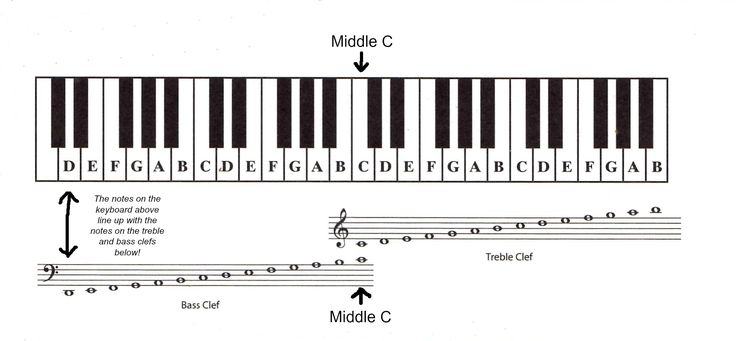
The different note time values can also be introduced like a family. A whole note can be the Grandma, a half note the Mom, then a quarter can be a big sis and the eighth a little sis.
Learning the Names of the NotesOnce students have a firm grasp of how different notes can have different time values, it’s a good idea to introduce them to the proper names of these notes. This is where students can first see that each sound in music has a letter value attached to it.
Piano keyboards are made out of a collection of white and black keys. The black keys are always in groups of twos and threes. If you find a group of two black keys on a piano, the white key immediately to the left of the first black key will be a ‘C’ note.
From there, the white keys are given the values, ‘C, D, E, F, G, A, B’, which makes an octave. The next ‘C’ starts a new octave.
If you have access to a piano or keyboard, a fun game can be to label the notes in an octave, so the student gets used to their position, then for fun, remove the visual aid and ask them to find different notes on the piano, just like in a game of memory.
It sounds like it could be an expensive dish at a French restaurant, but Solfege is just another method for learning the order of notes in music theory. It’s that old ‘Do-Re-Me’ song almost everyone has heard at some point in their lives.
The basic principle of Solfege is to replace the music notes with one-syllable sounds that are easy to sing.
C becomes Do
D becomes Re
E becomes Mi
F becomes Fa
G becomes So
A becomes La
B becomes Ti
So a full rotation of the notes is; Do-Re-Mi-Fa-So-La-Ti. The reason this method has been used for so long is that it really helps to cement the sounds of the notes in the memory of a student. To prove a point, anyone who remembers the above song from ‘The Sound of Music,’ can accurately produce a ‘C’ note just by singing that song.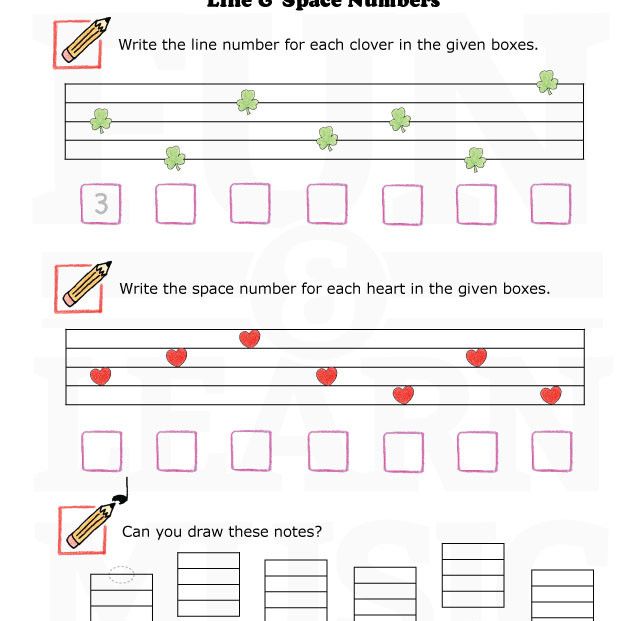
This can be a part of music theory that makes many teachers nervous because it might seem like a gargantuan task to explain what exactly these things are, why they are important and how they work.
The simplest way to introduce a student to staves and clefs is to explain that they are just tools that help people write and understand music. Just like in math, symbols stand for things, and there’s a specific way of writing so that it can be understood by everyone.
The stave is the place musical notes are written, and clefs help people to understand if the music is low or high. It’s that simple.
Methods For Teaching Kids to Read Music
There are probably as many methods for teaching kids to read music as there are instruments to play. One of the great things about this is that there’s no real limit to how inventive a teacher can be in the music classroom.
Even though the different approaches are limitless, there are some points that should be included to make sure students get the most out of their musical education.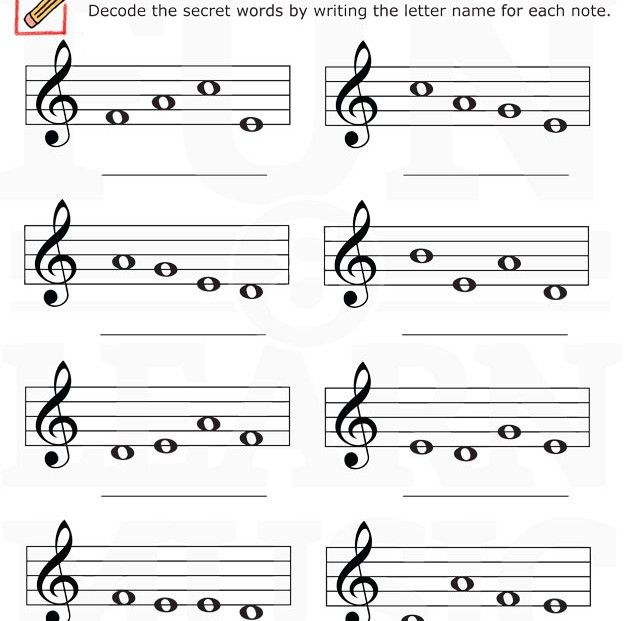
1. Learning Lines and Spaces
This is where students can explore the musical stave and understand how it is formed and what each of its components does.
The musical stave is made up of 5 horizontal lines; each of them is set apart equally. In sheet music, each line on the musical stave represents a note, and so does each space between the lines.
When a note is written on a stave, the line or space it sits on determines what note it is.
Teach the 5 Line NamesThis is where a little bit of poetic creativity can be an asset. On the musical stave, each line represents a note. Starting from the very bottom line and moving upwards, the notes are E, G, B, D, F.
One of the simplest ways to get students to memorise this is to teach them a phrase where each word starts with the letter of the note it represents.
A great example of this is; Every Good Burger Deserves Fries. It’s a great phrase because it’s easy to remember, and to be honest, it’s one hundred per cent true.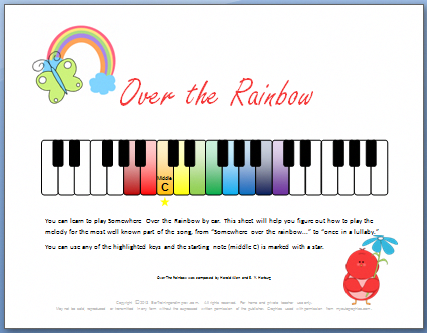
Once students have learned the notes that the lines of the stave represent, it’s time to learn the spaces.
When it comes to learning the notes of the spaces, the word of the moment is FACE. Starting from the bottom and moving up, the notes in the spaces of the musical stave are F, A, C and then E.
The brilliance of this (if the student is a native English speaker) is that the notes already spell a word they are familiar with.
Practice the Naming of NotesThis can be done by simply using the hands. If a teacher positions a hand with the palm towards their face and spreads the fingers apart, it can perfectly mimic a musical stave.
Each finger represents a line, and the spaces between them represent, well, the spaces.
Starting from the pinky finger, the notes can be alternated between finger and space. The pinky finger is E, the first space is F, the ring finger is G, the second space is A and so on.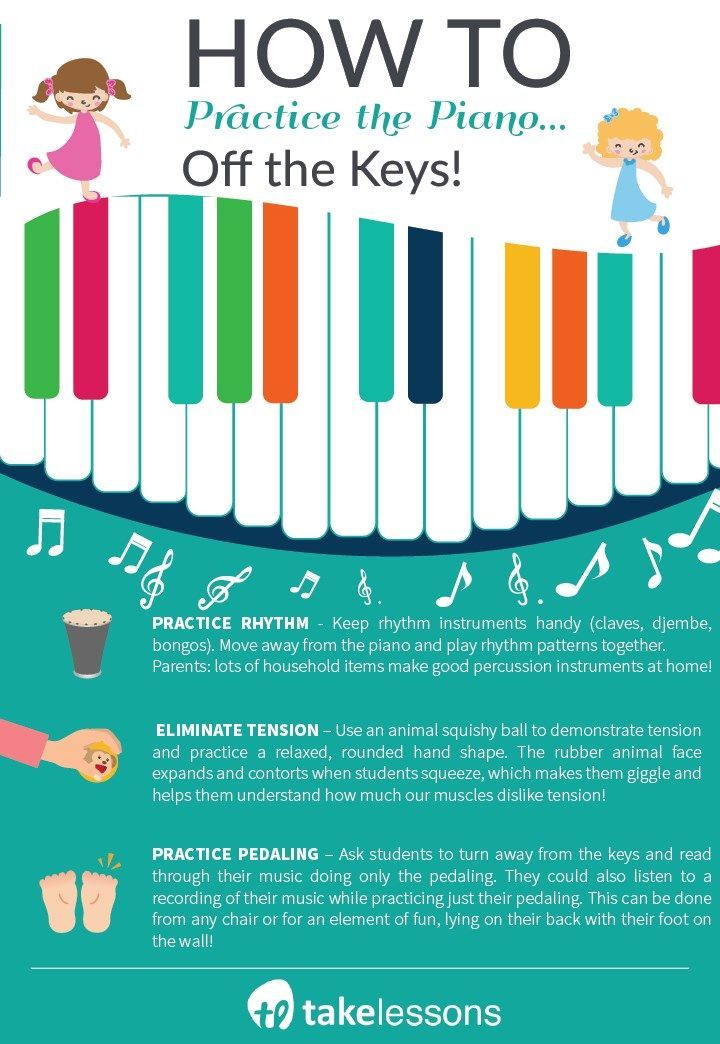
By simply using hands to demonstrate this, a student is given a new perspective on the musical stave that can go with them anywhere.
Introduce Flashcard Games for MemorisingAdding the element of play into any kind of lesson is bound to pique the interest of students and further cement the concepts they are learning into their conscious brains.
Flashcards and games are an easy and effective way to strengthen the work that is done in the classroom. An easy flashcard game could be to draw some notes on music staves. If the student picks the note out from the deck of flashcards, they need to correctly play it on the piano to win a point.
This kind of game can also be done with pairs of notes like a version of ‘memory.’ If students are more advanced, the flashcards could contain sections of music that they need to arrange together in the correct order to be able to play it.
Teach the RhythmOnce the students have understood pitch, it’s time to teach them rhythm.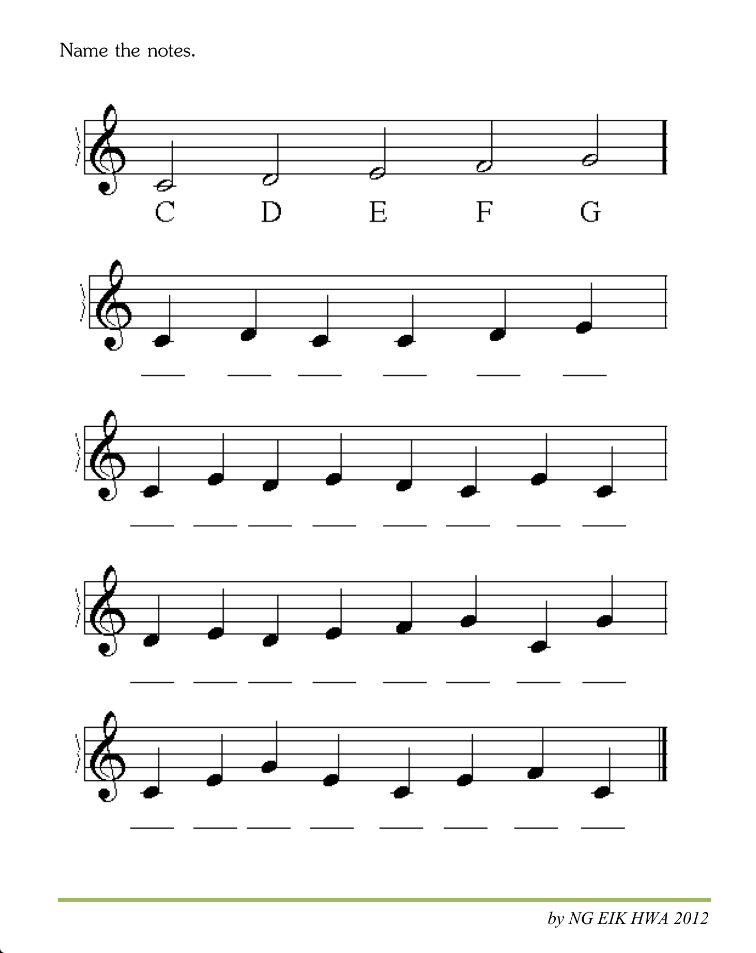 The best way to begin this is to get them to focus on being able to keep a single steady beat. A great real-life example of this is to march. Marching (like a soldier) can get them up on their feet but also experiencing the concept of rhythm in real-time.
A great exercise could be to play different pieces of music, and the student needs to figure out how slow or fast they need to march to match it.
Another simple exercise is to clap a rhythm and see if the students are able to clap it back instantly. This can be mixed up with different kinds of percussion; handclaps, shoulder taps, thigh slaps and so on.
Familiarity With Individual NotesIt’s incredibly beneficial to get students familiar with the appearance and shape of musical note symbols as early as possible. This can be started by simply showing a large image of the symbol and asking the students to describe it. This will get them thinking about what makes this symbol unique.
Then, take the time to explain what the symbols mean, introduce their proper names and how they work in a piece of music.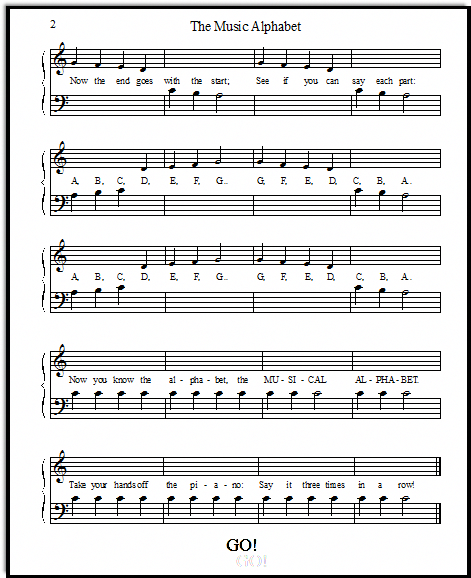 Encourage students to ask questions or share any interesting things they notice about the symbols because this will help commit them to memory.
Just like with learning another language, in music theory, it’s also important to practice listening, reading, and writing.
Just as with the other elements, a teacher can inject some fun into music notation by doing it through games and challenges. Start simple by playing notes on the piano that the students are familiar with and see if they are able to use the correct symbol in the correct space or line on the music stave.
Prizes are always a great motivator, whether they be stickers, treats or free time to bash something out on that drum kit every single one of them is drawn to when they enter the music classroom.
Teach PitchIn music, pitch refers to the placement of individual sounds in a possible scale of sounds. Some are higher, and some are lower. When these sounds are given a value, that’s what is referred to as a note.
Music is basically a combination of pitch and rhythm, and both of these concepts are the basis from which students should build their musical education. They can be taught at the same time, but eventually, they tend to meld into one element.
However a teacher decides to address pitch in the early stages of music education, it’s important that it remains interesting and fun. A concept like pitch can very easily become overwhelming, so keeping it as light and hands-on as possible will ensure the best results.
2. Word Rhythm Association
In this kind of activity, students explore the mathematical relationships between rhythm values.
For example, they can be given words like; walk, run, hop, jump. Each one of these words corresponds to a rhythm value. So if walk is a full count of 4 and run is a half, then run needs to be twice as fast as walk.
3. Associate Pitch With Colours
Associating pitch with colours doesn’t necessarily add anything for all students, but it has been shown to provide success with some.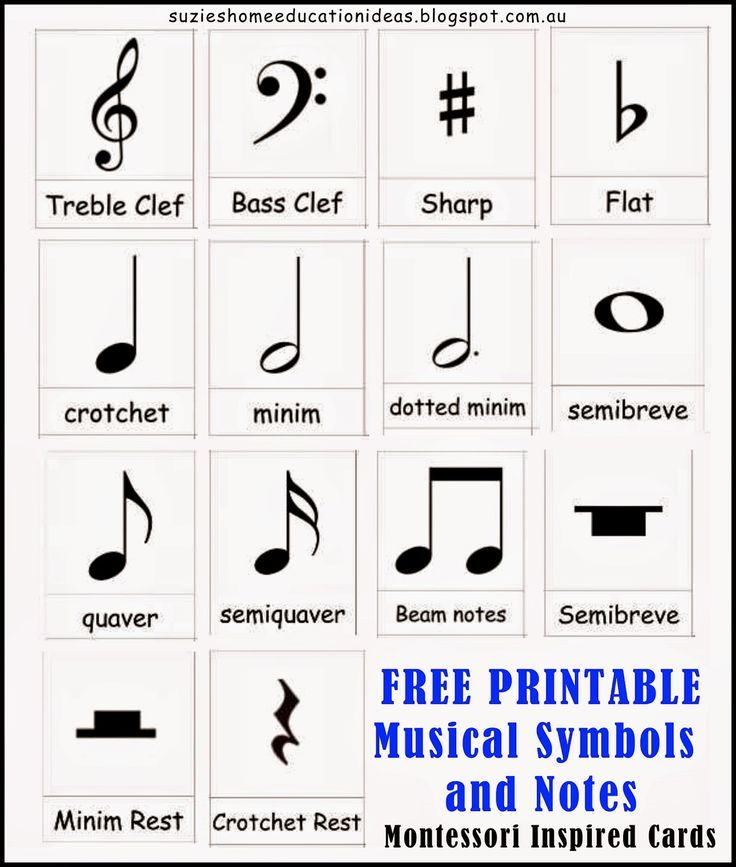
The basic idea behind it is to associate a specific pitch with a solid colour. When a student sees that colour, their task is to name and play or sing the pitch. There are simple instruments available that have solid colour coordination to them, like xylophones, that are perfect for this exercise.
There are even unique people who see music as colours. This rare condition is called chromesthesia.
Kids Can Learn to Read Music Through Apps
There’s an app for just about everything now. Everything from grocery shopping to booking a doctor’s appointment to even finding the best app for something, has an app. The same can now be said about helping kids learn to read music.
The Mussila music school is an award-winning app that combines play with technology to give students a completely comprehensive music education that they can access from the comfort of their own living rooms.
Mussila has been designed with the student in mind, and the best part about it is it can be used without parent supervision.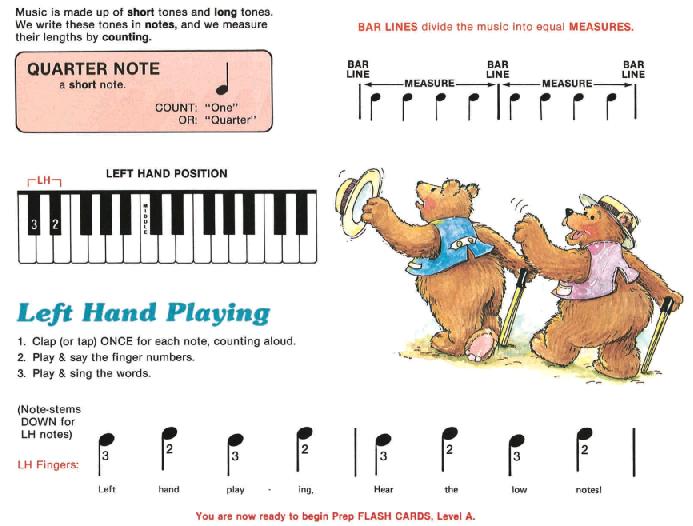 It’s great to be involved in your child’s life, but it is also nice to have an activity they can do that doesn’t need constant supervision.
Mussila takes a student through different learning streams to cultivate a complete music education that includes music theory and plenty of practical exercises.
Mussila is a great way to take advantage of the technology available to give students a solid understanding of music theory. To find out more about how Mussila works, click here.
Kids Can Learn to Read Music Through Online Games and Websites
There are thousands of great websites available that can provide some tools for music education. Many of them offer worksheets, games, lessons, hints and other activities to complement the musical education a student might already be involved in.
A good piece of advice is to test some out as a parent first. See what the process is and if it will be a good fit for the student. Any piece of additional exposure to music education is always a helpful tool.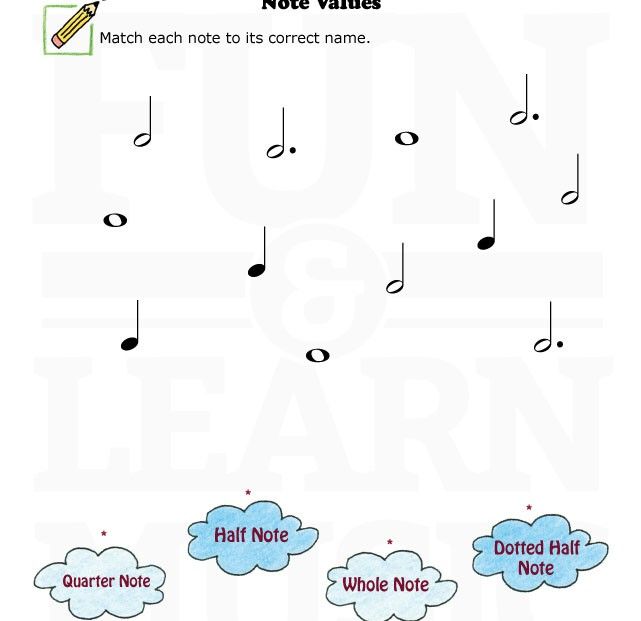
Help Kids to Learn Music Theory
Many parents are afraid that they will ‘get in the way’ of their child’s musical education, especially if they aren’t musically educated themselves. The truth of the matter is that parental involvement in the education process is incredibly beneficial to kids.
Many studies have shown that even just helping kids with homework provides immense long-term benefits like better critical thinking skills, better academic performance and better communication skills. It’s also just a great time to bond with kids and get to know what is currently making them tik.
Taking the time to help children understand music theory isn’t just beneficial; it’s fun and a great time to bond and explore together. If the parent doesn’t have any music education, they might also learn something for free.
Conclusion
Learning to read music is an essential skill for any student who wants to pursue a musical endeavour. It’s one of the most fundamental pieces of the musical education puzzle, and it might seem like a daunting task, but it doesn’t have to be.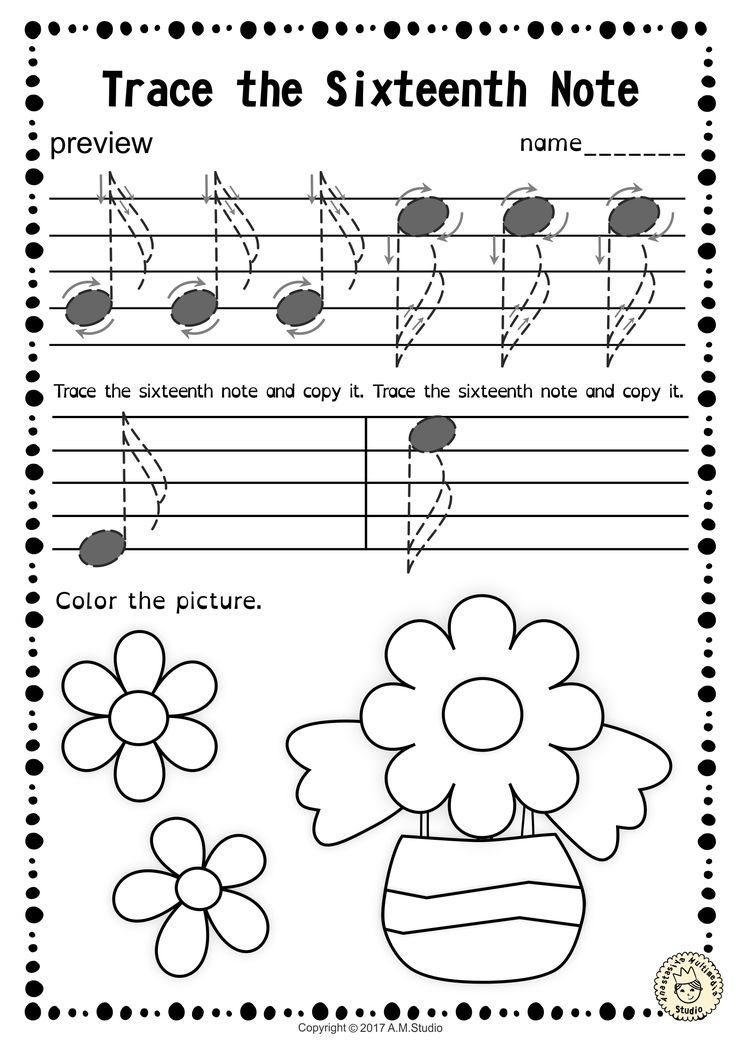
Learning to read music can be a fun experience for all involved. One that makes lasting impressions on young people and inspires them to continue to learn later in life.
How To Read Music Made Easy
Learning to read music can be rather daunting, especially if you haven’t had any music lessons before. Of course, we all know there is no quick fix, it is something anyone can do with practice when broken down into easy steps.
In this post I hope to dispel a few myths, and hopefully give enough encouragement for one or two new beginners to take the plunge and have a go.
How To Read Music: Getting started
When you start to learn music theory it’s usually because you are learning an instrument. This is the best way to begin, as you learn to read the notes as you play. In the early lessons you’ll learn the note values and note names. You do this by practicing simple repetitive exercises that allow you to absorb the new information as you go.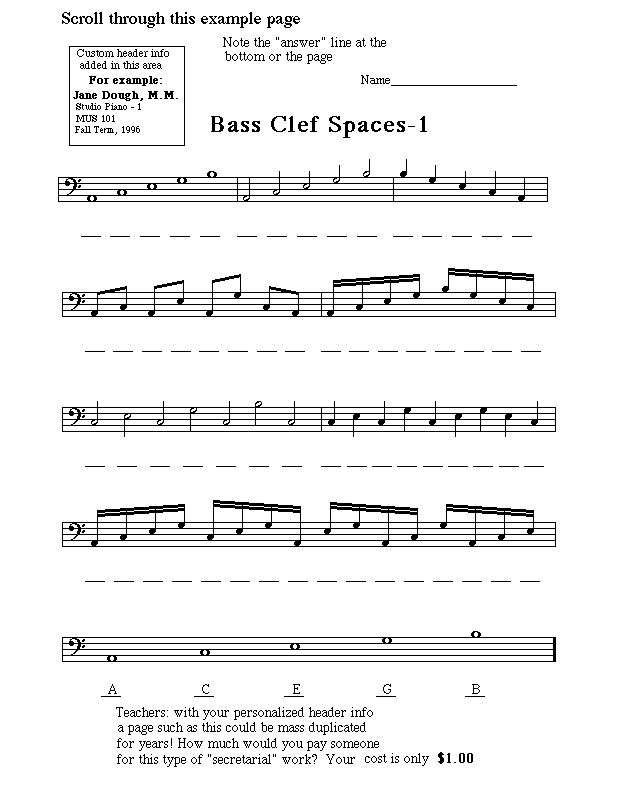
Even if you are learning to play a different instrument, it is never a waste to learn the notes on a keyboard. The keyboard provides a visual way to link the theory to a real sound, and to see the intervals (steps between the notes) as you play them.
When you first try to read a piece of music, you should approach it in a systematic way. Look out for the visual clues before attempting to play. With young children, I always say they are being detectives, trying to solve a mystery.
Like learning any new skill, practice is key. Practice is always best ‘little and often’. Learning to read music should be approached in the same way as learning to read words, with a clear strategy and gradual progression of level.
First Steps…
- Learning the note time values. Depending on the age of the pupil this can be taught through rhythm games or with The Clock Song.
 Both explain the basic music notation in an accessible way. It’s also a bonus that these games are so much fun that children are very happy to play them many times over! Check out My Note Family Stories eBook which is an effective way to teach note values that kids love.
2. Learning the names of the notes – I use an animal themed memory game to help my pupils remember the order of the notes. This is the best way for children to learn as it gives them a good visual trigger and is very easy to memorise. Older pupils also find this method really helpful!
Learning Through Singing Games
3. Do – Re – Mi or Solfege. This very old method of learning to read music has lasted so long for the simple reason that it works! It also encourages the pupil to sing and therefore develop an ability to ‘hear’ the music in your head. This helps by anticipating how the music sounds before you actually play it.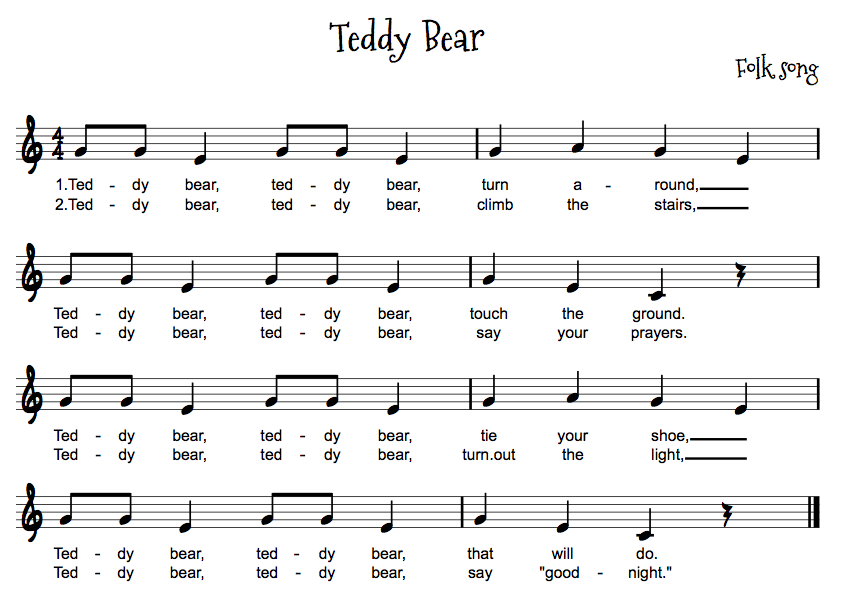 The Solfege method uses songs and games so it’s a great way for younger children to start their musical training. It can also be practiced alongside the conventional names of the notes to teach sight singing, build aural awareness and strengthen the musical ‘ear’.
4. Understanding the Stave and the Clefs – The stave and clefs can look a bit scary at first! It’s important to explain it in a visual way, and if possible in front of a keyboard. Just as words are written on lines, so are music notes. You just need more lines than with reading, because the notes go up and down. This is why we have the five lines of the stave. Clefs are needed to tell you whether they are high notes (treble clef) or low notes (bass clef). For more practice and printable resources check out my eBook which covers the basics of music theory.
Have you seen our How To Read Music Theory eBook Bundle? It’s packed with fun resources for learning to read music!
How to quickly teach a child musical notation - Kid-mama
If you have already decided to teach your child music, sooner or later you will have to teach him notes, and in this article I will share with you my own experience of teaching a child musical notation.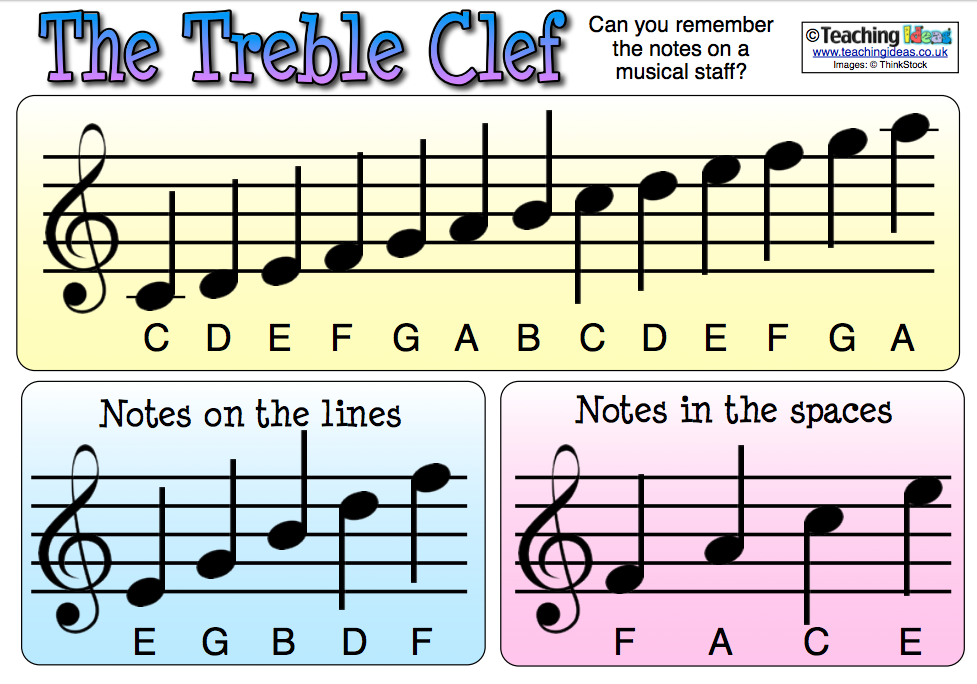
[showads ad=left] It's best to learn the notes and how they sound first on the keyboard. Many teachers learn the first works with young children "by hand", that is, without notes. After that, they proceed to musical notation.
Books with large notes can be used to study musical notation, but children like learning more like a game than a learning process, so that notes can be rearranged or moved along rulers.
For this purpose, with older children, at one time I made a special manual
- I drew a large stave on white cardboard - 5 rulers, then pulled threads across it, along which the notes moved, strung like buttons. The inconvenience of this manual lies in the fact that the notes cannot be completely removed from the rulers, and besides, their number is constant and limited, it is impossible to compose chords with the arrangement of notes on top of each other.
Therefore, for teaching my next child, I made a fundamentally different manual with notes on Velcro. And I made it using strips and fasteners from our youngest diaper.
The strips from the front of the diaper are first sewn at the ends, and then the resulting long strips of 3-4 strips are sewn together along the length. It turns out a rectangle. We attach it to a dense fabric along the contour, and sew along the seams, like a blanket. The edges are carefully closed with a cloth. The basis for our musical staff is ready! We draw 5 lines with a black felt-tip pen, counting on large notes, 2-3 cm in diameter.
Notes can be cut directly from diaper fasteners, or you can stick black or colored paper to the fasteners with double-sided tape, and then cut out the notes.
At first, you can make notes without tails, and as you learn them, with tails, that is, different durations - quarters, eighths, etc.
How to deal with a child?
First, we attach three notes on the rulers - mi, salt, si, and learn them. When the child remembers them well, and easily lays out any sequence of these three notes at your request, we learn other notes - re, fa and la, explaining that they are located between the rulers. Let's learn these notes. The notes on the lines and between the lines are repeatedly repeated separately, and then together, mixed up.
It remains to learn the note C on an additional ruler and the upper C. For starters, these notes will suffice.
Next, we ask the child to put all the notes in order in the form of a scale - from bottom to top and from top to bottom, while naming each note.
The next stage is laying out simple songs and playing them on the piano. At the same time, the child usually has pride and delight - it plays according to notes.
Now you can take any score and ask the child to find notes already familiar to him in it.
Well, a start has been made, you can start studying durations, pauses, meter, and then start learning pieces from notes.
Good luck!
How to learn sheet music with a child?
If you want to learn music on your own, or if you want to do it with your child, then first of all you should get an idea of what music is.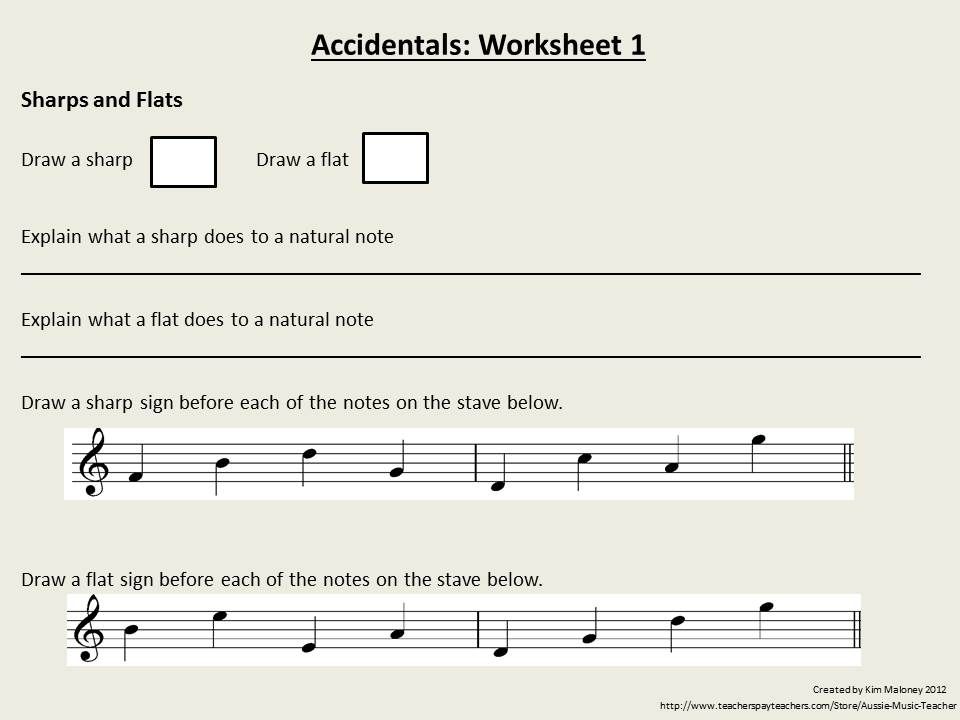 The fact is that notes are recorded sounds. Just like in speech, letters are written sounds. And therefore, both in language and in music, you first need to get at least a little familiar with the sounds, and only then with their styles.
This mini-guide offers a way to learn music notes in a series of steps. The manual is suitable both for teaching children and for self-teaching adult musical notation.
Stage 0 - getting a basic understanding of high and low musical sounds
Music is an art, and each of the arts speaks its own language. So, the language of painting is colors and lines, the language of poetry is words, rhythms and rhymes, movements, beautiful postures and facial expressions are important for dance. The language of music is musical sound. So, we repeat once again that only a musical sound recorded on paper is called a note.
There are a lot of musical sounds, they are different - high and low. If you line up all the sounds in a row, starting from low sounds to the highest, you get a musical scale. In such a scale, all sounds lined up as if “by height”: low ones are big, tall notes, like cubs, and high ones are small, like birds and mosquitoes.
So, the scale can be large in composition - there are just a sea of sounds in it. For example, on the piano keyboard, you can take and play as many as 88 sounds. Moreover, if we play the piano in a row, then it seems to us that we are climbing the steps of the musical ladder. Try it and listen for yourself! Do you hear? This is a very valuable experience!
Tip! If you don’t have a piano instrument or any of its analogues (synthesizer) in your house, then look for a virtual keyboard for yourself or install the Piano application on your phone.
Stage 1 - pronouncing the names of notes aloud
So, there are many sounds in the scale, but there are 7 main ones - this is DO RE MI FA SOL LA SI. You already know these names, don't you? These 7 sounds are constantly repeated, only at a new height. And each such repetition is called an octave.
The scale, divided into octaves, in which 7 sounds are constantly repeated, resembles a multi-storey building in its structure. Each new octave is a new floor, and the seven basic sounds are a musical staircase from one floor to the next.
Recommended! If you are working with a child, start an album - a regular sketchbook or even just a folder for drawings.
Be sure to do this kind of exercise. Draw a multi-storey building on the sheet, inside there are ladders of seven steps. And now, turn on your imagination and come up with some story for the child - for example, about the pioneer Vasya, who decided to help the kitten that climbed into the attic. Your goal is to go up and down the musical ladder several times in a row.
The fact is that the row “do-re-mi-fa-sol-la-si”, as a rule, is easily pronounced by all children, but in the opposite direction “si-la-sol-fa-mi-re -to” – quite a few.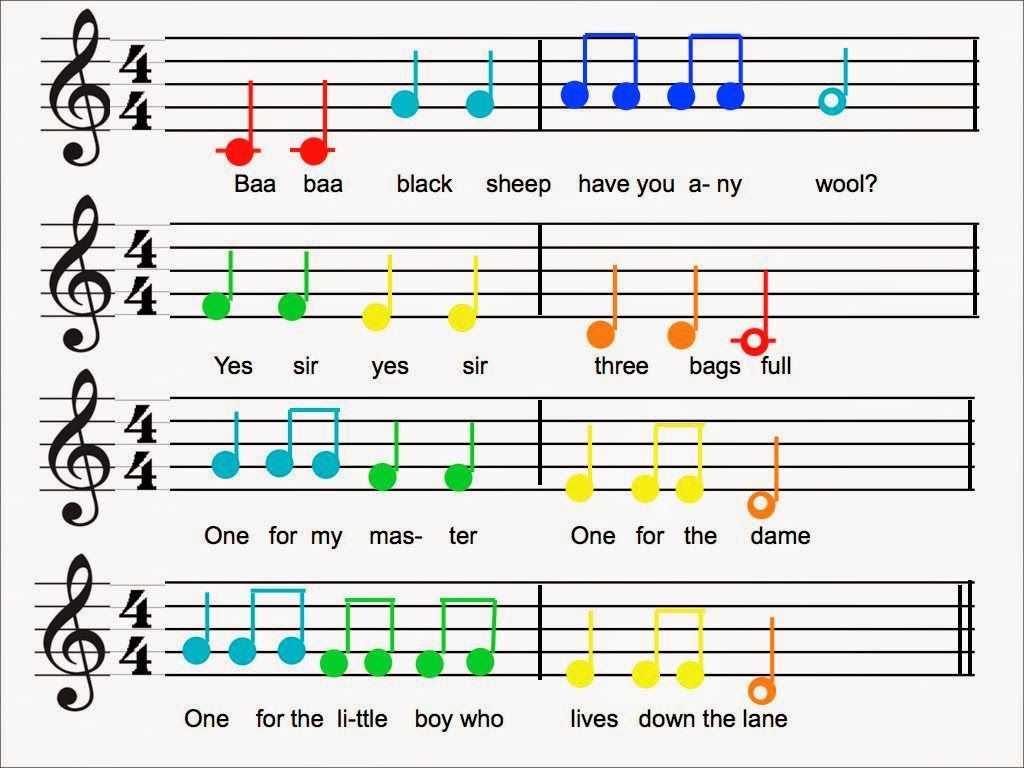 This exercise will easily correct this matter, and correcting it is very important!
For the same purpose, you can use the well-known "counters":
Do, re, mi, fa, sol, la, si -
The cat took a taxi!
Si, la, sol, fa, mi, re, do -
The cat got on the subway!
Stage 2 - ladder on the piano
Now we need to turn to the piano again, it is important to establish auditory associations. Exercise with ladders must be done at the piano, with real sounds. At the same time, the arrangement of notes on the piano keyboard is remembered along the way.
What is this disposition? The piano has white and black keys. All whites go in a row without any special features in their order. But the black ones go in small groups - then two keys, then three, then two, then three again, and so on. You need to navigate on the piano keyboard by the black keys - where there are two black keys, to the left of them, at the bottom “under the mountain” there is always a note DO.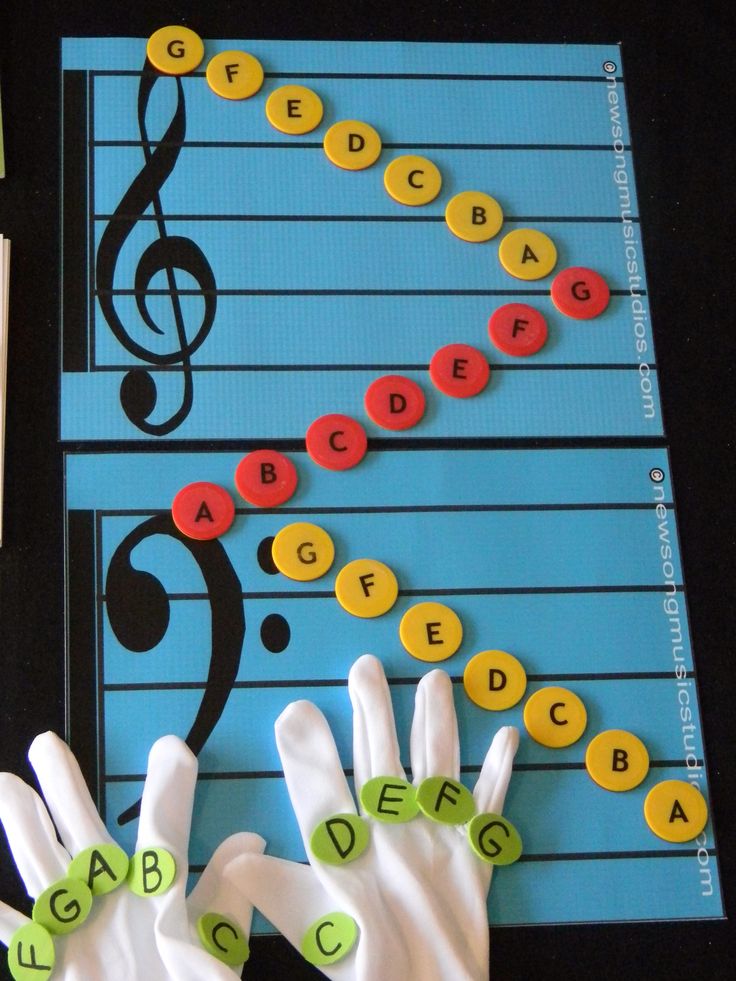
Next, you can ask the child (and the adult - ask yourself) to find all the notes of DO on the keyboard, and it is important not to confuse them with the FA keys, which will occur at the beginning of groups of three black keys. Then, from the note DO, you can line up a series of all the other sounds and play this series up and down. You can read more about the arrangement of notes and octaves on the piano HERE.
Stage 3 - recording notes on the stave
There are special notebooks for writing letters and numbers - in a cage or in a ruler, your child probably already knows about it! Explain to him that there is also special paper for recording notes - with staves.
Please note that there is no need to immediately teach the child to memorize notes on the stave, first you just need to practice writing notes. The stave consists of five rulers, notes can be written:
A) on the rulers, putting them like beads on a string;
B) between the rulers, above and below them;
C) in a row - on the lines and between them without gaps;
D) on additional small rulers and between them.
All these ways of writing music must be tried by both the child and the adult. No treble or bass clefs are needed at this stage. True, the most important principle should be explained - high notes are located higher than low ones (the same principle of a ladder).
Stage 4 – studying the treble clef and the arrangement of notes on the staff
At this stage of musical literacy with a child, you can introduce the treble clef. At first, you can just draw the treble clef. Along the way, it is necessary to explain that in a different way the treble clef is also called the KEY of SOL, since it is tied to the second line, that is, to the same line where the note SOL of the first octave is written.
There are two ways to draw a treble clef:
- start from the second ruler and end with a hook;
- start from the bottom, from the hook and end on the second ruler.
Both of these methods can be shown to the child, try to draw on paper and in the air, and then leave one, the most convenient way.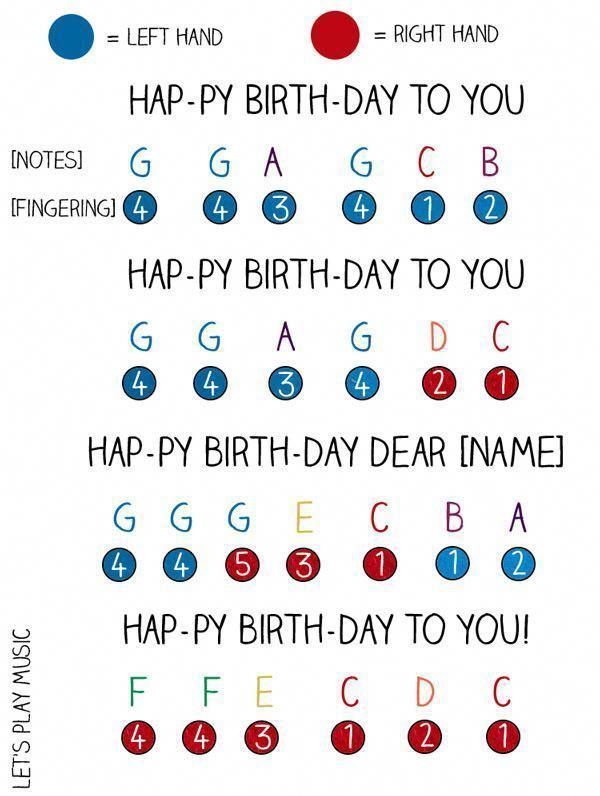
The next step is to study the notes on the stave, you need to start with the note SALT, which is written on the second line. And then you should again turn to the musical ladder and find out which notes are adjacent to the SALT, which are located above and below it. The same notes (FA and LA) will be the neighbors of SALT on the stave as well.
Further study of notes can be built according to the following scenario:
- Name and write down five notes that we will meet if we climb the musical ladder up from SOL (these are SOL, LA, SI, DO, RE). DO and PE in this case are already notes of the second octave, the possibility of moving to the next octave must be explained to the child.
- Name and write down the five notes that you will meet if you go down the musical ladder down from SOL (SOL, FA, MI, RE, DO). Here, the child's attention should be drawn to the note DO, which did not have enough space on the stave, and therefore it is written on an additional ruler.
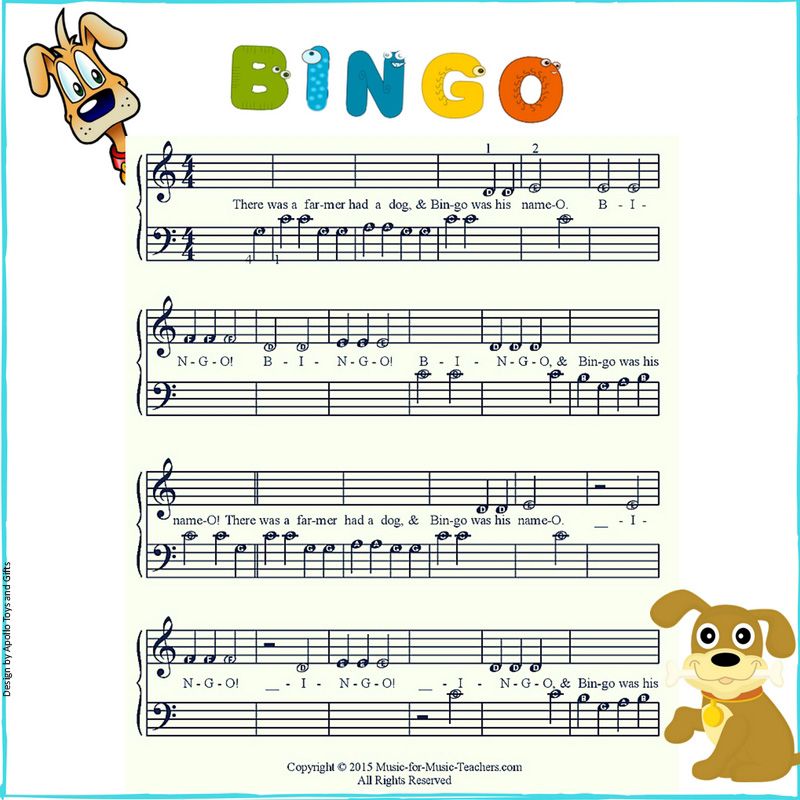 The child must remember the note DO as an unusual note and subsequently immediately recognize it.
- Name and write down the notes of the first octave that are written on the rulers (DO, MI, SOL and SI). “Do, mi, salt, si - they sit on the rulers” - there is such a counting chant.
- Name and write down the notes of the first octave that are written between the rulers (RE, FA, LA, C).
In the same way gradually (but not on the same day and not at once) you can master the notes of the second octave. It is not worth rushing too much and straining the child with musical notation, so that interest does not disappear.
Stage 5 - work with the "musical alphabet"
What is a children's primer? The image of letters and objects whose names begin with these letters. If the development of musical notation is difficult (for example, if the child is still quite a baby at the age), then it makes sense to be distracted for a while and dilute the seriousness of the lessons with beautiful visual materials.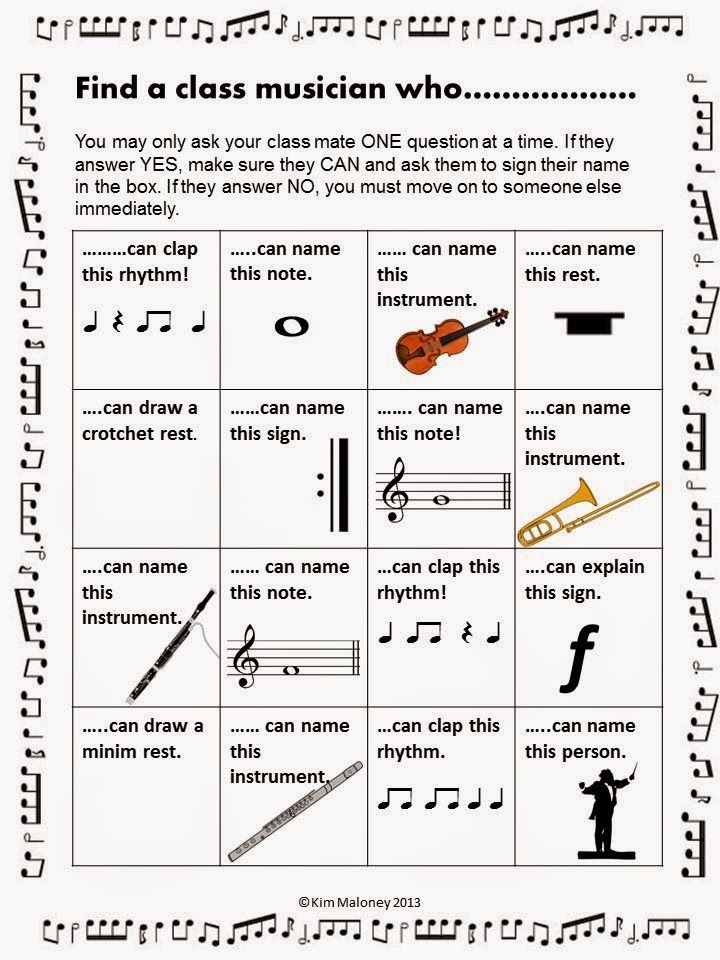
You can make a musical alphabet together with your child. You can dedicate a separate sheet of the album to each note - you need to beautifully write the name of the note on it, its position on the stave next to the treble clef, and then supplement this base with something interesting - poems, words that begin with the names of notes, drawings. If necessary, the musical alphabet can be used at earlier stages of learning.
An example of a card for the musical alphabet:
Download the finished musical alphabet: DOWNLOAD
Stage 6 - developing the skill of reading music
Training the skill of reading music at the initial stage of mastering musical notation should be practiced regularly. The methods of work here can be different - the usual reading of a musical text with the name of all the notes in order, rewriting the notes in a music book, signing all the notes in the melody already transferred to the notebook.
Reading examples can be found in any solfeggio textbook.