How to child proof coffee table
Childproofing A Coffee Table in Style
Earlier this year, I chatted about how we childproofed the cabinets/drawers in our kitchen and family room. I’m happy to report we are still very happy with this system and rely on it every single day! I was also super excited to hear from other parents who reached out sharing that they too use this system and love it… even years later!!
Today I’m back with another step we recently took to childproof our coffee table. And if I’m being completely honest, I never intended to tackle this project. But after living with a very mobile little one, I had no choice but to take action to protect him… even if that meant sacrificing style (#priorities). BUT when I found a solution that keeps Ben safe (my number one priority) and isn’t super ugly to look at (bonus!), I just had to share!
Do I Have To?
Like I mentioned, I never really intended to childproof our marble coffee table. Call me naive, but I didn’t think it would pose a problem once Ben learned how to walk confidently. I thought that while Ben learned to walk and was uneasy on his feet, we would move the table out of the way or play downstairs more often.
During the “learning-to-walk stage” Ben loved holding onto the table and walked around it over and over and over again. As he progressed walking, we simply pushed it in front of the fireplace and played with Ben’s toys right in the middle of the room. That way he could practice walking in a big space and we could all get on the floor and play with him. I never felt nervous about this setup because it totally worked.
To Childproof or Not To Childproof
Meanwhile, my mom was gently urging me to childproof the table, which was so unlike her. She never urges me to do anything and is always so supportive of whatever I do when it comes to parenting. But obviously, she felt uneasy about the marble table because this was one thing she so kindly, but persistently, inquired about often.
I acknowledged her concerns but kept reassuring her that everything would be okay! Ben had learned how to walk and wasn’t so uneasy on his feet anymore. “He’ll be fiiiinnnneeeee, mom”. But she persisted.
Since my mom never asks for anything, I decided I would be a good daughter and at least look into some options to ease her concerns. I ended up ordering these rubber guards in off-white and black just to reassure her I was taking steps in the right direction.
Moms Know Best!!
Fast forward a day or two after I submitted my order and Ben and I are sitting in the family room. He’s standing at the table while holding onto it– all very normal. He lets go of the table and sits down very slowly, still all very normal. But this time he clips his chin on the table on the way down to the floor.
He starts to cry, but even so, I’m still not overly concerned at this point because we all know babies get bumps and bruises all. the. time. I scoop him up and start giving him cuddles to calm him down. He looks at me and I notice he has blood coming from his mouth. My heart immediately sank and my usual calm, laid-back demeanor changed in an instant.
Are teeth missing? Did he bite his tongue?! Does he need stitches in his mouth?! Where is the blood coming from?!!
Fast forward a few minutes and everything turned out to be okay. His teeth must have hit the top of his mouth, causing a tiny cut on the roof of his mouth that was bleeding. But I realized at that moment that things could have turned a lot worse. And this wasn’t even an out-of-the-ordinary moment. What happens when he starts running? jumping? wrestling? As always, my mom was right all along and I suddenly could not be more grateful for her gentle persistence. We needed to childproof our table AS SOON AS POSSIBLE.
Surprise!
The parenting gods must have been looking down on me that day because: 1. Ben still had all of his teeth and 2. the rubber guards (in both cream + black) showed up at my doorstep during naptime that same day. I immediately opened the box, installed the new rubber guards on the table, and called to thank my mom.
Childproofing A Coffee Table
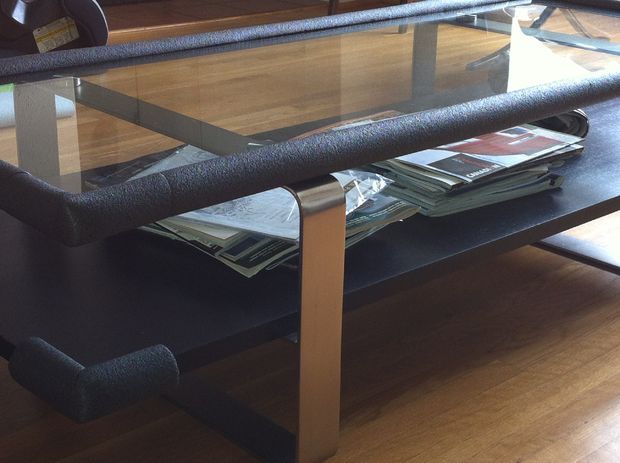
I ended up using the black rubber guards.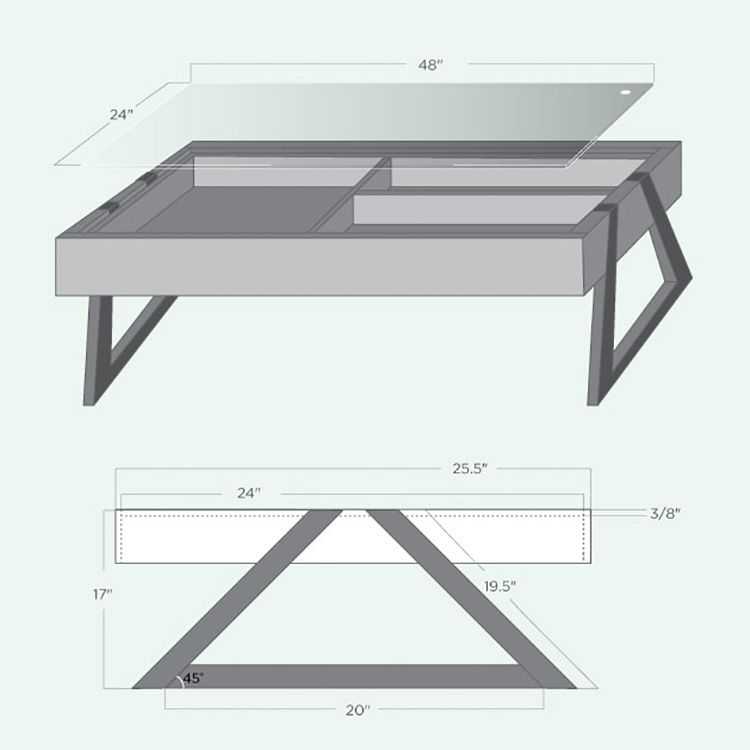 Installing them onto the table was as easy as cutting them to the length of the table, adding a 3M adhesive strip to the back of the rubber guard, and sticking them right onto the table. It literally took 10 minutes… tops.
I wish I had photos but I was so focused on getting the table childproofed before Ben got up from his nap that I didn’t even think about it.
Better Safe Than Sorry
Obviously, Ben’s safety is my number one priority, and at the end of the day, the style isn’t important. But finding a solution that didn’t look super tacky seemed like a huge bonus, which is why I wanted to share this product (not sponsored) here on the blog.
I really loved that these guards camouflage with the room. They’re perfect, but they’re closer than I ever expected. Plus, they were under $25 and I still have leftovers for any other childproofing needs that may pop up. And I also saw that these come in several other colors!
Lesson Learned
I think we can all agree that everyone has to do what they feel comfortable with when it comes to childproofing.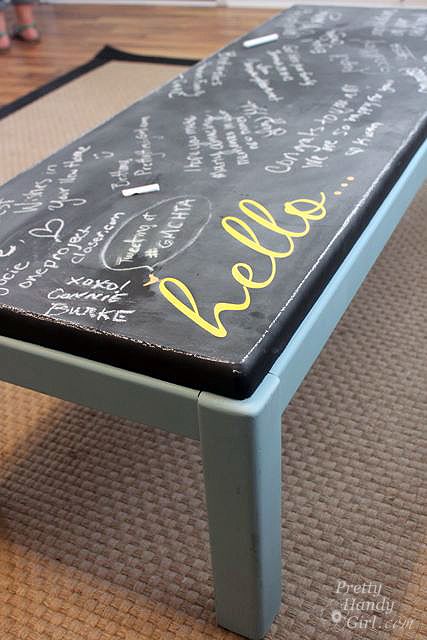 But knowing that there are affordable solutions out there that can keep your little one safe and can camouflage with your home’s decor makes me extra happy. It’s a win-win, right?!
If you guys recommend any other products when it comes to childproofing, let me know! I have a feeling this isn’t my last adventure in childproofing…
Bridget
Babyproofing Living Room: Tips from a Pediatrician
We know what it’s like. Your little bundle goes from being totally dependent on you to a little mobile explorer — seemingly overnight.
This is an exciting time, but it can also be frightening as you suddenly see the risks in every room and wonder how you’ll ever keep your child safe.
For most families, the living room is where everyone comes together, but it may also be one of the most dangerous rooms in the house — in some obvious and not-so-obvious ways.
We’ve looked at this challenge from every angle and have created this guide to teach you exactly what you need to do to babyproof your living room.
Table of Contents
- How to Safety Test Your Furniture
- 6 Tips for Babyproofing Your Furniture
- Safety Testing Your TV
- 4 Tips For Babyproofing Your TV
- 3 Tips For Babyproofing Your Fireplace
- 5 Babyproofing Living Room Essentials
- 5 Ways To Tackle Cleaning
- 3 Tips For Babyproof Decorating
How to Safety Test Your Furniture
The average living room contains various pieces of furniture, such as couches, desks, bookshelves, and coffee tables. These may seem like everyday objects, but they could mean falls, scrapes, bumps, and cuts to your tiny explorer.
To get a good idea about the safety situation in your living room, it’s a great idea to test all your furniture thoroughly.
1. Feel for Edges and Corners
Have you ever hit your knee on the corner of your heavy wooden coffee table or swiped your shoulder on the side of the bookshelf? It hurts! And it could be even worse for your toddler.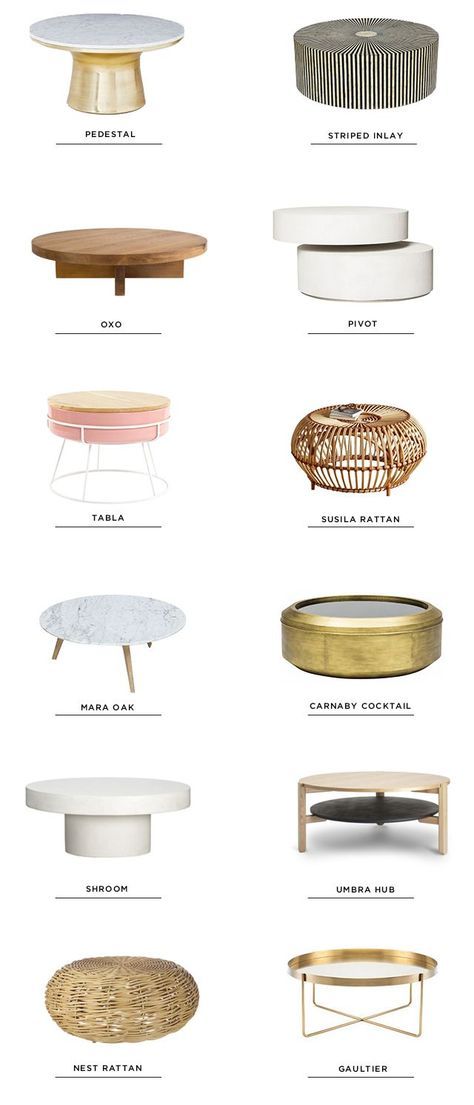
To test for edges and sharp corners, run your hand along and over every edge and corner, and make notes of the ones that seem hazardous. When your little one is learning to crawl, stand, and walk, they will fall and tumble a lot.
It’s important to know where the bumping danger zones are.
2. Change Your Perspective
Get down on your hands and knees and look at your living room from an entirely new angle. From up high, things may seem less dangerous than they are at the same eye level as your toddler.
Once you start looking from a child’s perspective, you’ll begin to notice things that may attract curious fingers or are just waiting to be run into. Spotting problems from down low helps prevent you from missing any key details you may not have noticed while standing.
3. Wobble Your Furniture
Toddlers aren’t very strong, but they can get into more trouble than you’d think. When learning to crawl or beginning to walk, kids will tug on anything they can reach and use it for support. Can your furniture withstand a tiny human throwing their body weight at it?
The best way to answer this is to try it for yourself. Using the equivalent of your toddler’s strength, gently shake any furniture that could be less secure than it seems. This could be anything from a bookcase to a decorative plant.
Anything that tips easily is bad news, but what can you do about it?
6 Tips for Babyproofing Your Furniture
Once you’ve identified the danger zones and know which furniture is most likely to pose a risk to your curious tot, you can move on to the really exciting stage.
Welcome to babyproofing!
Babyproofing furniture is a big job, but it doesn’t have to be expensive or extremely time-consuming.
Identify the key areas and solve problems creatively to keep your home safe without breaking the bank or entirely changing the aesthetic of your living room.
1. Soften Up
Remember those edges you searched for? It’s time to soften them up.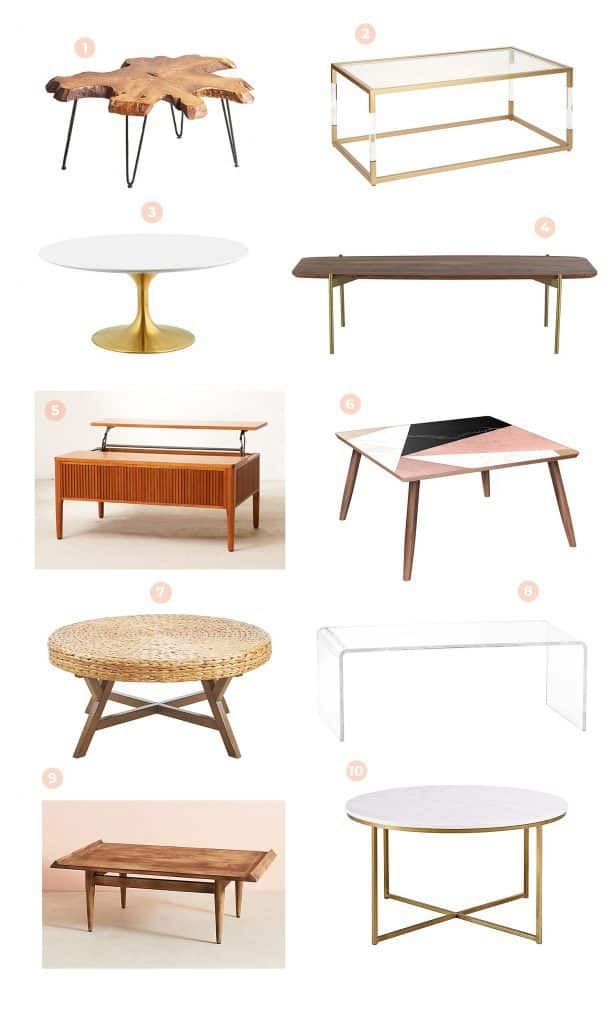 You can do this in many ways, from DIY fixes to store-bought solutions.
Every family and living room decor will require a different remedy, but here are some of the best ways to keep your little one from hurting themselves on sharp corners.
- Buy corner protectors.
- Invest in edge guards.
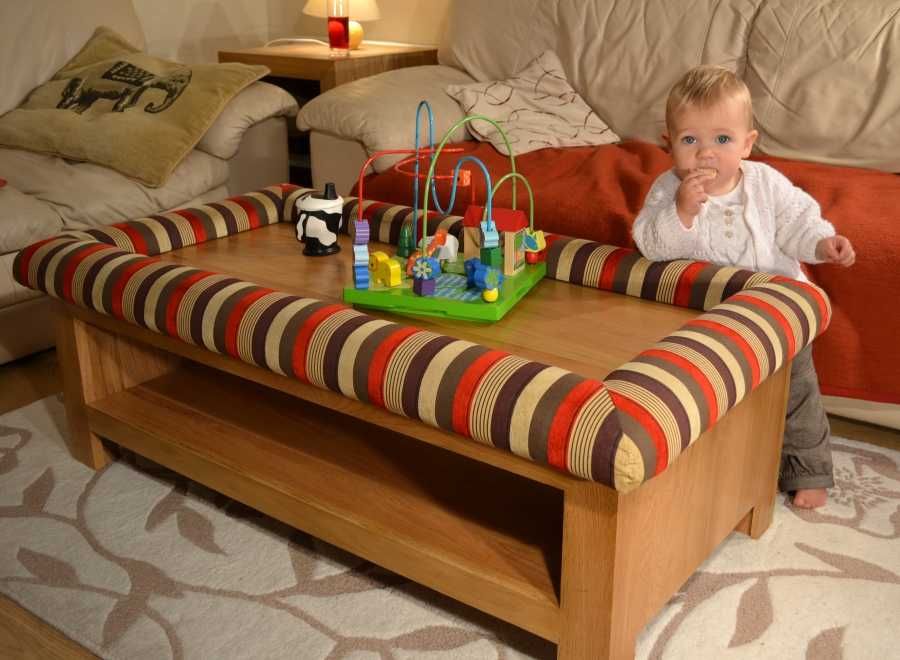
- Use plumbing foam pipe to cover edges.
- Use hollow pool noodles to cover edges.
Whether you hit the baby store or the hardware store, there are plenty of online tutorials to show you the way forward.
2. Remove Unstable Furniture
Some things can’t be fixed up for a baby. The good news is that they won’t be small forever, but while they are, store floor lamps and breakable vases or potted plants out of reach.
If you’re using baby gates or are willing to rearrange your furniture, move these unstable breakables to areas your baby can’t access.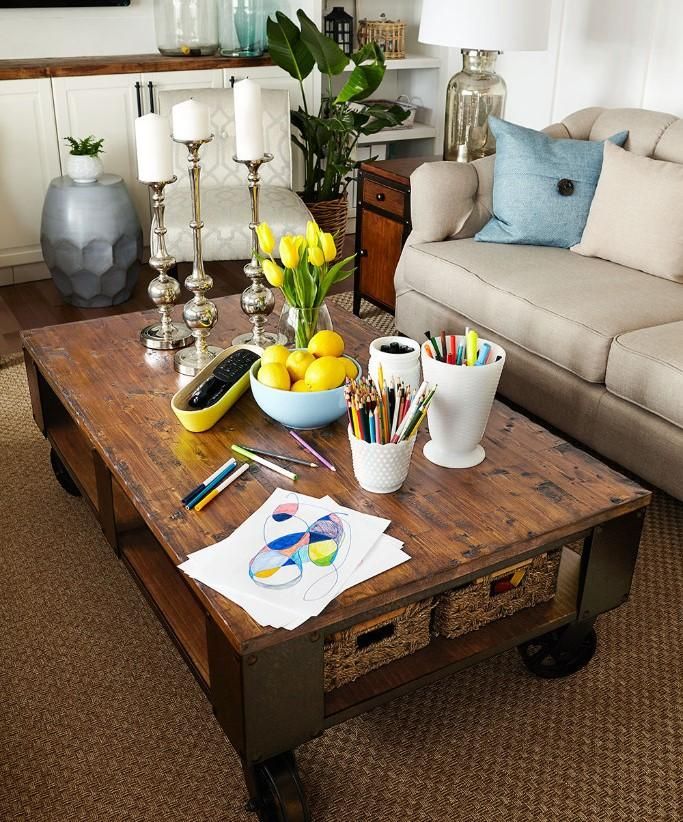
3. Keep Surfaces Clear
The more clutter on your flat surfaces, the more your baby will be drawn to explore them. Coffee tables with open cups or easily accessible electronics are dangerous and asking for a mess!
Staying on top of organization and tidiness is a great way to beat danger and minimize cleaning after a long day of chasing kiddos around. Find alternative storage places for clutter, and move objects up higher out of reach.
4. Lay Down a Non-Slip Rug
Rugs are an easy safety solution for hardwood floors or tiles. They offer a soft place to land and double as a playmat. (Plus, the right rug can really pull a room together!)
Many rugs are manufactured with non-slip bottoms. However, if you already have a rug that isn’t non-slip and you’re not willing to part with it, consider investing in a rug pad.
Budgeting Tip
For those on a tighter budget, you can get smaller rug grips to put on the corners, too.
5. Find Safe Alternatives
If you have the means to do so, replacing some of the furniture in your living room can go a long way in the safety department.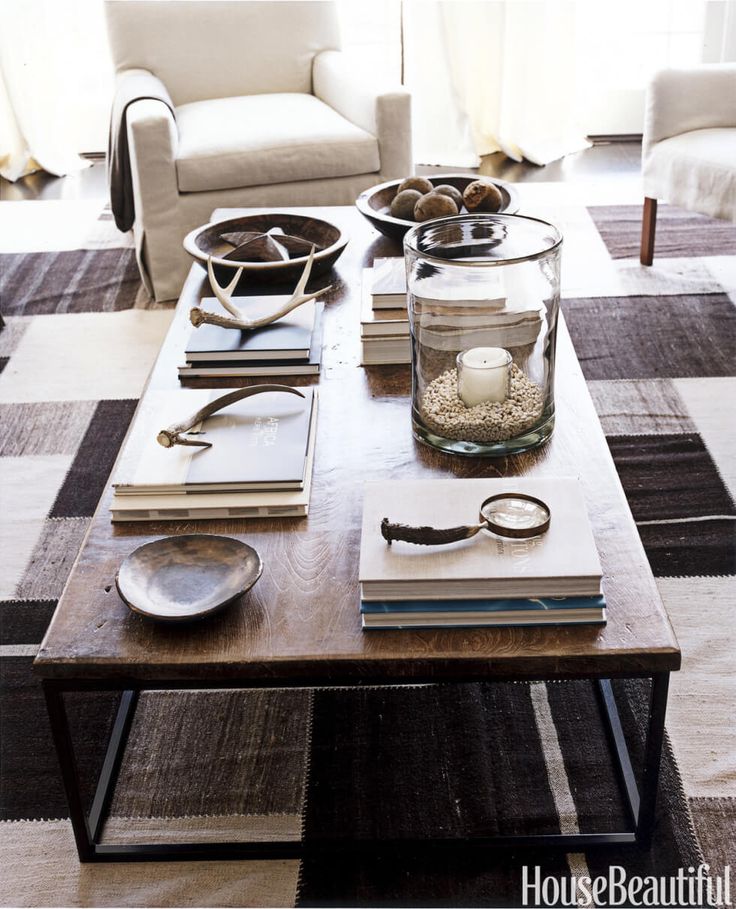 Some of the most dangerous objects in your living room have safe, stylish alternatives.
Consider switching your coffee table for an ottoman. Many ottomans offer extra storage, and you can rest your feet on top without worrying about the hard edges of a coffee table.
Other common troublesome objects are floor lamps and curtains. If you change your floor lamp for a table lamp and swap floor-length curtains for blinds, you eliminate two major danger zones from your living room.
6. Strategically Arrange Your Furniture
By using couches, baskets, or other natural barriers, you can make a play area for your toddler while keeping the danger zones off-limits. Baby gates can play a big part in this too.
Some rearranging can go a long way. Place a large decorative pillow or bean bag chair in front of outlets or wall lamps for a kid-friendly area. Get creative and shove things back and forth until you find what works.
Moving Tip
Before moving furniture, make sure you place towels under the bottoms to avoid scratching a wood floor or ripping the carpet.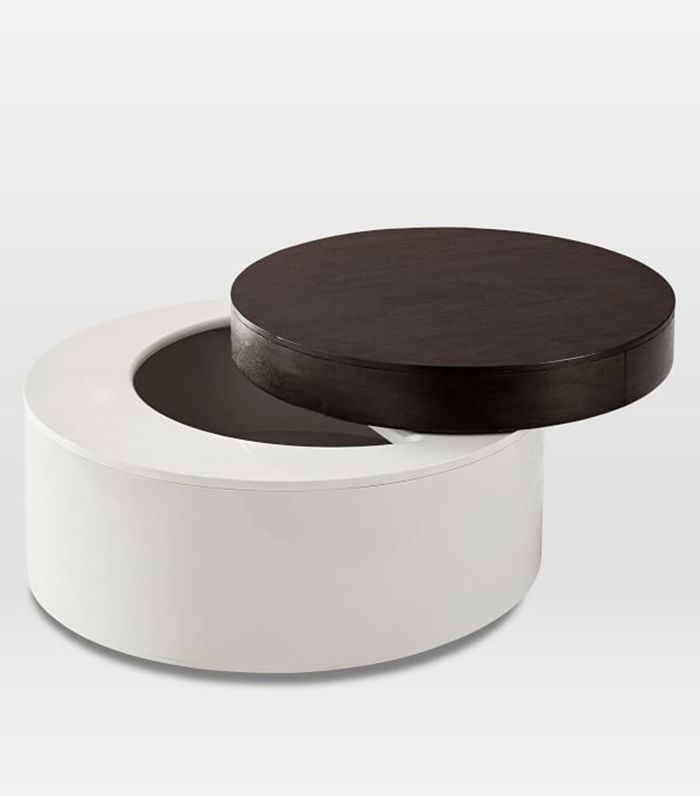
Safety Testing Your TV
Any electronic device is like the Bat-signal for your kid — they’re drawn to them like it’s their life’s mission.
Your TV poses a considerable risk for your toddler, so it’s essential that you take these safety test steps in your babyproofing adventure.
1. Check for Cords
Once more, get down low, and see things from your child’s point of view. Do you see all those little flashing lights and big buttons? You can bet money your toddler won’t stop messing with them.
Also, make a note of any hanging cords, exposed plugs, and devices within a toddler’s reach. Think about your child’s safety and the safety of your electronics too. Being aware of what your tiny tot can reach will alert you to things placed directly in harm’s way.
DVD players, game consoles, and TVs aren’t cheap, so avoid a damaging disaster before it happens by relocating them up high.
2. Wobble the TV
Test the stability of the stand and base of your devices — but carefully, to avoid damage.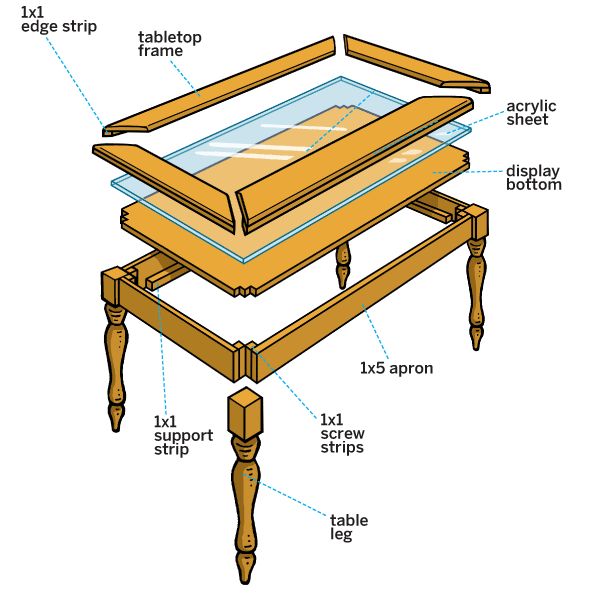 If things wobble a lot, threaten to fall off, or lean drastically, chances are they’re going to hurt your little explorer.
4 Tips For Babyproofing Your TV
The main trick to babyproofing your TV area is hiding things. Fewer objects out in the open, tempting your toddler, means less attention they’ll pay to the area in general.
Here are four tips for creating a safe screen space for your family to enjoy.
1. Hide your Devices
Getting a TV stand with closing cabinets for storage is your best bet at protecting your baby and your electronics. This will reduce the chance of their discovery and solve the problem before it even begins!
If a new TV stand isn’t in the family babyproofing budget, you have other options. Set a small basket next to your TV stand for out-of-sight storage, or you can install a shelf out of reach to place electronics on.
2. Secure the TV
It’s even more important to ensure your TV is secure than it is to get your devices safely out the way.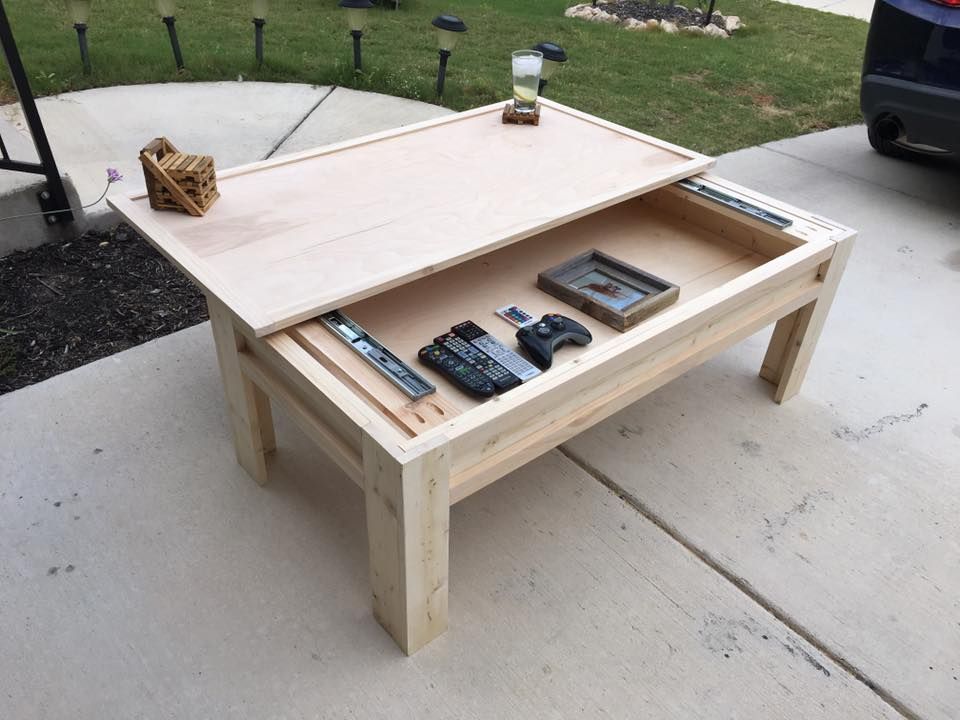 There are a few different ways to do this, but using tension straps is the easiest and least expensive way to get the job done.
These are super easy to put up, and they’re great to have even after your child gets older because they protect your TV from earthquakes or any other accident that could knock it over.
Alternatively, you could mount your TV to the wall. Most retailers will offer TV mounting with the purchase and delivery of your TV, but some places like Best Buy offer these services at any time (1).
If you feel confident, you can mount your TV yourself with the right tools.
3. Block off Access to the TV
If babyproofing the whole area isn’t your cup of tea, you could prevent access instead. Baby gates can help with this. Just remember that if you go this route, you may have to work a little harder to access your devices and television yourself — but it’s still worth it to keep your child safe.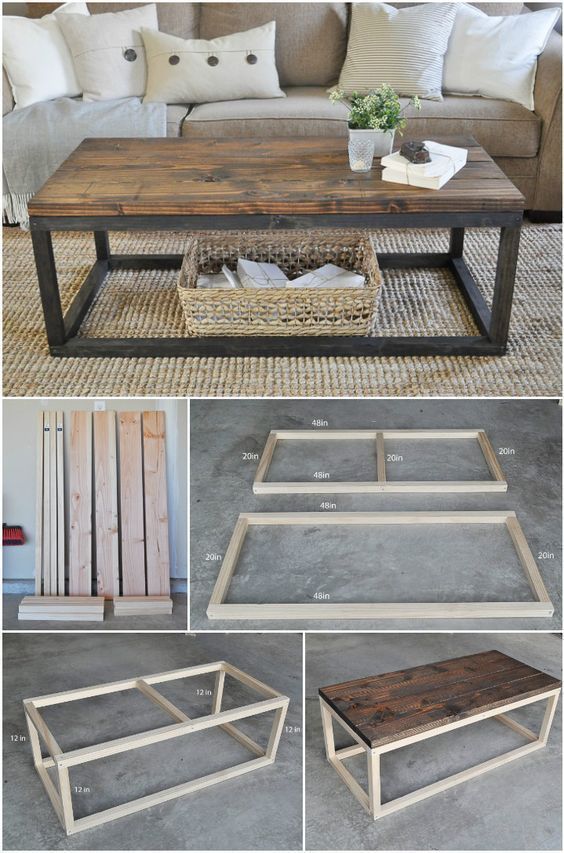
4. Hide or Cover Your Cords
Hanging cords are a major attraction to little ones. The more you have lying around, the more your baby will tug at them and get closer to an outlet. Exposed and reachable cords also pose the risks of your child choking or pulling objects down onto themselves.
You can fasten your cords to a wall or invest in a cord manager device to reduce the risk they pose. Some creative positioning may come in handy here to help hide and mask your cords.
3 Tips For Babyproofing Your Fireplace
We all know that fire and children aren’t a great mix. From the allure of dancing flame to sharp hearthstones, every aspect of a fireplace poses risks to little ones. If you live in a home with a fireplace — whether you use it or not — there are a few handy things you can do to babyproof your fireplace.
1. Get a Restrictive Gate
A 3-in-1 baby gate is amazing in just about any part of your house, but their multi-purpose use really shines through when it comes to blocking off a fireplace.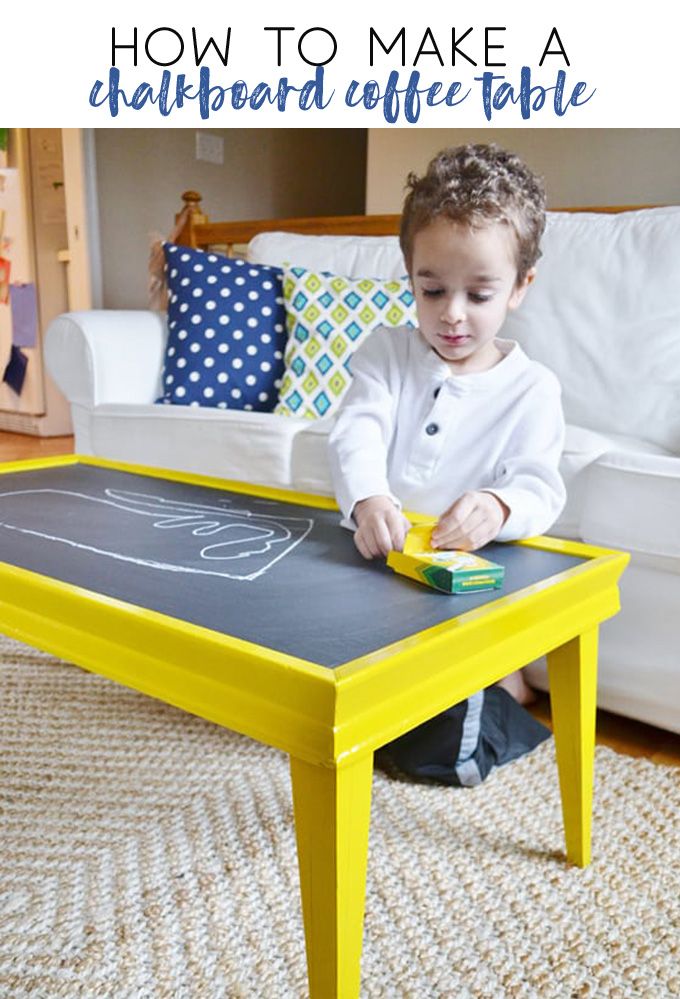
They can be used to create a playpen for your baby or opened up and extended out to block off large parts of a room.
Investing in one or two of these can be helpful with pets, older children, and blocking other parts of the house.
2. Soften up the Hearth
Unfortunately, corner stickers won’t cut it when it comes to protecting your baby from the hearth. Some people get really creative, but you’ll have to be careful if you plan to use your fireplace.
Here are just a few of the creative and practical ways you can cover up your hearth:
- Cushions.
- Hearth guards.
- A DIY mini couch.
Safety Tip
Remember, you’ll need to remove these guards if you’re lighting a fire.
3. Safely Store Fireplace Tools
Store any fireplace tools out of reach of little ones. Consider putting them in a closet when not in use or blocking them off with a baby gate. These items are all pretty sharp and heavy and could cause significant damage if small hands got a hold of them.
5 Babyproofing Living Room Essentials
Little areas can be just as dangerous to tots as big furniture.
A safe living room and a happy, healthy environment for roaming kiddos should extend to every corner.
1. Outlet Covers
Electrical outlets are hotspots for babies, who love to stick their little fingers into any and every opening.
2. Doorknob Covers
Doorknob covers are perfect for closets, doors leading outside, and even some cabinets. These temporary and affordable covers prevent your toddler from turning any knob and getting into trouble.
3. Baby Gates
We’ve said it once, and we’ll say it again: we love baby gates! From the 3-in-1 model to short-and-shallow or extending gates, baby gates are a safety essential for every doorway.
4. Cabinet Locks
It’s no joke that a kid will get their hands into anything they can, so you have to babyproof cabinets and drawers too. Cabinet safety locks and latches are easy to install when babyproofing.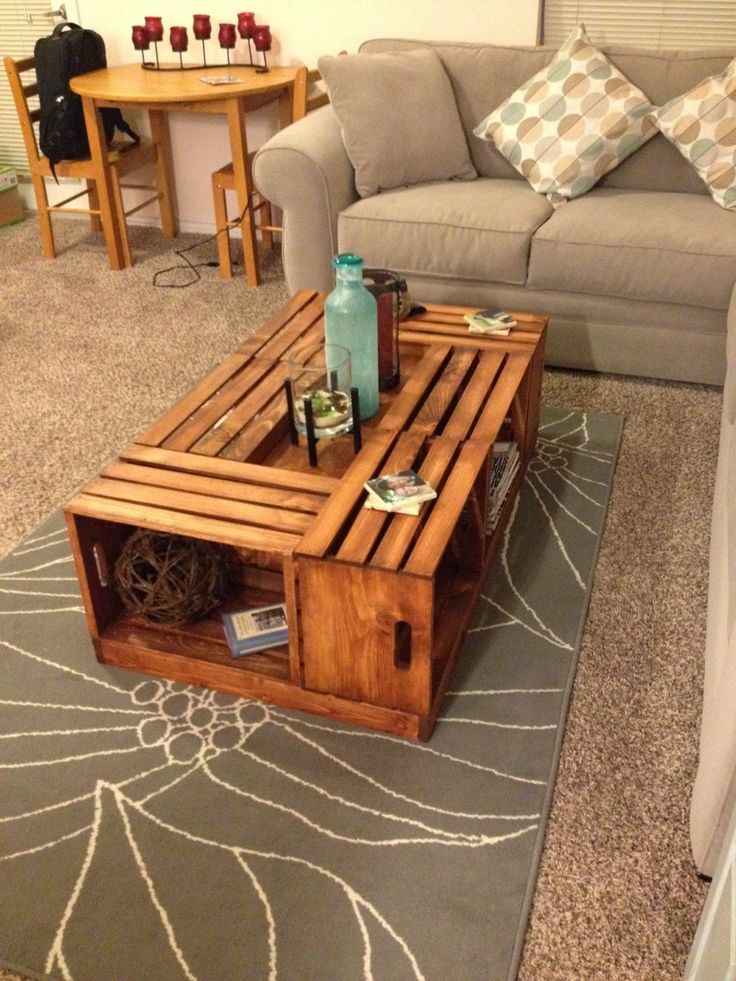
Safety locks come in many varieties, so you can find the best one for your budget and style.
5. Children’s Sofa
One of the best methods you can use for keeping your little ones off of the grown-up furniture is distraction. Give your little one an area of their own to make your seats seem less appealing.
5 Ways To Tackle Cleaning
A clean home is a safe home, but that’s much easier said than done when you have kids running around. The good news is that once you’re all set and your living room is babyproofed, you can spend less time stopping curious fingers and more time picking up the wreckage they leave behind.
As moms to many little ones, we’ve babyproofed our homes countless times! These are our top five tips for staying organized and tidy while also keeping the mess to a minimum.
1. Cover Delicate Fabrics
Pay attention to the fabrics and surfaces in your living room, and get furniture covers for delicate fabrics. Some surfaces get sticky easier than others — and they tend to be harder to clean.
Other fabrics, like leather or vinyl, can be easily wiped down and washed off. Special surfaces that are prone to damage will be ruined quicker by kids.
2. Get Baskets for Easy Storage
You’ve probably seen it for yourself: toys, cushions, blankets, and a massive assortment of living room accessories strewn about on the floor. We’ve fallen in love with baskets for organizing all kinds of living room clutter!
They’re a great multi-purpose storage option, especially for fun things like toys or pillows. They’re open, visible, stylish, and can be shoved into a corner easily when company comes over.
3. Use Shelves for Decorative Items
Shelves are your best friend when you have little ones. A house with plenty of out-of-reach shelving is a safe house. Keep things up high, yet out of limited storage closets and bins, to help reduce clutter.
This makes cleaning easier and reduces the risk of your belongings being broken.
4. Get a Snacktime Mat
Placemats or floor mats can change the way you look at snack time.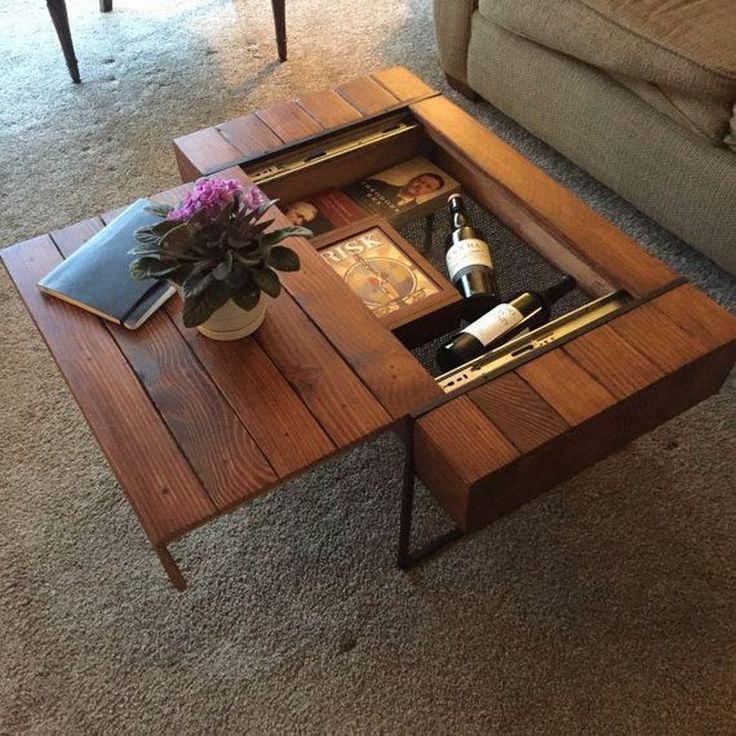 Not all moms are willing to let their kids snack away from the table, but if you need a break, throw a mat under a bowl of Cheerios for easy cleanup.
5. Stash a Hidden Trash Can
We like to use miniature trash cans in a variety of creative places — from our vehicles to our entertainment systems. If your family enjoys eating in the living room or in front of the TV, keep a trash can nearby to help cut down on the crumbs and wrappers that would otherwise end up in the couch.
3 Tips For Babyproof Decorating
Home is where the heart is, and many of us are super attached to how we’ve decorated our living spaces. One major issue we’ve found when babyproofing our entertainment areas is how ugly all the devices were. Although some devices are now designed in a more aesthetically pleasing manner, most still leave a lot to be desired.
After a lot of trial and error, we’ve finally found a few great ways to keep our homes stylish without skimping on safety.
Here are our top three tricks to maintaining a stylish living room your toddler can still thoroughly enjoy.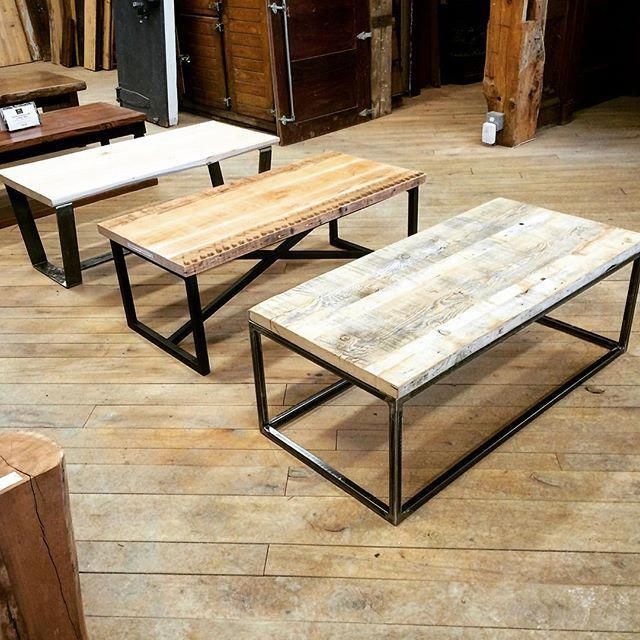
1. Use Decorative Pillows
One of our favorite go-to distractions when babyproofing the living room and TV areas is to use large pillows. They can cover up cords, distract from potted plants, and bring a modern touch to your living room.
As your kids get older, they’ll enjoy the pillows too. Forts, fights, and lounging are all ways our decorative pillows have become a fun part of our living rooms.
2. Use Flameless Candles
Candles are such a relaxing pleasure, but most parents are afraid to have them around when they have curious little ones.
Battery-operated flameless candles aren’t quite the same as the real thing, but they provide that same element of elegance, warmth, and togetherness that a candle brings to a family room.
3. Store Toys in a Cubby
Another way you can keep your living room and TV area stylish while babyproofing is to add cubic shelving units. You can find storage baskets to fit most units perfectly to store things out of sight, or you can use them to display your decorative items out of reach.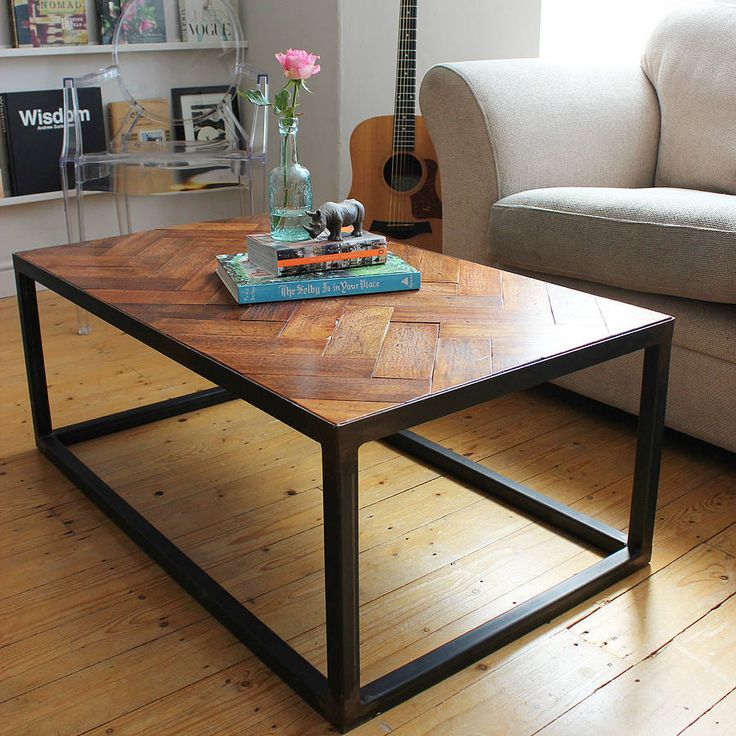
Feedback: Was This Article Helpful?
Thank You For Your Feedback!
Thank You For Your Feedback!
What Did You Like?
What Went Wrong?
Coffee table for the living room: types, selection criteria
A coffee table is a widespread piece of furniture found in almost every living room. Today, manufacturers supply a wide range of this type of furniture to the Russian market, so choosing a table of the desired size, color and style is not so difficult. For the first time, a coffee table was mentioned in the 18th century; in Europe it was called a coffee table and was used during the reception of guests. Even the name of the person who is considered to be the creator of the coffee table has remained in history - this is the English architect Edward William Godwin.
In those days, the table was much higher than modern models.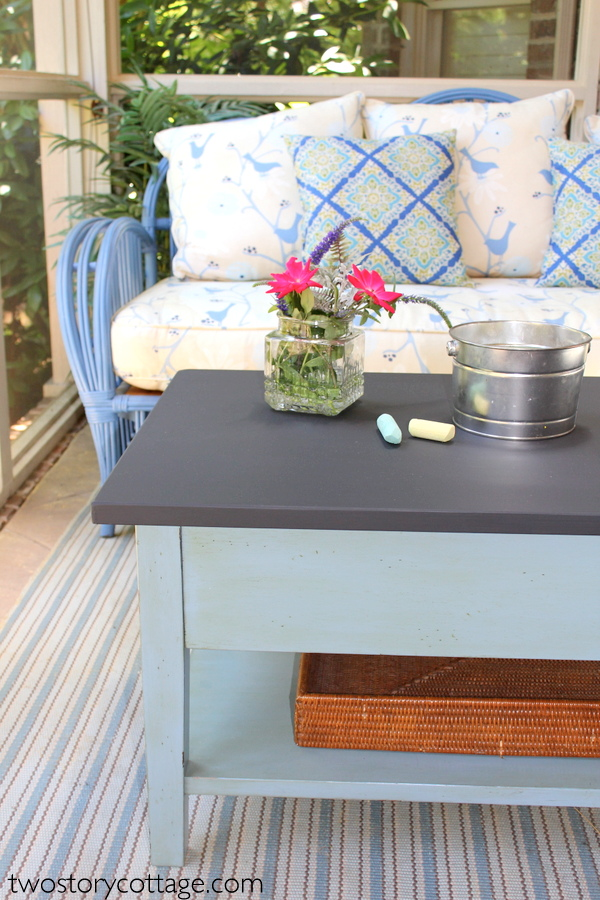 Its height was 70 cm. Gradually, it became much lower, and the tabletops acquired an elongated shape. This happened partly under the influence of the fashion that came from the East, partly from the fact that such tables were widely used for garden tea parties with guests. Coffee tables of the past were made primarily from wood. Wealthy people could afford tables made of stone, sometimes even semi-precious, glass and bronze. Nowadays, the list of materials from which this type of furniture is made has expanded significantly.
The main feature of the coffee table is versatility, diverse applications. In its classic form, it is used to store newspapers, remote controls and other constantly needed items. Moreover, newspapers are stored on it not permanently, but temporarily. Often such a table replaces the dining table, especially if the living room is not spacious enough. You can work for him. Particularly convenient for this is a compact-shaped table in the shape of the letter “C”, it can be moved directly to the sofa or chair, so the tabletop will be directly above the knees, so it will be very convenient to work, and, for example, have breakfast or have a cup of tea in the afternoon.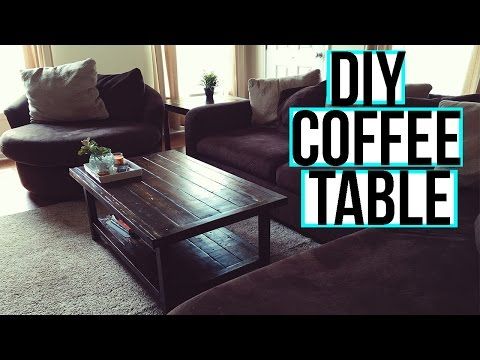 Small tables with original footboards often play the role of decor. You can enhance the effect with a beautiful vase or a lamp mounted on a table top. Models with a glass top can be used as a showcase for placing minifigurines, souvenirs, for installing an aquarium or a bar with various types of alcoholic beverages. Tables made according to the type of pouffe can play the role of an additional seat.
Coffee table M86 340x300x610mm pasadena pine metal/chipboard
How to choose a coffee table
Furniture should meet your requirements as much as possible and perform the functions originally planned. Therefore, before going to the store, regular or virtual, you need to decide how you see the future table. To do this, answer yourself, what purpose will it serve in your living room? What form should it take? Will it be mobile, equipped with wheels, or do you plan to move it? Measure in advance the height of the chairs in front of which it will be installed, and decide on the height of the future table.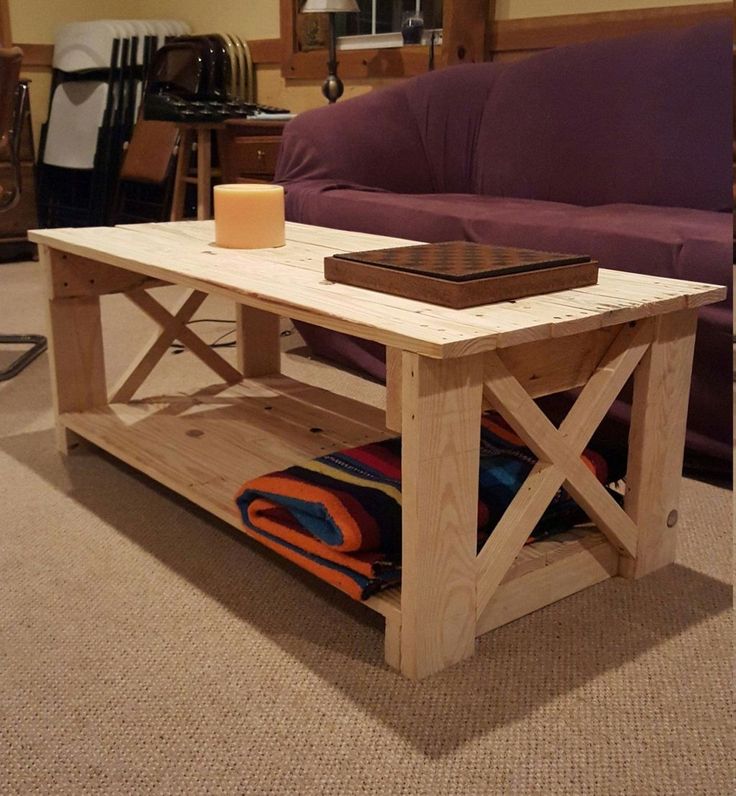
The main selection criteria should be the material of manufacture, the shape of the table, the style decision, color, and the presence of decor. The material of manufacture is selected based on the general style of the interior, taste preferences, and financial capabilities. The most common options are natural wood of various species, glass, MDF. The shape of this type of table depends on the room where it will stand. If there is a shortage of space in the living room, then it is better to choose a table with smooth rounded lines - in this case, you do not have to periodically stumble upon sharp corners. If the living room is spacious enough, the configuration of the table can be very different, and it is determined only by your preferences or the ideas of the designer.
The color of the purchased product should either be in harmony with the rest of the interior or, conversely, become a spectacular contrasting element against the general background. The style of the table should also correspond to the general direction chosen when decorating the room. A model that differs from the general style concept will look like a ridiculous alien element in the overall decoration of the living room. If you are an adherent of multifunctional furniture, then you can choose a table with various special mechanisms and devices that allow you to change its appearance and adapt it to different needs.
Shape - why it matters
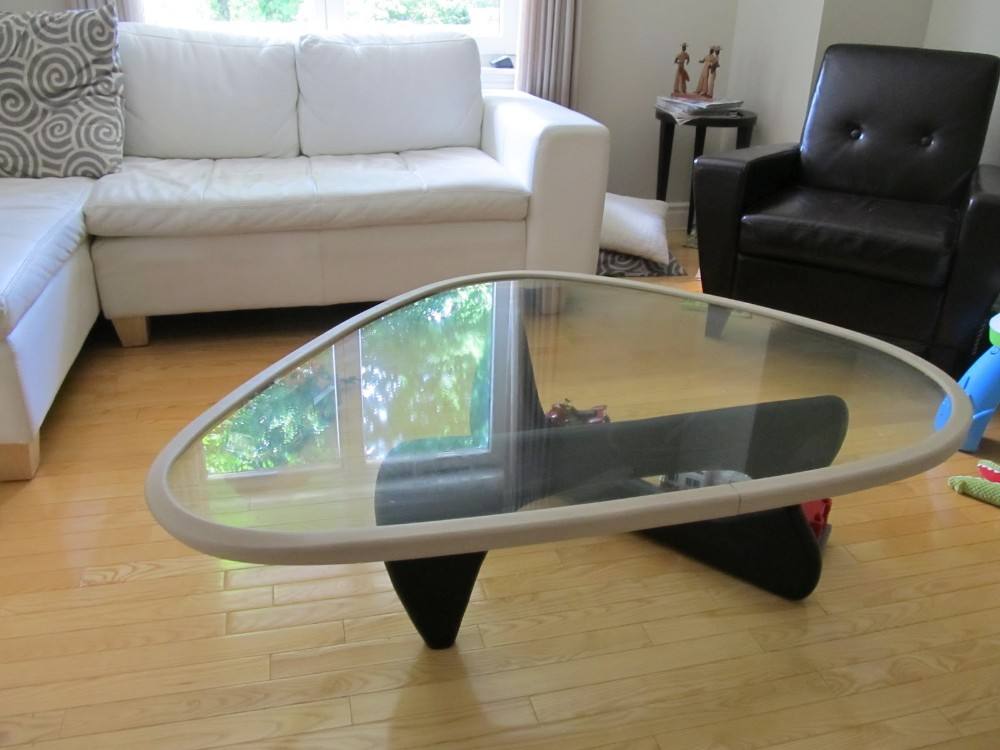
When we talk about the shape of a coffee table, we first of all mean the configuration of the tabletop. Furniture manufacturers supply the market with a variety of versions of coffee tables, they are round, square, rectangular, triangular, oval, five- or hexagonal or free curvilinear configuration. Models with sharp corners are recommended to be installed against the wall, as far as possible from the trajectory of intensive movement of household members, especially if there are children among them. When choosing the best table for a home with small children, safety considerations should be among the most important criteria.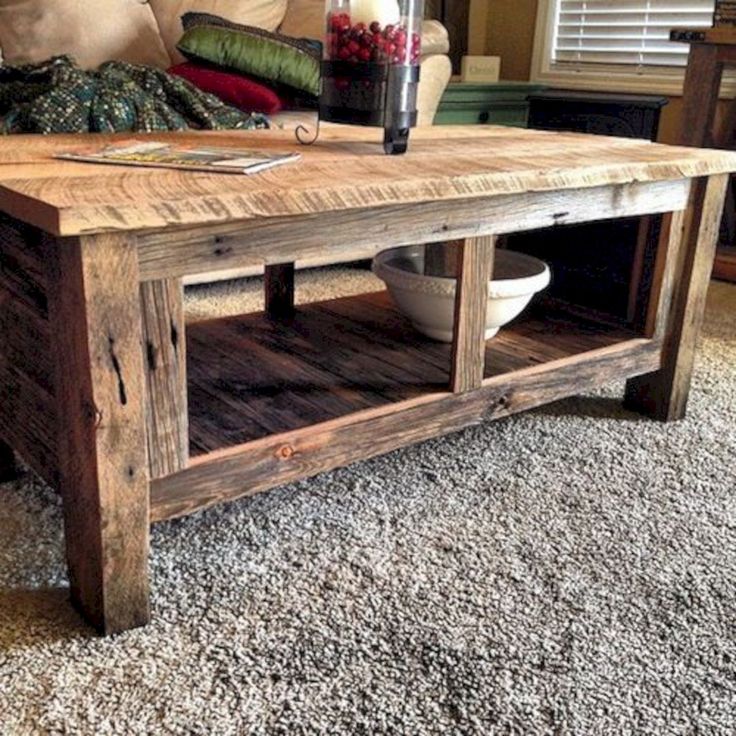
The size of the table, as we have already said, is largely determined by the area of \u200b\u200bthe room. If the living room is modest in size, then a model with a large countertop will take up too much space and create a feeling of overloading the room with furniture. Also, you can’t buy a compact small table for a spacious living room - it can simply be lost in its interior. If you really liked the table in shape, but its dimensions are small, you can use the design principle of pairing and buy two as many, placing them side by side at a minimum distance. Such a technique will give new opportunities - if necessary, two tables moved together will turn into one large one that can be used for various purposes, both temporarily and permanently.
Coffee table M87 480x480x610mm royal marble metal/glass
The most common height of a coffee table is approximately 40-50 cm, the length of its countertop is usually 120 cm, and the width is 60 cm.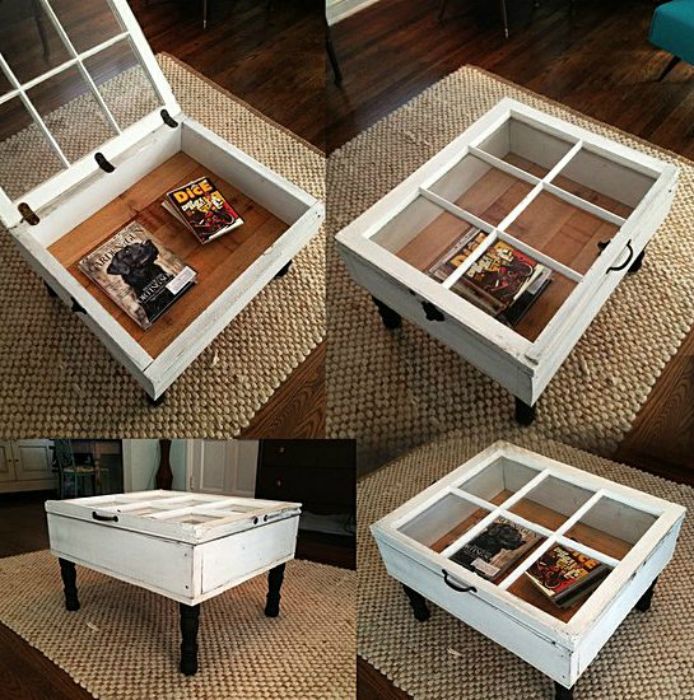 Strict adherence to these parameters is not necessary, when creating an interior, you or your designer can choose a table of other dimensions. If you plan to install it in front of the sofa, it is recommended to follow some rules, namely, choose a height that matches the level of the sofa seat, and the length of the tabletop should leave free access to the sofa from any side.
Materials of manufacture
In the production of coffee tables, furniture makers use a variety of materials as raw materials, such a variety will allow everyone to choose a model that matches their taste, style preferences and financial capabilities. Most commonly used:
-
Wood - a table made of solid wood of different species will appeal to those who prefer classic interiors or ethnic style. This material has a lot of advantages, it is environmentally friendly, durable enough with proper operation, reliable, and outwardly attractive. The disadvantages of this material of manufacture are the high price and heavy weight.
-
Glass - a table made of this material makes it possible to visually expand the room, create a feeling of lightness, add light. Moisture is not terrible for the glass tabletop, it is well washed using conventional means, except for abrasive ones. But you will have to wipe it often, because the touch of your fingers leaves “captured” marks on it.
Coffee table 900x550x410mm transparent/natural glass/metal/MDF
-
Chipboard - budget tables are made from this material, they have a risk of releasing harmful chemicals and toxins into the air if the chipboard is of poor quality. This material does not differ in high reliability and durability, moisture has a detrimental effect on it: chipboard swells, the table is deformed.
-
MDF is a progressive, practical and aesthetic material. It does not have many of the negative qualities of chipboard. A table made of MDF is an example of the optimal combination of high quality and reasonable cost.
 The advantages of MDF are also in a variety of decorative coatings, which can be made with laminate, veneer or film.
 -
Rattan is an excellent material for making coffee tables, it can be natural and artificial. Preferably, of course, the first option is environmentally friendly, durable, lightweight, resistant to moisture and characterized by long-term operation. Rattan tables fit perfectly into ethno-style interiors, bring colonial motifs to the living room decoration, look spectacular and original.
-
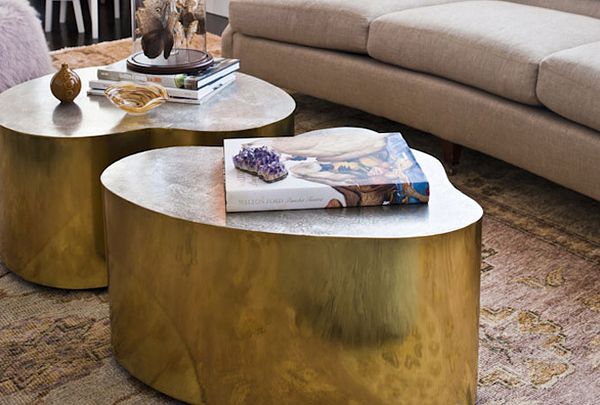
Stone is another option for a super eco-friendly material. Stone tables are very beautiful, they have an exclusive natural pattern and shade that is not exactly repeated in any other product. Not everyone can afford to purchase a stone table, since it costs more than alternative options. But the service life of such furniture is practically unlimited. But some rocks, such as marble, can become stained if wine or coffee is spilled on them and the cleaning is delayed.
-
Metal - metal tables harmoniously fit into the interior of a modern style - loft, hi-tech, minimalism. At the same time, tables made by forging will look great in conservative interiors - classic, rococo, etc. They look respectable, last a long time, are immune to external negative factors, durable and reliable. The disadvantage of such tables is the significant weight, as well as the unpleasant coldness of the metal, which is felt when touching the product.
-
Genuine leather - a leather-covered countertop looks very rich. To make the table look as impressive as possible, the decoration of the living room in which it is installed must correspond to its level. A leather table top is not the most practical, therefore, when choosing a leather table, you need to be prepared for especially careful handling and special care.
-
Plastic - this material is distinguished by a wide range of colors, plasticity, and lightness.
 From it you can make a table of any shape. But the lightness of products has a downside - plastic tables, as a rule, are not highly stable. When purchasing a plastic table, you need to take into account that its surface is sensitive to contact with sharp objects, it quickly scratches and loses its attractiveness.
Often, coffee tables are made not from one material, but from two or more, combining them with each other and achieving interesting design solutions. The combination of materials allows you to level out some of the shortcomings characteristic of monomodels.
Coffee table KOOPMAN CLOCK D400mm black metal/glass
Functionality
As we have already said, a coffee table can have a different purpose, which depends on its functional potential. The latter is largely determined by the available equipment of a particular model. The design of the simplest of them is limited to a tabletop and four legs. But it is enough to add an additional shelf under the tabletop, and such a table will get a convenient place to store various little things - remote control points, other things that are crowded in disorder on the tabletop in simple models.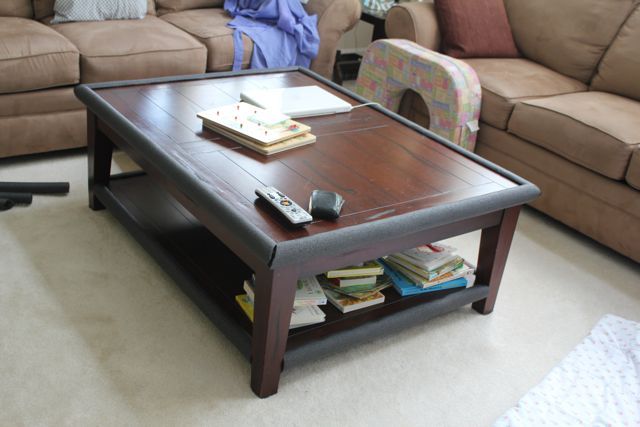 But the shelf, due to its openness, is not the best way to store it.
If you make the most of each piece of furniture, organizing storage systems from each, then you should give preference to a coffee table with a folding top mounted on a bulky box. This option will accommodate a lot of things and objects, and access to them will be constant.
If the apartment does not have the opportunity to equip an autonomous workplace, then the coffee table will become a convenient working option if it has a lifting mechanism that changes height. You can make the tabletop higher for the duration of the work, and at the end of it, return the table to its original state.
If you need a mobile model of a coffee table so that it can be moved to a sofa, armchairs, or just periodically free up space, for example, for morning exercises, you should buy a model equipped with casters that provide freedom of movement of the table and stoppers that fix it in any place together.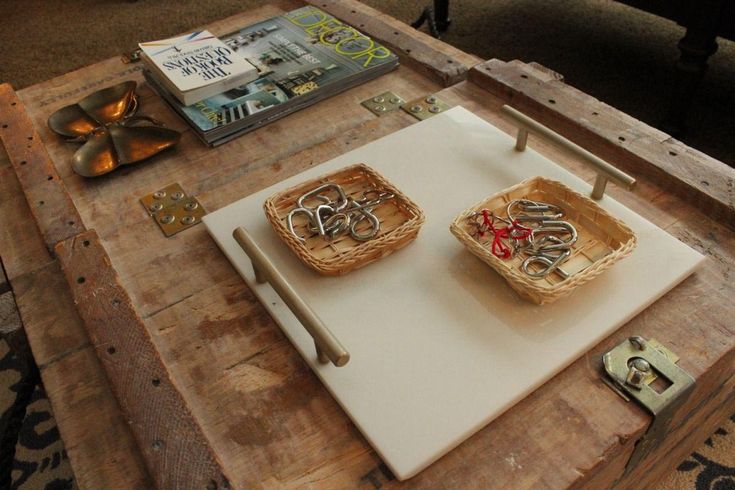
If you like to receive guests, but in a cramped apartment there is nowhere to put a large dining table, then in this case a coffee table will help. You just need to buy a transformer model, which is equipped with a mechanism that changes the height of the table and pushes its table top. Such a table turns into a full-fledged dining room in less than a minute. And after the guests leave, it is easy to bring it back to its original position.
making a coffee table with interchangeable tops
If you are going to make repairs in a room, then you probably want to change the furniture later. With finances after repairs, it is often bad, so the owners are looking for ways to update the room for modest money. A coffee table with interchangeable tops will be an additional storage space, and it is not so difficult to make it.
What you need
Lumber. The amount depends on the source material, it took 6 meters for our table.
Medium thickness plywood.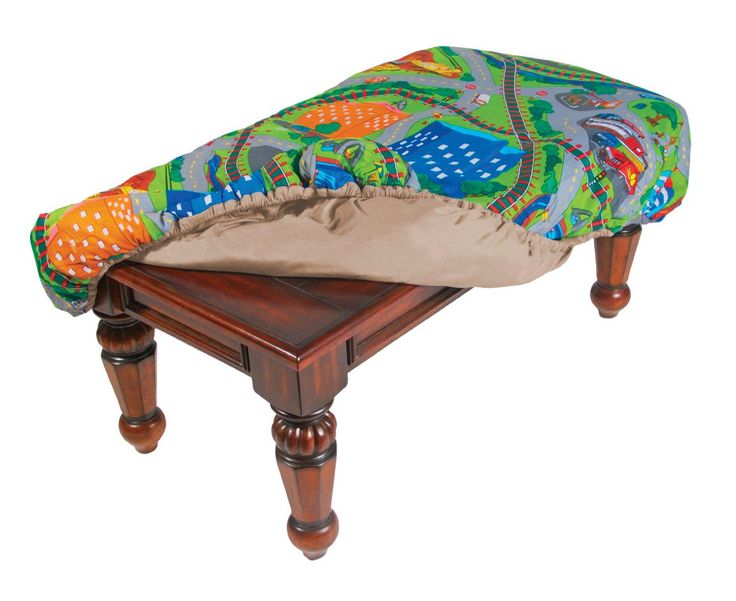 In stores you can buy half a piece.
Dowels, wood glue or screws.
Chalk and body paint. A primer will also be needed.
Polyurethane finish.
The following tools are used:
- Table saw.
- Planer thicknesser.
- Clamping key.
- thicknesser.
- Clamps.
- Cordless drill.
- Sander.
- Roller and brushes.
Taking measurements
Making furniture begins with drawing and measuring details. In our example, the cabinet is 45 centimeters high, 76 centimeters deep and 137 centimeters long. For a coffee table, this is the optimal height, it makes no sense to make furniture larger, because it will be inconvenient.
Choosing wood
The top and base of the table are made of solid maple. It is chosen due to the fact that maple is the best processed and exceptionally durable, but you can choose another tree if desired. The same pine is sold already milled, but it must be chosen carefully, because some wood can be deformed if not properly processed.
Poplar does well under paint, but needs to be sanded more carefully than maple. Poplar is also not suitable as a countertop, because it does not have a very beautiful cut. This wood is suitable for parts to be painted, but not for countertops.
Flat edges are obtained by using a jointer and planer to obtain parts of uniform thickness. Pieces of the required length are cut with a miter or table saw.
For pre-cut wood, use only a hand saw to cut the wood into pieces. The optimal thickness of the boards is a little more than a centimeter, the width is five centimeters. The length of the boards depends on the length of the required part.
The dimensions for this table are as follows:
- Legs - 45 centimeters.
- For corner elements - 45 centimeters.
- Upper and lower bases - 127 centimeters.
- Short side top and bottom pieces - 66 centimeters.
- The part between the top and bottom is 16 centimeters.
Connecting the parts
You can connect the parts together in several ways, it all depends on the type of boards. It will take a long time to drill holes for fasteners, so it is so important to constantly check the parallels and carefully monitor the markings.
Drill two holes each in the upper and lower long pieces, also in the short pieces. The remaining holes must be made according to the markings.
Assembling the legs
Assemble a rectangle from eight parts, gluing the corners together. It is better to cut the corners at 45 degrees so that when connected, the corner is no thicker than 5 centimeters.
It is easiest to drill holes in the legs before assembly, this will be more convenient.
There will be panels between the legs on each side, so holes must also be drilled under them for fastenings. Plywood parts are suitable for panels, they will still be subsequently painted.
Gluing the pieces
Before gluing the boards, you need to try them on first. Dry fitting is done for all boards, because after applying the glue it will be too late to change anything.
Begin gluing with smaller parts and when they are completely dry, move on to long ones. Glue is smeared on all grooves, holes for fasteners or the fastener itself. For fixing at the time of gluing, corner clamps are used.
Making the insides
The table frame is complete and it's time to move on to the inside of the table. The bottom is fixed with angle brackets to keep it better. It is necessary to make sure that even with a significant weight, the bottom does not fail, and the table itself remains intact. The guides on which the bottom will be held must be very strong.
When the bottom is ready, move on to the ribs of the box. Details are cut to the intended dimensions, holes are immediately drilled into them. The ribs are needed so that the countertop does not lie directly on the bottom, but forms a kind of box.
Preparing to paint
All parts must be primed and painted before putting the top in place. First, the structure is sanded, and then all the irregularities are filled with putty. Since the coffee table was conceived as a place to store toys, including Lego, even minor gaps need to be covered up so that the details are not lost.
After grouting, allow the putty to dry, then apply a coat of primer and paint after the latter has dried. It is best to use paint that is designed for furniture, it protects the wood well.
Worktop
It is made of three parts. First, build a border of four pieces of wood, they should hang on each side no more than a centimeter, but at the same time give enough space for placing the central panels.
We will not paint these parts, so the material must be beautiful.
The top can be made from maple planks, but if the table is used by children, the weight of the panels will be large for them, and this must be taken into account. The plywood needs to be cut smaller than the space it will fill to allow the top to move.
The table will be used as a play table, so maple boards must be sealed. This means that already sawn boards are sawn again, for this they use a table saw. All boards are glued to the central panels, after gluing they are finally adjusted to size.
Lego baseplates can be glued to the back of the table top if desired.
In order for the central parts to then be pulled out and in, you need to make handles. Full-fledged handles will prevent you from putting something on the table, so it will be enough to make several wide holes for your fingers.
Finishing touches
Since the top is not painted, it will be too vulnerable to use. You can protect the tree with varnish or stain. The surface is first lightly sanded, and then varnished.
As you can see, it's not that hard to make a great gaming table. It can be not only a warehouse of toys, but also a place where something necessary is stored.
Furniture can be decorated in any way, even pasted over with self-adhesive film. Paint, varnish or stain - a lot of options, it all depends on the imagination of the master.
The coffee table from the DIY category is perfect for a Scandinavian or minimalist interior, because there will be nothing superfluous on top.