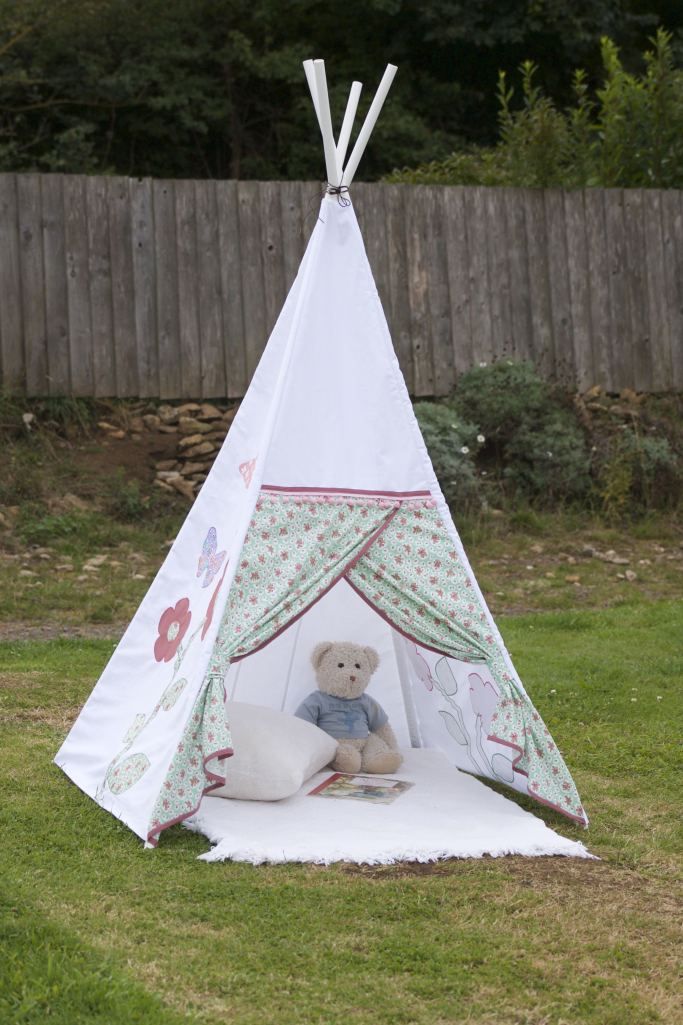
How to make a child teepee
How to Make a Teepee for Your Kid's Room
If your little one loves to build forts or curl up with a good book, a teepee might be just what they need! They can relax in their own private space or play games with their siblings and let their imagination run wild. You can even size the teepee up or down depending on the age of your child.
In-store, teepees can cost upwards of $100, so why not save some money, get crafty and learn how to make a teepee yourself? It collapses, making it easy to store under a bed or in the closet when it’s not in use, and stands about five feet tall, perfect for toddlers and young children.
This DIY teepee tutorial will take you about four to six hours to complete if you want to sew a covering. However, if you’d rather create a no-sew teepee, follow step one and two to make the teepee frame, then drape a drop cloth or sheet around it for a quick and easy alternative!
Materials
Frame materials
- 5 wooden dowels (6 feet tall)
- 1 yard of rope (¼ inch)
- Drill
- Sandpaper (optional)
Tent materials
- 4¼ yards of 57”- 60” sturdy fabric
- 4 yards of bias tape
- 4 yards of trim (optional)
- Fabric chalk
- Pins
- Measuring tape
- Matching thread
- Sewing machine
- Fabric scissors
- Buttons (optional)
Directions
Follow these nine steps to make the perfect teepee for your kids!
Tip: If you want to save money on fabric, you can use a large drop cloth (or two) from a home improvement store. Paint designs on it with your child to make it extra personal!
Step 1: Drill holes in wooden dowels.
We drilled them 10 inches from the top. You’ll want to use a drill bit equal to or larger than the circumference of your rope. Sand around the holes you drilled to avoid splinters!
Step 2: Thread your rope through the dowels, while the dowels are laid flat.
Tie a knot to secure. Stand the dowels up and arrange them into a teepee shape. Then, wrap remaining rope around dowels. We looped the rope around each individual dowel and then made a big circle around all of them. Once complete, tie off again and cut excess rope.
Step 3: Measure for your pattern.
- Height measurement – Length from the bottom of the dowel upwards to where the fabric will start. This may be informed by the width of your fabric. Make sure you measure along the angled dowel as this is what the fabric will cover.
- Top width measurement – Distance between dowels where the top of the teepee covering will rest.
- Bottom width measurement – Distance between dowels at their widest point near the floor.
Step 4: Create your pattern and cut pieces.
Add seam allowances to your measurements to find the dimensions of one panel. You’ll need as many panels as you have dowels. We used five dowels so we’re creating five panels (four solid, one printed). We added 1 inch total to the height, so we could create a ½ inch hem on both the top and bottom. We added 4 inches to the top and bottom width measurements. Here’s how we got 4 inches:
- Width seam allowance = width measurement + 2[(dowel width x 2) + ½ inch]
Step 5: Sew panels together right sides out.
You should use a ½ inch seam. Once complete, the panels should form a circle. At this time, the seams will stick out on the outward-facing side of the teepee. Don’t worry! You’ll resolve that in step eight.
Step 6: Hem the top and bottom.
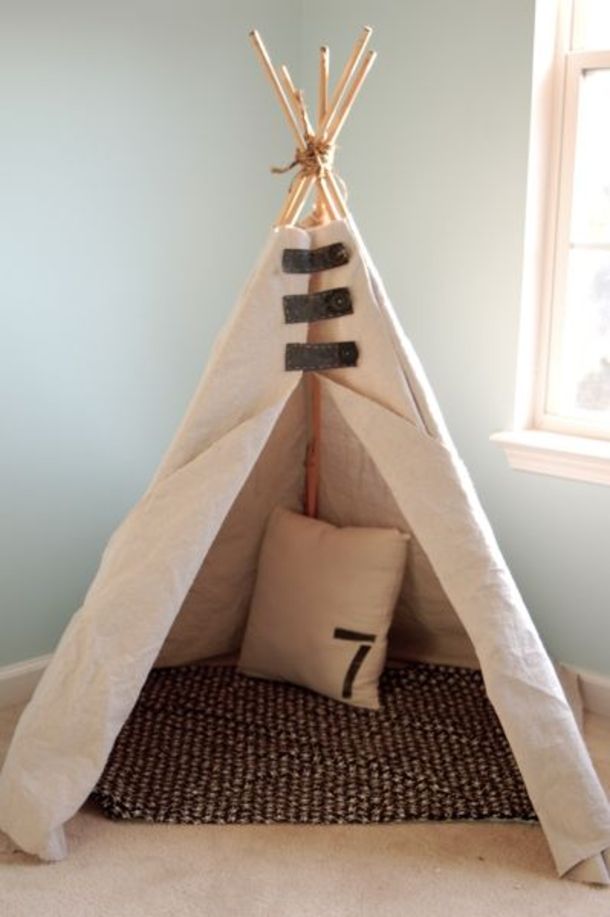
Using a ½ inch seam, hem the top and bottom of your teepee covering. The hem should go on the wrong side, opposite where the seams on the step above are sticking out.
Step 7: Sew the dowel slits with the right sides facing in.
Since our dowel was ¾ inches around, we doubled that and measured 1½ inches from the seam to make sure it was easy to slide the teepee covering on and off. You should sew five slits at each of the seams. If you’re not sure how big your slits should be, place your fabric around the dowel and mark. Add extra room to ensure the teepee covering is easy to get on and off.
Step 8: Decorate your door.
Cut your door slit up the middle of the front panel (ours was 40 inches). Finish the edges on each side of the door. This can be done with a serger, zigzag stitch or bias tape. We suggest using bias tape for a cleaner look if you’re not adding trim to your door. We also attached loops to the door and added buttons on the left and right sides of the teepee to pull the door flaps back.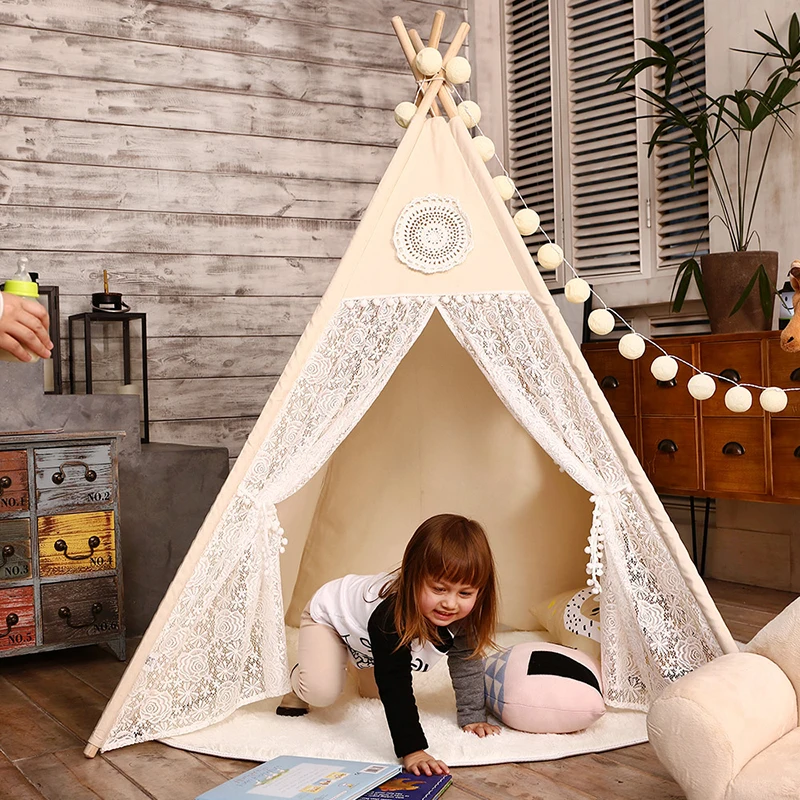
Step 9: Assemble your teepee!
Turn fabric right side out. Lay dowels down, keeping them tied. They should collapse similar to an umbrella. Thread dowels through the slits. Then stand upright and space the dowels out to form your teepee.
Now that your teepee is assembled, make sure it’s warm and cozy by adding blankets, pillows, toys and books. If it’s a permanent fixture in your child’s room or play room, try starting a nightly tradition of choosing a book together and reading it in the teepee. If you need a few ideas, here are our favorite children’s books and how long it takes to read each.
How to Make a Teepee Tent an Easy No Sew Project in less than an hour!
You are here: Home DIY
/530 minutes
This post may contain affiliate links. Please read our disclosure policy.
How to make a teepee without sewing – a quick and easy diy teepee tutorial!
Hello! Welcome from Pinterest, Google, or wherever you stumbled across my little blog. I am so excited to meet you! I hope you enjoy learning how to make a teepee with this easy tutorial and follow along on Instagram or subscribe here for more effortless ideas.
Ani’s birthday is just a week after Christmas, which makes gift-giving nearly impossible for her. We are fortunate to have a home full of toys, books, games and clothes. Still, I want her birthday to feel special, regardless of the date.
I thought about what I loved as a child and remembered a {Popples} tent that was securely placed on my bed for months on end. It was almost magical as a child to read books and play with my dolls in there. My love for licensed merchandise ended with my youth and I wanted to create something beautiful that she could leave up – a fixture in her room, like Adalyn’s play table.
I decided to make her a teepee tent!
After researching them, I was taken aback by the cost and couldn’t find the “perfect” kids teepee to fit the color palette and style of her room. That’s how most of my DIY projects begin – with a “need” to fill and no source to fill it.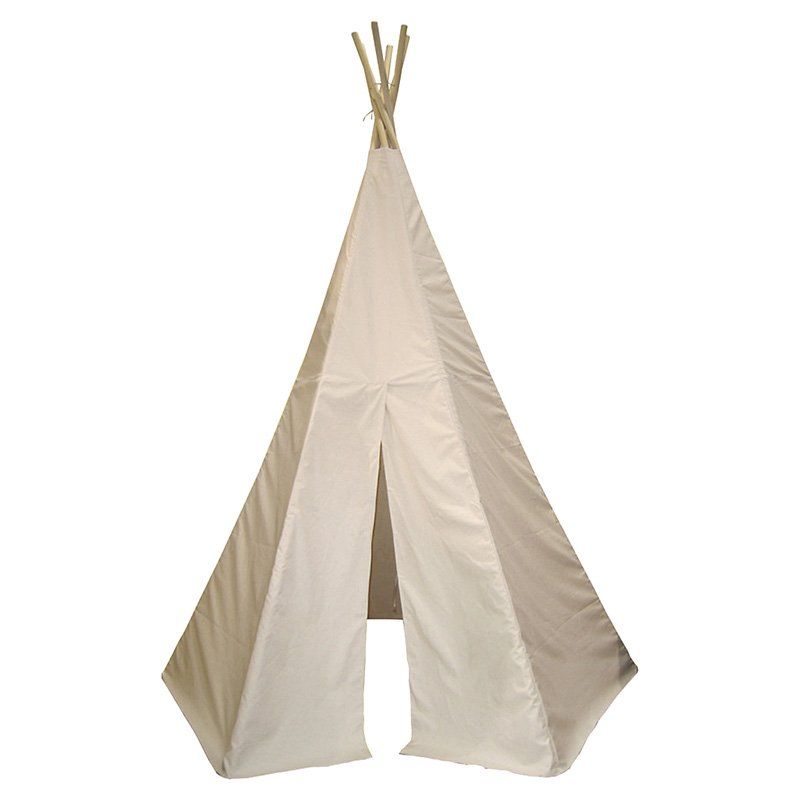
You guessed it, today I’m sharing how to make a teepee! This simple do-it-yourself project is a true no sew teepee you can create in less than an hour for $60.
Don’t let the instructions intimidate you…it’s like washing your hair: lather, rinse, repeat.
We love to decorate this teepee with sweet little fairy lights and even a fairy light tree – come learn about them!
Before starting this project, I was a bit overwhelmed and worried it wouldn’t work. All of the methods I found demonstrated how to create no sew teepees with stitch witchery or by weaving fabric. We wanted to create a teepee that would stand the test of time and show durability for our 3 toddlers.
The teepee tent can easily fold up and be stowed away or be taken outdoors for an evening of fun. It is also the perfect size for a bedroom – 3 girls easily fit in it and have spent hours reading, playing with Ani’s new lantern and playing dolls. I’m so thankful we took the leap and made a teepee for Ani.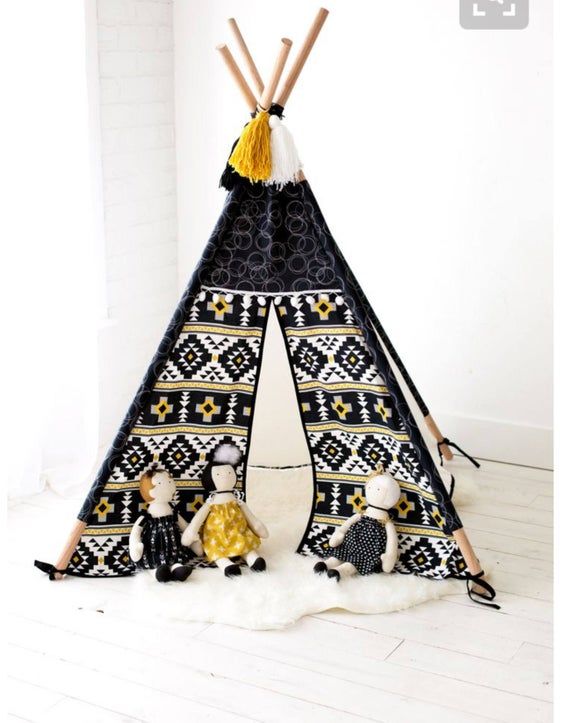 I hope they share the same fond memories I did as a child.
Because our girls are little, I decided not to do ties. The heavy canvas folds back beautifully and stays without effort.
The heavy canvas drop cloth is durable, making it a great long-term teepee that’s stable as well. I added battery operated lights through the top of the teepee to make it even more enchanting!
Table of Contents
Teepee Supplies:
- 4 1¾’x6′ poplar dowels {link it to slightly thicker dowels}
- 3/8″ sisal rope
- 6×9′ canvas drop cloth
- 3 screws
- 3 washers
Tools:
- scissors
- lighter
- drill
How to Make a Teepee:
- Cut a large length of rope & burn the end.
- Drill hole in first pole at 5″.
- String rope through the hole & tie a knot where it meets the pole.
- Create a faux teepee with your poles to see how they need to lay to be stable. Using 4 poles, it’s best to have the front wider & the back of the teepee more narrow.
 See how pole #2 lies to meet pole #1 & drill a hole at that distance.
 - Feed the rope through pole #2, then wrap it around a couple times in various directions to stabilize it.
- Add pole #3, testing where to place it, drill hole, feed rope & wrap.
- Repeat for pole #4. Wrap the rope over & under, then around the teepee several times.
- Open your drop cloth horizontally & find the middle. Start draping it from the back of the teepee & secure at the top of your teepee {where the poles meet} with one screw. Drill a hole through the pole first, add a washer to your screw & insert screw through both fabric & pole.
- Continue draping your fabric around the sides as it falls naturally, tucking excess at the floor under, trying to keep it tight & uniform where your poles meet. Adjust your poles slightly if needed, then use a screw on each side {same method} to secure the fabric. Optional: roll or cut the excess fabric in the interior.
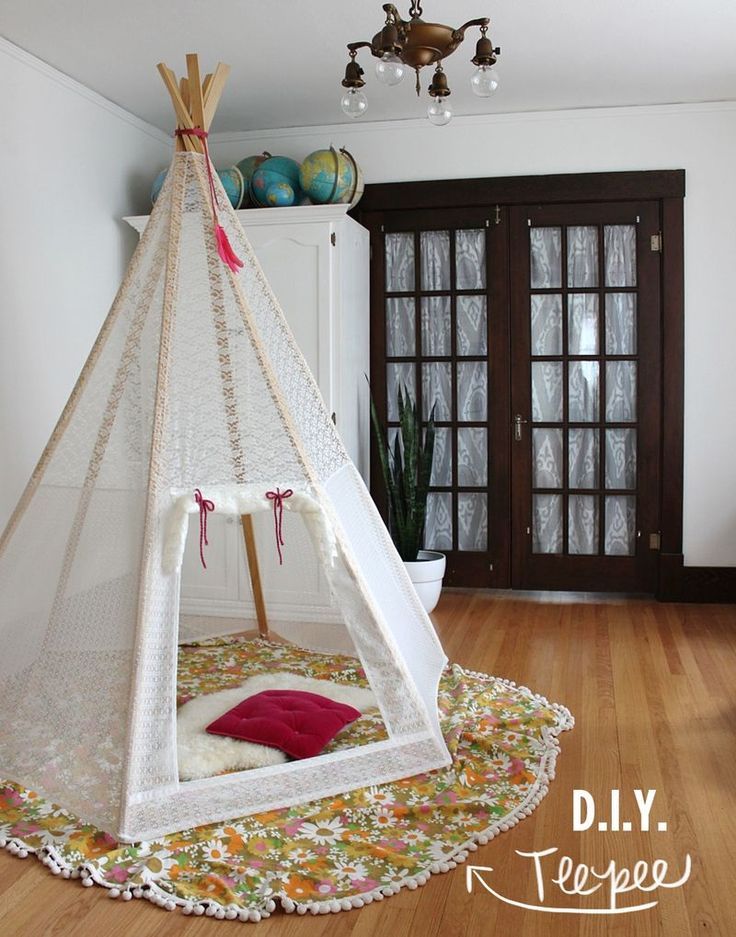 We chose to roll.
Time: 30-45 minutes.
Want to come over for a tour of our home?
More Baby and Child
- Reading Nook
- Tween Bedroom Ideas
- pregnancy announcement
- teepee decorations
- Girls Pink Bedroom Ideas
Did you make this? Rate the recipe and tag me on social @julieblanner!
Learn how to make a teepee tent (also known as a tipi) with this easy step by step tutorial. This no sew teepee kids tipi tent is sure to be a hit!
- ▢ 4 1¾’x6′ poplar dowels
- ▢ 3/8″ sisal rope
- ▢ 6×9′ canvas drop cloth
- ▢ 3 screws
- ▢ 3 washers
Scissors
Lighter
Drill
Cut a large length of rope & burn the end.
Drill hole in first pole at 5″.
String rope through the hole & tie a knot where it meets the pole.
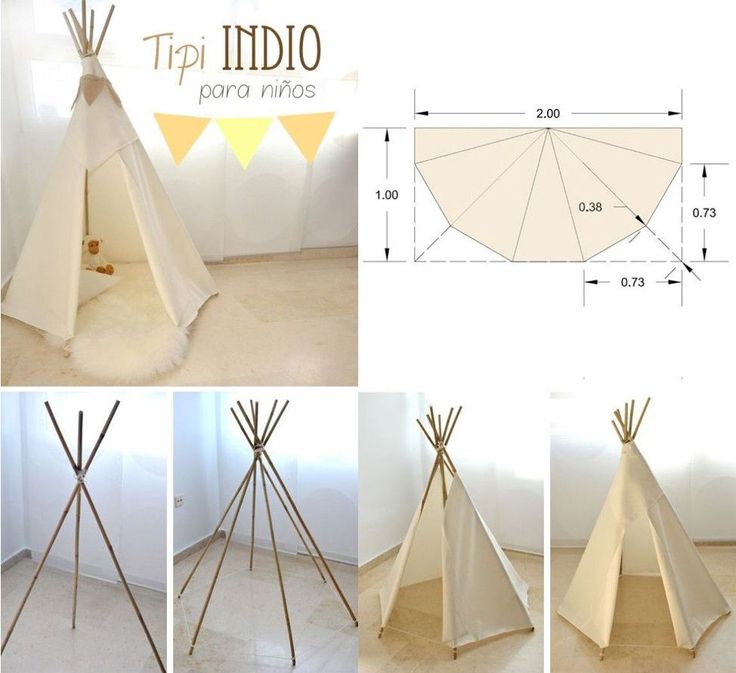
Create a faux teepee with your poles to see how they need to lay to be stable. Using 4 poles, it’s best to have the front wider & the back of the teepee more narrow. See how pole #2 lies to meet pole #1 & drill a hole at that distance.
Feed the rope through pole #2, then wrap it around a couple times in various directions to stabilize it.
Add pole #3, testing where to place it, drill hole, feed rope & wrap.
Repeat for pole #4. Wrap the rope over & under, then around the teepee several times. Open your drop cloth horizontally & find the middle. Start draping it from the back of the teepee & secure at the top of your teepee {where the poles meet} with one screw. Drill a hole through the pole first, add a washer to your screw & insert screw through both fabric & pole.
Continue draping your fabric around the sides as it falls naturally, tucking excess at the floor under, trying to keep it tight & uniform where your poles meet.
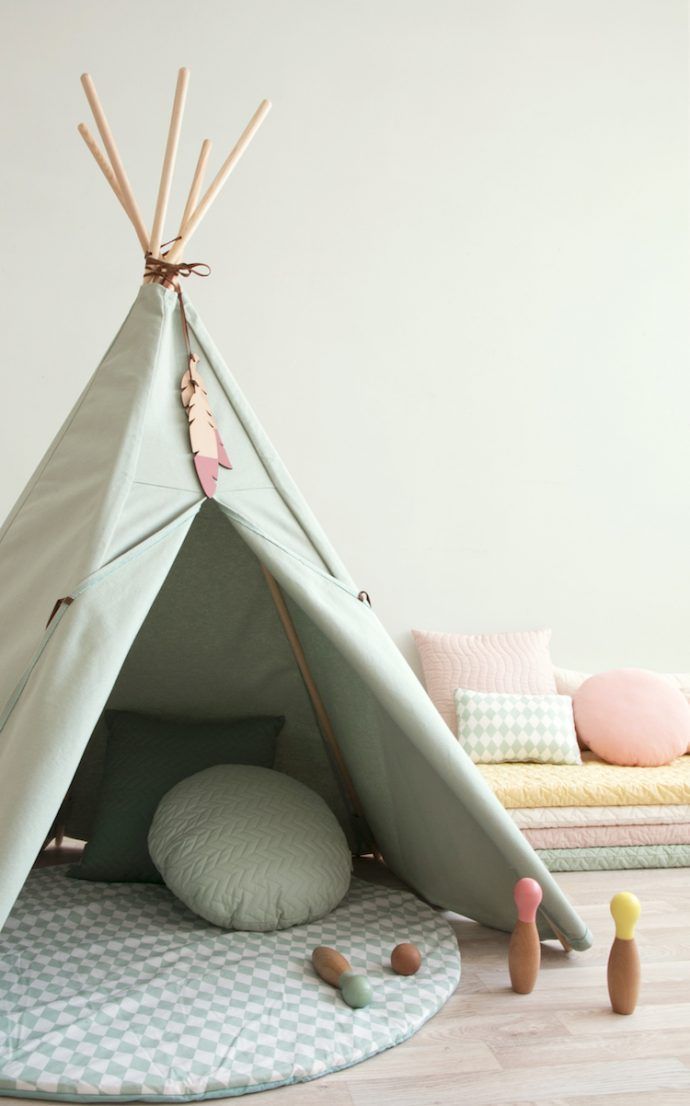 Adjust your poles slightly if needed, then use a screw on each side {same method} to secure the fabric.
Optional: roll or cut the excess fabric in the interior. We chose to roll.
Reader Interactions
Do-it-yourself wigwam for children: step by step photo
Which of us in childhood did not hide from our parents in our own shelter made of chairs, blankets and soft pillows? And how insulting it was to disassemble all this later in order to restore the order long-awaited by the parents. And how I did not want to give up my own asylum. Fortunately, the modern generation of Robinsons have a great alternative - wigwams. Such a shelter, made for children with their own hands (a photo and simple instructions for making, of course, are waiting for our readers in this article), will not only give the child a sense of their space, but also extend the moments of calm and silence so necessary for parents.
Kids will love their own corner where they can retire from their parents, come up with amusing games or just read a bookRead the article
- 1 Teepee for children - what is it
- 2 materials for the awning and sticks for the wigwam frame are needed for work
- 2.
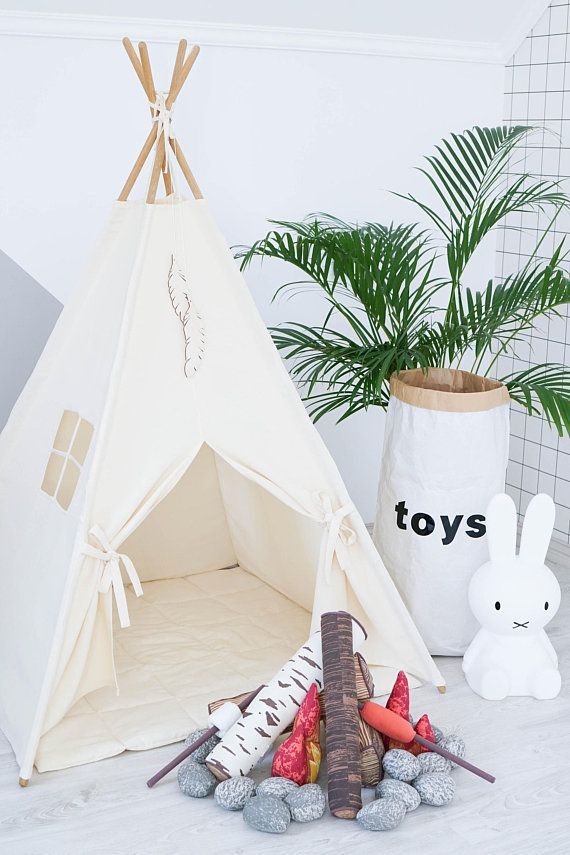 2 Instructions for building a wigwam frame for a child with your own hands
 - 2.3 How to sew a wigwam awning for children with your own hands
- 2.3.1 Pattern
- 2.3.2 How to sew a tent for children's wigwam
- 2.4 How to collect the structure
- 9000 3.1 wigwam using PVC pipes
- 4.1 How to sew flags and pompoms for a tepee
- 4.2 How to make a garland of paper tassels and yarn
- 4.3 How to decorate the entrance to the wigwam with eyelets, buttons and ribbons
Please note! The wigwam, or forest dwelling, was highly functional.
It could be taken apart and reassembled in minutes. Thus, the Indians wandered and confused the tracks of the pursuers.
Actually, a mini-hut for children is as functional as the distant ancestors of modern North Americans. This piece of furniture can be disassembled and assembled at any time, take it with you to a picnic or cottage. And how many ideas and solutions modern designers came up with for a seemingly simple little thing!
The marine theme is more relevant than ever for a young captain! Then the wigwam will easily turn into a ship. Why not? For older style lovers, buildings in black and white are suitable. A secluded place may not be very secluded if a window is provided. In this case, you will always know what exactly your child is doingGatherings with friends, games and sleep - in such a cozy nest, the child will feel safe.
Important! When assembling the finished structure, pay special attention to the stability of the structure and the quality fastening of the base and roof.
wigwam
How to make a wigwam for children with your own hands
There are many options for creating huts: from the simplest ones that do not require special knowledge of sewing science to more complex designs that involve the participation of professional cutters.
The main thing is to carefully select all the elements and sand the boards that you plan to use, otherwise your child risks getting a splinter!What materials for the awning and sticks for the frame of the wigwam are needed for work
Wooden poles are usually used to make the frame. They can be purchased at a regular furniture store. It is advisable to pre-treat them with varnish or paint. A variety of fabrics are used for the awning, the main condition is that it be dense enough so as not to wear out during the assembly and disassembly process, as well as pillow fights.
Sometimes a thinner material is used, in which case this temporary shelter serves more of a decorative function and is not intended for active useInstructions for building a wigwam frame for a child with your own hands
To create the base, you will need several poles (diameter and height can be selected individually) and a rope.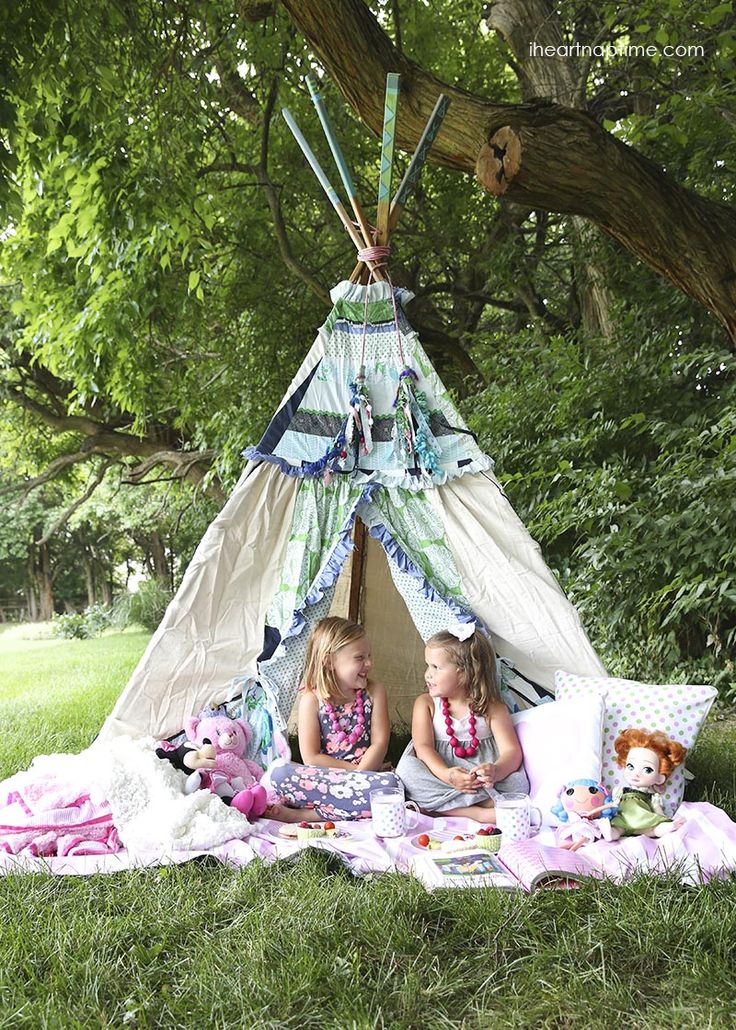
Next, we are engaged in a canopy of a hut, in order to build it, you need to choose a fabric of one type or successfully arrange it.
A hut in black and white colors will perfectly play in contrast with the light interior of the room. Parents sometimes deserve their secluded place. In such constructions, fabric 9 serves as the main fastening element.0078 How to sew a tepee awning for children with your own hands And now let's take care of the canopy itself. Moreover, for cutting, you can use both one fabric sheet and its pieces. Details can be assembled, used for decoration, for example, curtains or protective caps on poles.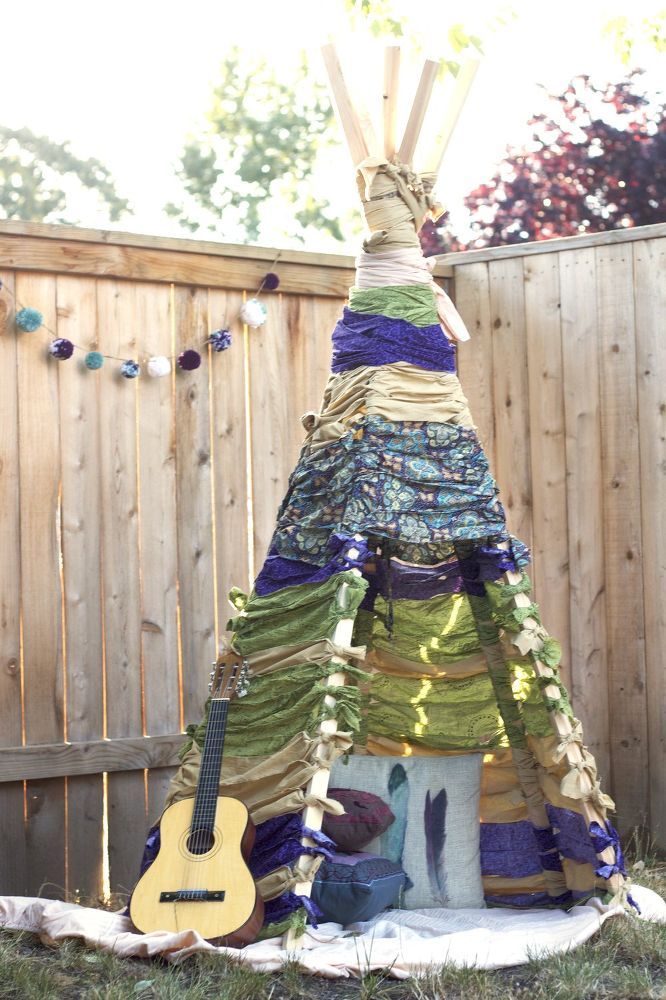
Pattern
To cut, lay the fabric face down. Immediately orient yourself in what places you will have slots and butt joints. Do not forget that the pole will also need to be fixed, or rather, inserted into special pockets along the length of the entire fabric frame. This option will provide the necessary strength.
Alternatively, you can use this schematic drawingTip! If you don't have time to sew a full-fledged tent for a wigwam, use an ordinary sheet, it is simply attached to the base with clothespins or ribbons.
How to sew an awning for a children's wigwam
And now let's look at the process of making a wigwam in more detail. For work, we need to prepare a fabric, scissors, safety pins, a centimeter, a pencil.
We will sew a wigwam with a base of 120x120 cm and a height of about 150 cm.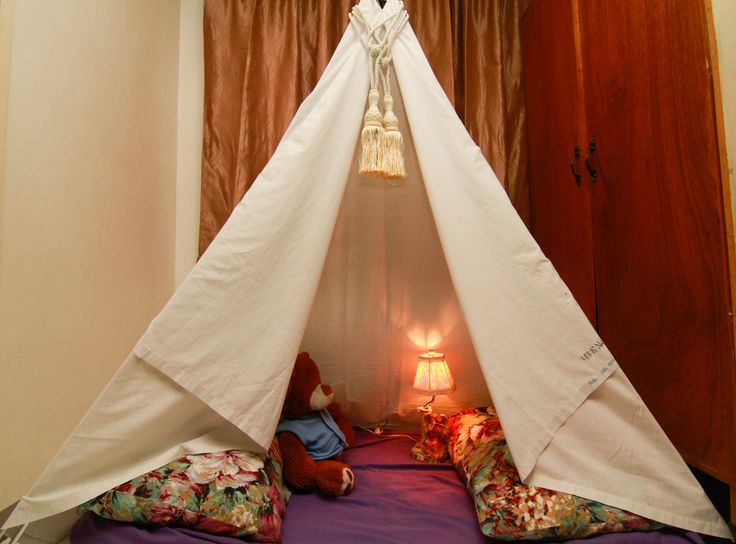
| Illustration | Description of action |
| Cut out three pieces for the walls. On one of them we make a hole for a window measuring 25 × 25 cm. In addition, we cut out three details for the entrance, windows and additional elements. Including ribbons for slats - 11×165 cm. | |
| Do not forget to cut out the string ribbons and window frames, the pocket for books and toys will be of the same color. It is best that the fabric is contrasting. | |
| We start with small details. The first stage - we prepare the ribbons that will be needed to tie the doors. | |
| We take the facing for the window and start processing the window. On each side in the middle, we leave two centimeters to fix the fabric frame. | |
After we sewed the edges, do not forget to make cuts in the corners so that it is convenient to turn and bend, not reaching 2 mm from the seam.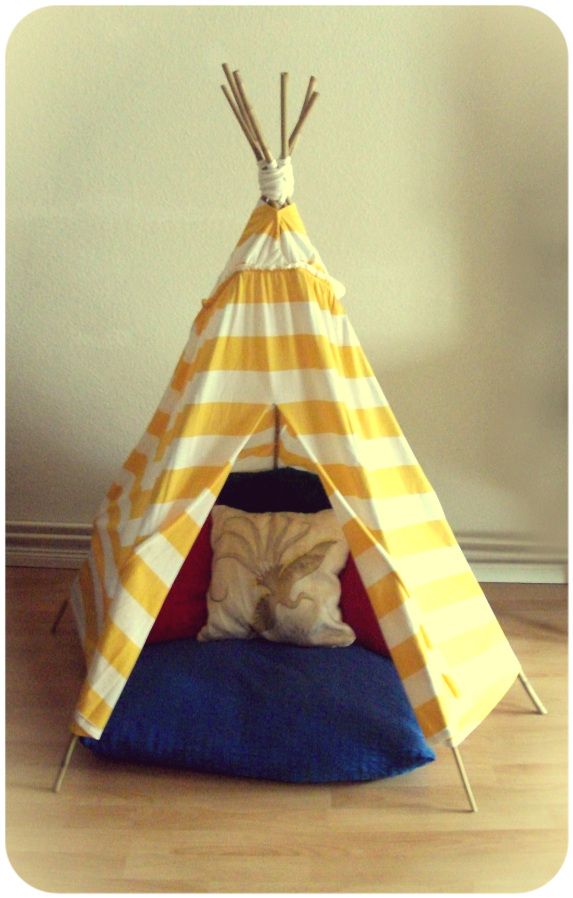 | |
| Turn right side out, fasten with needles, not forgetting the ribbon frames. We iron our workpiece. We are sewing. We bend the upper cut, leaving 2 cm from the sides for attaching the curtains. | |
| We sew a curtain on three sides like a handkerchief. | |
| We fasten our curtain over the window, sew it, having previously laid a ribbon, to fix the curtain in the open state. | |
| We start processing the doors of our house. We process doors. Triangle drawstrings will be attached on top. | |
| We iron the drawstring, baste it, attach it. | |
| We sew a pocket on the back wall of the wigwam. | |
We lay out the finished parts and mark the places for fastening the strips under our poles, we also place the strings there. The strips are attached in the form of fabric loops where the slats will be inserted. 11 cm is the width of the strip with seam allowances, in finished form the width is 9cm, but this is for slats with a diameter of 2.5 cm. If your slats are thinner, then you need to measure the circumference of the slat and add 1 cm of allowance on both sides. 11 cm is the width of the strip with seam allowances, in finished form the width is 9cm, but this is for slats with a diameter of 2.5 cm. If your slats are thinner, then you need to measure the circumference of the slat and add 1 cm of allowance on both sides. | |
| After stitching the parts, we should get this canvas. We grind the upper edge with an oblique trim, just bend the bottom. | |
| This is such a cozy wigwam! |
To decorate the floor of the wigwam, you can use a regular fabric base stuffed with padding polyester. Sometimes they take ready-made rugs and children's mattresses.
How to assemble the structure
Installation of the frame does not require special skills. To begin with, we select the rails of the required height and diameter. At the same distance from the top edge, we drill holes in each of them. We stretch the cord through it, connect each pole in series.
The main thing is to correctly distribute all the elements so that the structure can be stableComment
Irina Rosenstein
Designer of the Uyutny Dom studio
Ask a question
" While you are fastening the upper part of the structure, someone from the household should make sure that the base is level, and the wigwam itself resembles a cone of the correct shape.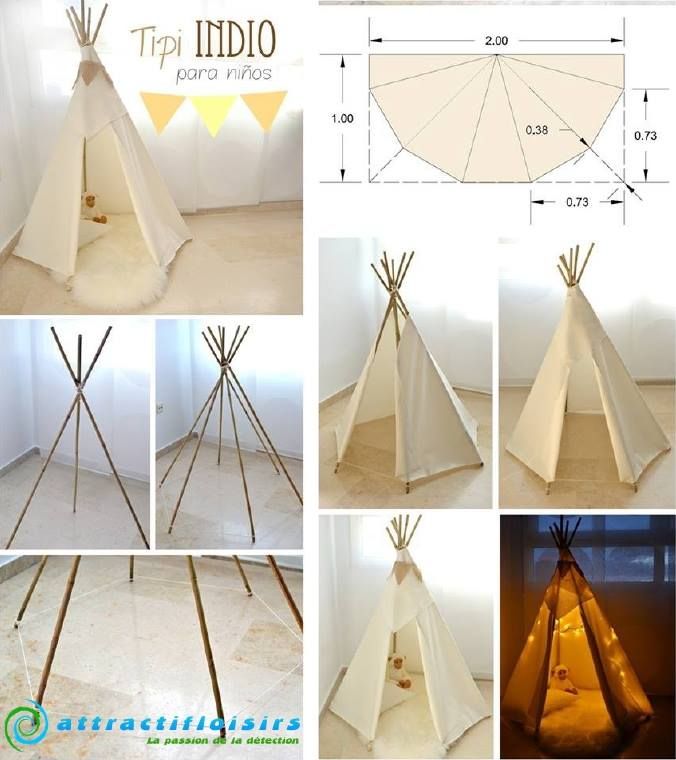 - after creating the base, make a wigwam without sewing, throwing on a regular cloth or sheet. The edges of the canvas will serve as the entrance, the latches will be ordinary ribbons or clothespins. Moreover, it can be both roomy structures, and very small ones.
When choosing a style of an unusual cut for children, use as many decorative elements and scrap materials as possible. You can use the bedspread along with pillows: the pillows will become a soft floor, and the bedspread, thrown over the top supports, will imitate the walls. Various pompoms, paper and fabric garlands are suitable as decorative elements. Also, appliqué, beads, feathers, branches are useful for decoration. The more the children's shelter looks like an aborigine's dwelling, the more interesting it is to play in it!
Tepee with PVC pipes for the frame
An excellent and non-standard approach to organizing a tepee is to create a frame from polypropylene pipes. If you have scraps of such constructions lying around at home, consider yourself lucky.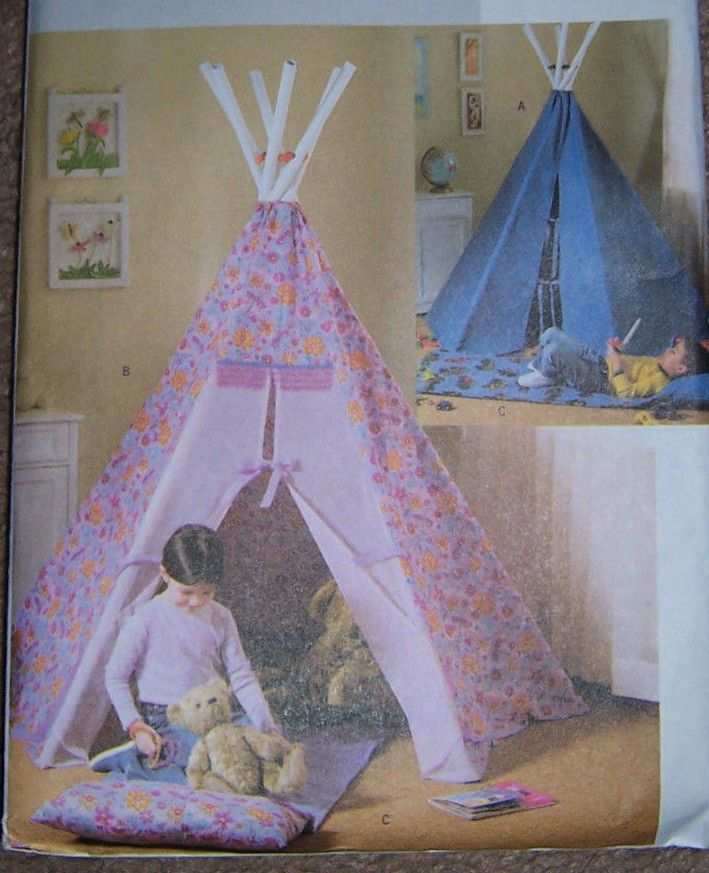
It is possible to build a traditional trapezoid-type frame, by analogy with wood, special holes are drilled in PVC. It is important to work very carefully here so that the pipe does not burst.
Teepee with stepladder
Another non-standard solution is a teepee with stepladder. For all its ambiguity (children and height), this method is not without practical aspects.
Your child gets not only a shelter, but also additional shelves in the form of steps Another significant advantage is the mobility of the structure, such a frame can be easily moved and made a wigwam almost anywhere. And for decoration, it is enough to use any piece of fabric or a blanket. The main thing is to see how tightly the folding mechanism is fixed. Such a wigwam does not take up much space, and ordinary cords can be used to fasten the elements, which are very easy to use on metal fittings.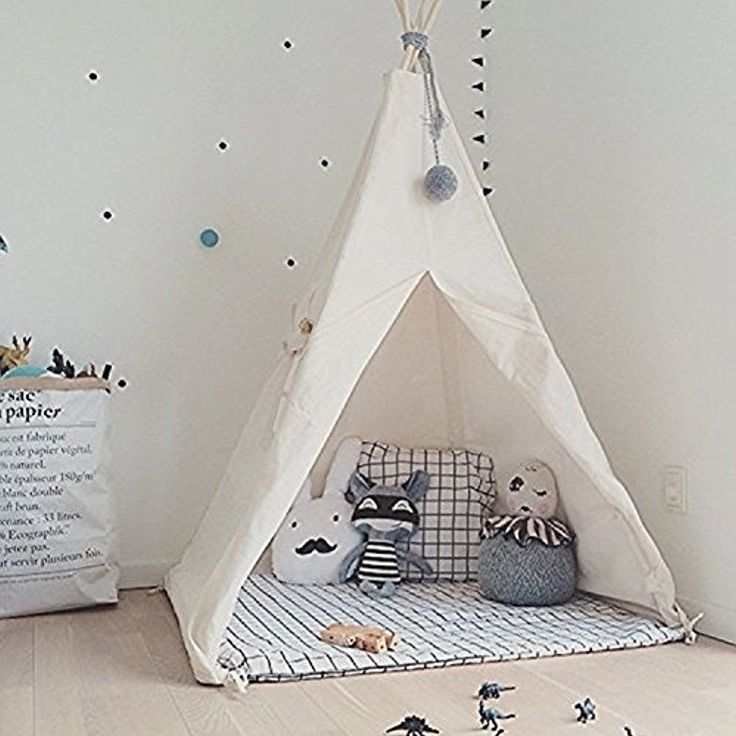
Wigwam Decor Instructions
Decorating the tepee is the most crucial moment. Of course, part of our house has already acquired a finished look, but after all, any housing differs not only in walls, but also has its own unique details. Decoration may include simple decoration with sewing and pockets. It can result in a whole rearrangement: from small shelves and almost doll-like furniture to cozy textiles, pillows and even lighting.
Agree, spectacular sight!Wigwam can transform the interior and become part of it. Here, the main thing is not to overdo it with the elements so that your apartment does not turn into a museum.
Some designers offer ready-made children's rooms using not only woven, but also knitted designs and decor elements, while others suffer from minimalism in a certain style. The bottom of the design can be designed in a modern and different way. It can be a large knit blanket, a regular mattress or even a blanket. The main thing is that the child is safe and comfortableHow to sew flags and pom-poms for a wigwam
By the way, a pom-pom is a very relative concept.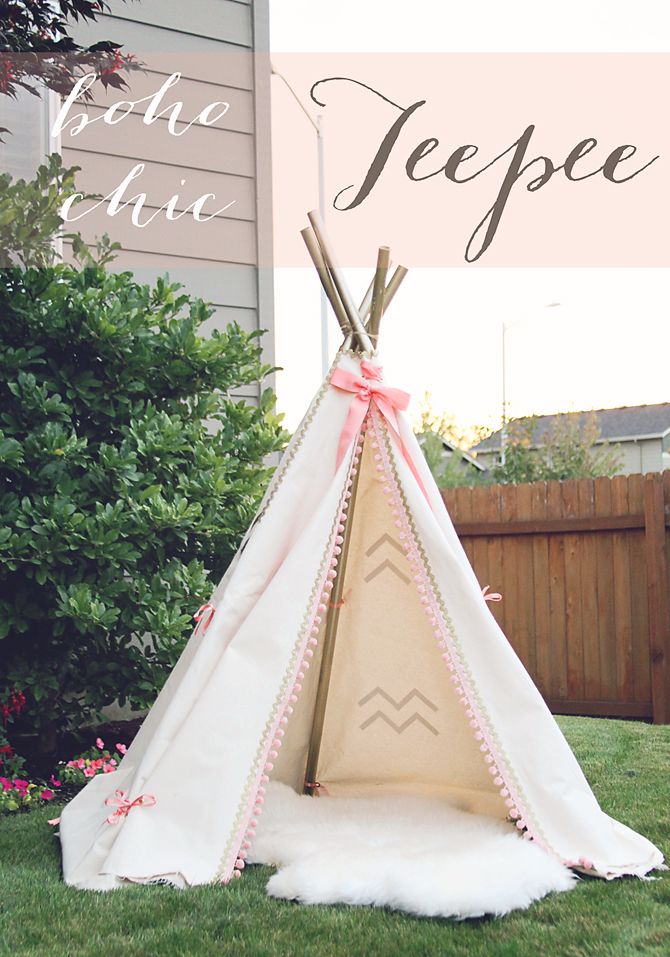 As decorations, you can use plastic balls, and ready-made decorations made of paper or branches. Such paraphernalia is enough now.
| Illustration | Description of action |
| Take a regular cardboard and draw a circle of conditional diameter on it. | |
| Draw another circle a little higher. The distance from the first line to the second will ultimately be the length of your pom pom's pile. | |
| Cut out two identical circles with a hole in the middle. Between them we put a woolen thread. | |
| Next, wind the wool or thread around our blanks until the entire circle is covered. | |
| After that, cut along, tighten the threads into the main, control thread - and now, we have a pompom. |
And if you want to know how to sew a wigwam flag, watch this video.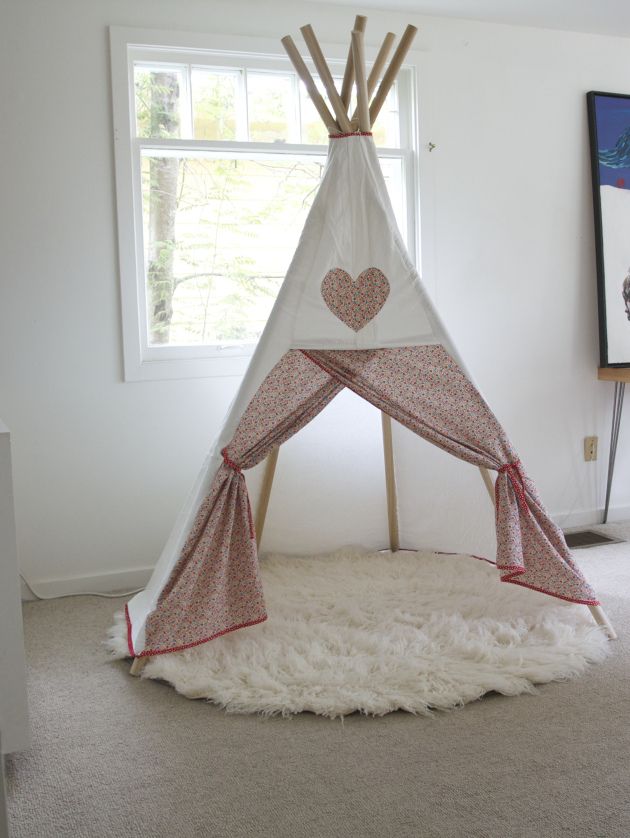
Watch this video on YouTube
How to make a garland of paper tassels and yarn
Tassels are made in a similar way to making pompoms, only the threads are fastened not from the inside, but from the outside. And you can wind the yarn not on the basis, but simply on the hand. The manufacturing process can be studied in detail in the diagram below.
The scheme of self-creation of decorative tassels from yarn and threadsBy the way, such kitties can decorate not only a wigwam, but also any interior item - curtains, canopies. They will give the room a well-groomed, classic style.
How to decorate the entrance to the wigwam with eyelets, buttons and ribbons
These decorative elements can be found in every home. Braid, buttons, pins, bows and hairpins are real treasures for a skilled housewife. Ribbons and braid are a great option for decorating your building and a very functional detail. With the help of ribbons, decorative elements are attached: curtains and lighting, and with the help of ribbons, a delicate and unique style is obtained.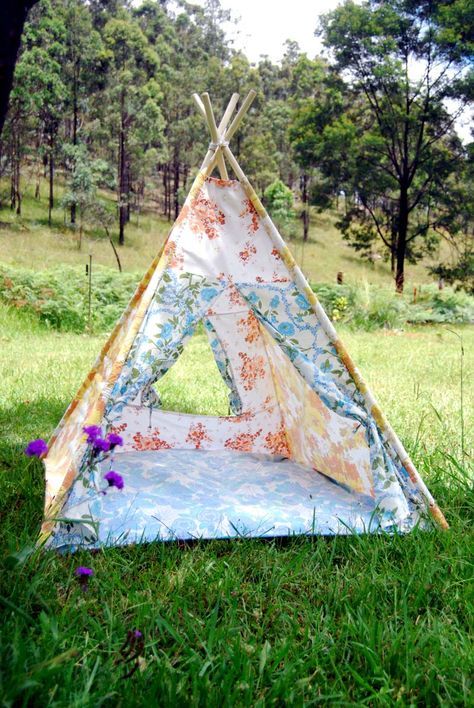 Let your children take an active part in this process. Don't limit their creativity. In these precious moments, the child will be happy. Moreover, making something with your own hands is much more valuable than getting something ready to play.
tepee
Teepee in the interior of the children's room and in the open area with photos of examples
Let a slightly uneven and not a hut be the first step towards independence of the crumbs. The baby at a certain stage also needs privacy. It doesn’t matter how long a work created by one’s own hands lasts, it will remain in the memory of both you and your child for life. And it is likely that in the future your grandchildren will receive just such a hut as a gift.
And for inspiration, we offer you to look at several stylish options for finished interiors using wigwams. Copy, experiment, try something different and tell us what you got in the comments!
1 of 8
How to sew a wigwam for children with your own hands.
 Step-by-step photo of the process
 Children's tepee replaced the makeshift tents in the children's rooms and became a bright highlight of the room at the same time.
Did you want your own private corner in your childhood? Who had huts and even tents, but often the matter ended with two connected chairs covered with a blanket. And by the night, my mother asked me to remove this whole structure so that no one stumbled over it. I don’t know about you, but for me, disassembling my brainchild always evoked emotions associated with tears ... then I don’t want to build it. And then one wonderful young mother came up with the design of a children's wigwam and began to sew such houses to order. Many parents liked the prospect of a collapsible, beautiful and affordable building. Of course, there were also craftsmen who were able to make patterns themselves and assemble the whole house.
And today we will erect this simple, but such a desirable structure in the nursery.
Contents:
How to sew a wigwam for children with your own hands
Pattern of a wigwam for children (children)
Beautiful photos of finished children's wigwams
How to sew such a wigwam for children with your own hands
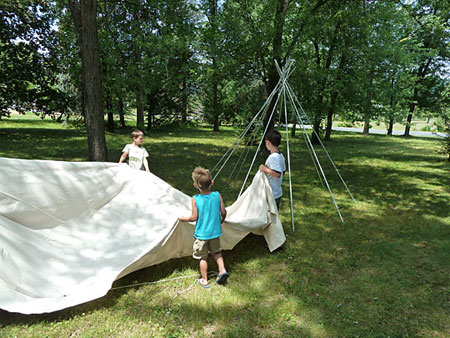 The main thing is to understand the general system.
 Materials:
- 4 round rods or PVC pipes
- Thick fabric, not synthetic
- Rope or rope
- Scissors, thread
We take sticks about 180 cm high (can be replaced with pipes). We retreat thirty centimeters from the beginning and drill all four sticks.
Sticks with a round sectionNext, we connect the top with a rope. Next, we evenly arrange the long ends of the sticks and begin to tightly tie the top.
Tighten the top tightlyIt is important to firmly connect the frame.
Bottom view All bottom ends must be the same distance.
For strength, you can tie an additional frame of sticks along the bottom, as in the photo. It will not be convenient to disassemble such a design, ordinary fabric holds the base and so on.
Next, we start cutting out the fabric part of the wigwam.
Taking measurements You can take your own measurements, or you can use ready-made patterns, as in the photo.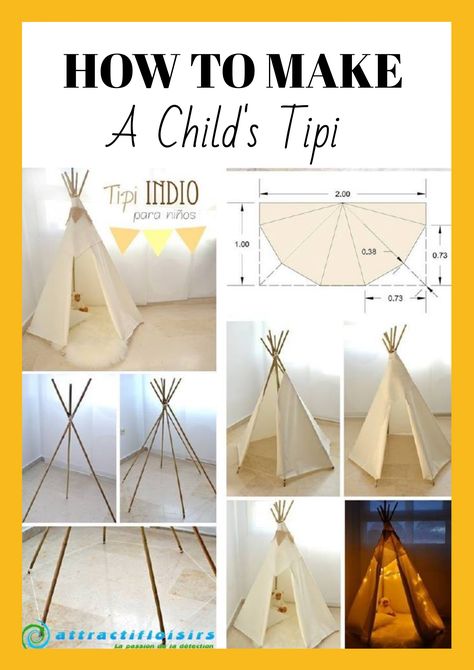
Dimensions of parts can also vary greatly, here are the standard ones.
Wigwam part sizeCutting fabric is best done as shown in the photo.
Finished partsYou can make a solid side, or you can join two parts from different materials, as in the diagram above.
On each part, you need to retreat 5-7 cm and turn these indents inward to insert a stick into it and sew. Be sure to check if it will fit in this pocket. Everyone has a different diameter of the sticks, so you step back from the edge of your size, equal to the diameter.
There are two more ways to make the fabric hold.
Sew all the details completely without allowances, and sew on a long strip to each side, into which the stick will be inserted. The photo shows examples of such stripes.
Or sew on a few small strips, as shown in the photo.
Fabric fastening option We process all edges. In front, we make a cut in the middle to make an entrance.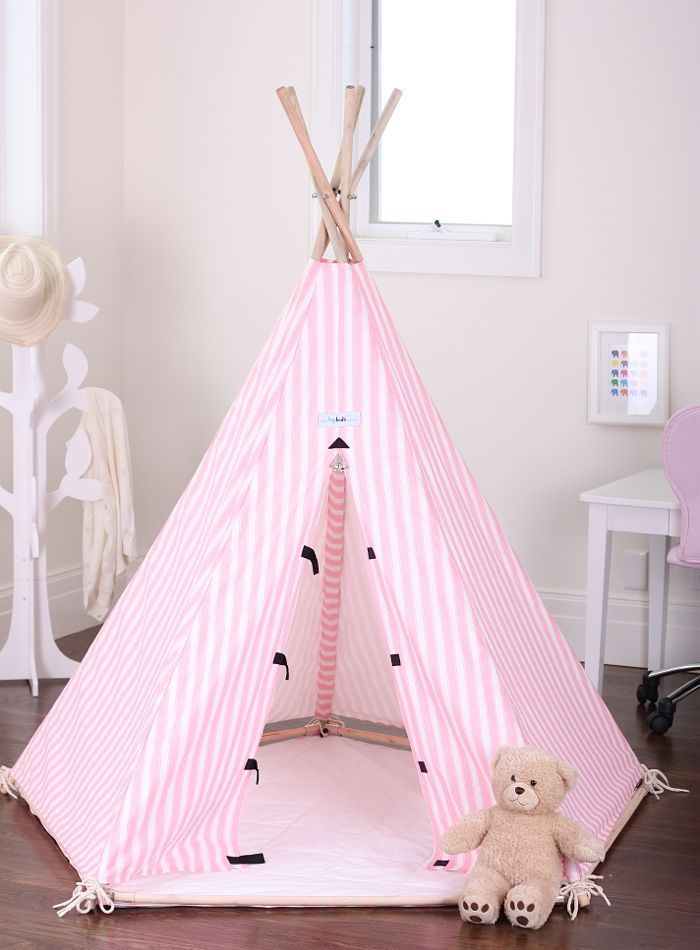 Be sure to make a side window for ventilation and free access of air, especially if the fabric is very dense.
Trying on sewn parts.
Put a blanket inside. Loops are sewn to its edges, into which the lower ends of the sticks are inserted.
Blanket buttonholeFabric buttonhole can be replaced with an elastic band!
You can decorate the wigwam with sequins, appliqués, flags, beads, stickers, pom-poms, garlands.
Tepee decorationIn general, let your imagination run wild.
When choosing a fabric, give preference to two types of fabric that go together. Then you get a very beautiful and stylish house.
Teepees with a removable cover are easy to use: they can be taken apart if the child has lost interest in them, or you can remove the fabric and wash.
Watch a video on how to sew a wigwam with your own hands.
Tepee pattern for children (child)
Wigwam can consist not of four, but of five, six or even nine sticks. But we will consider the option for a square frame.
It is possible to sew one-piece side panels without the upper part, which was dismantled above.
On the pattern we see how you can arrange the details on the fabric to save material.
Fabric cutting This is where you get four pieces. Side cutting parts are sewn to the middle and an entrance is formed. On the pattern there is a variant with a window and a pocket for small things. One side remains blank.
Below is a step-by-step diagram for making a case.
Here, work begins on the front side, into which the zipper is sewn. Then the rest of the details are sewn, pockets for sticks are sewn to each seam.
Beautiful photos of ready-made children's wigwams
It is always difficult to choose fabric options that will be combined with each other. Therefore, I decided to make a selection of beautiful ready-made options to make it easier for you.
The photo shows a wigwam for a boy.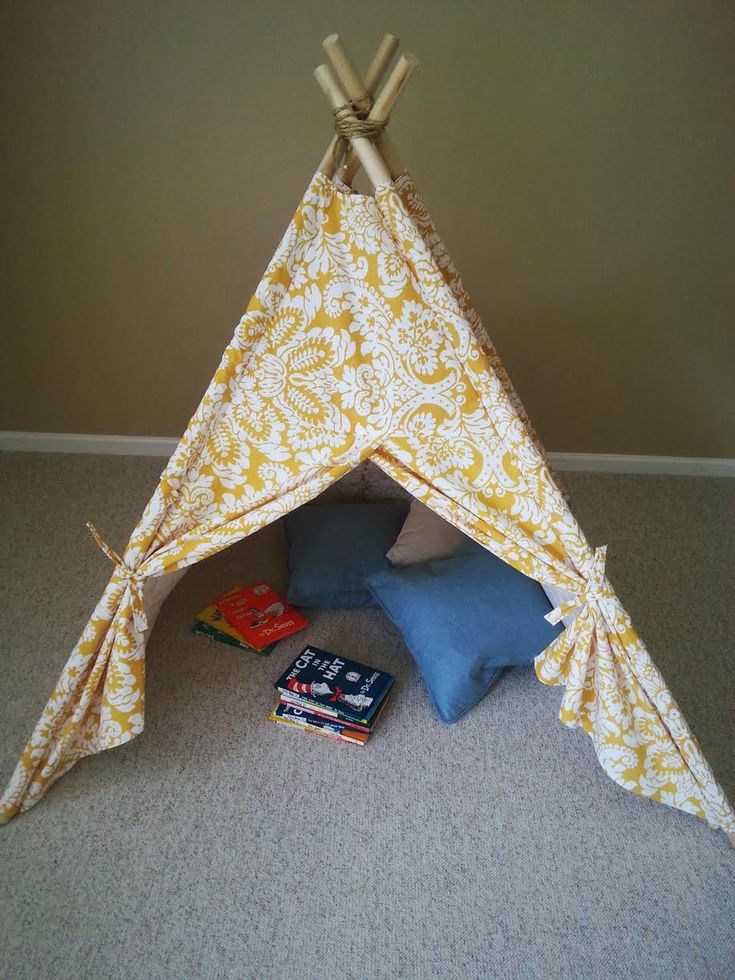 Stylish colors and soft pillows of different shapes will delight all friends and the baby himself.
Bright version of the cover, the fabric at the entrance is held by ribbons.
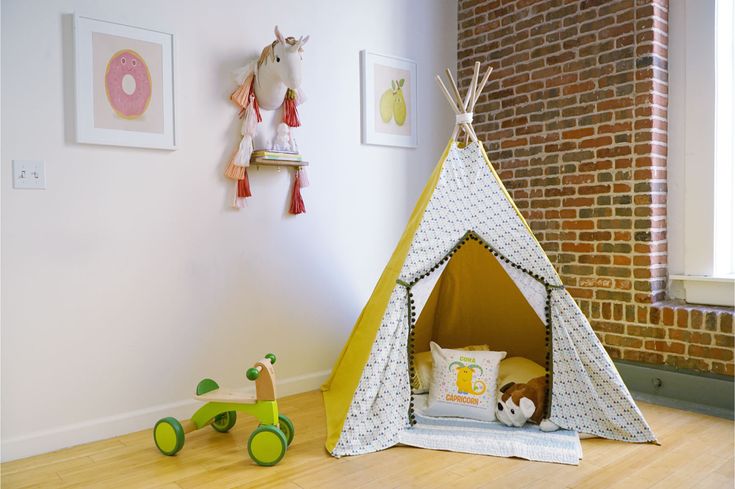
The photo below uses pom-poms.
A calm combination of colors attracts attention, but acts calmly. In the photo we see an open window.
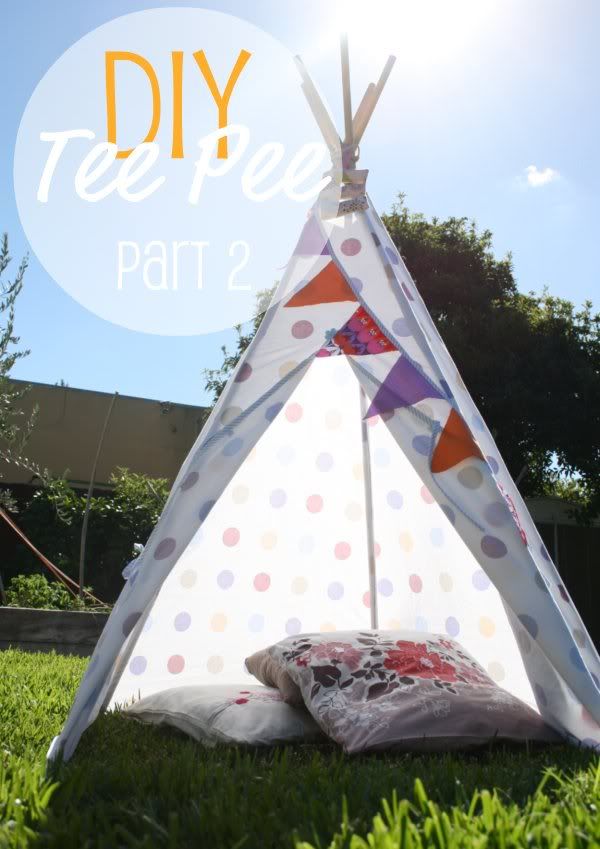
Decoration of the composition with flags.
An interesting option for a princess.
The dream catcher adds color to the design.
The black and white version of the cover is suitable for a nursery for two children.
Fairy version with garlands.
A house for every princess. Here is a non-standard round window.
A cozy place for privacy and relaxation.
The wigwam blends seamlessly into the interior.
Marine style interior is reflected in textiles.
An interesting bright design option.