How to make child infinity scarf
Sewing Project- 15 Minute Kid's Infinity Scarf Sewing Tutorial
Home » DIY and Craft » 1 Hour or Less Crafts » Sewing Project- 15 Minute Kid’s Infinity Scarf Sewing Tutorial
By: Crystal / Updated on: / Post may contain affiliate links disclosure policy
This post and photos may contain Amazon or other affiliate links. As an Amazon Associate I earn from qualifying purchases.If you purchase something through any link, Hello Creative Family may receive a small commission at no extra charge to you. Any supplies used may be given to me free of charge, however, all projects and opinions are our own.
What would you do if I told you that you could make an adorable kid’s infinity scarf, like the one above, with just 1/3 of a yard of fabric? Would you freak right out? LOL. I know that I did. That means you can make 3 infinity scarfs with just 1 yard of fabric. Craziness I tell you!!!
I’m thinking of making these as party favors for Bean’s birthday party this summer.
They are the perfect “Mini Me” version of the 30 Minute Infinity Scarf Tutorial that I posted a couple of months ago but can be made in half the time and are great for beginner and advanced seamstresses alike. I’m really excited to share with you my 15 minute kid’s infinity scarf sewing tutorial. These make great handmade gifts for Christmas, back to school, birthdays or just because.
NOTE: If making this for an older child you may want to use the adult instructions and reduce the length and width by 1/4.
You Will Need:
- 1/3 yard of fabric
- Thread
- Scissors or a rotary cutter (if using a rotary cutter you will also need a cutting mat)
- Ruler or seamstress tape
- Sewing machine
Step 1: Select your fabric. You will need 1/3 of a yard.
Step 2: Cut your fabric. You will want a piece that is 12 inches by 44 inches (or whatever the width of your fabric happens to be.) Leave the selvage edge on, this will be hidden in the seam of your scarf.
Step 3: Fold your fabric in half lengthwise, with the printed side on the INSIDE and pin your two cut edges flat against each other. Your piece will now measure 6 inches by 44 inches.
BECAUSE THIS PRINT IS SO BOLD IT LOOKS LIKE THE PRINTED SIDE IS ON THE OUTSIDE INSTEAD OF THE INSIDE. IT ISN’T. THE PRINTED SIDE IS ON THE INSIDE.
Step 4: Leaving a half inch seam allowance sew down the length of your scarf (The 44 inch side). Don’t sew the two ends. You should have one long tube.
Step 5: Using the tip of your iron, press open your seam.
Step 6: Flip your tube so the right side of the fabric is on the outside.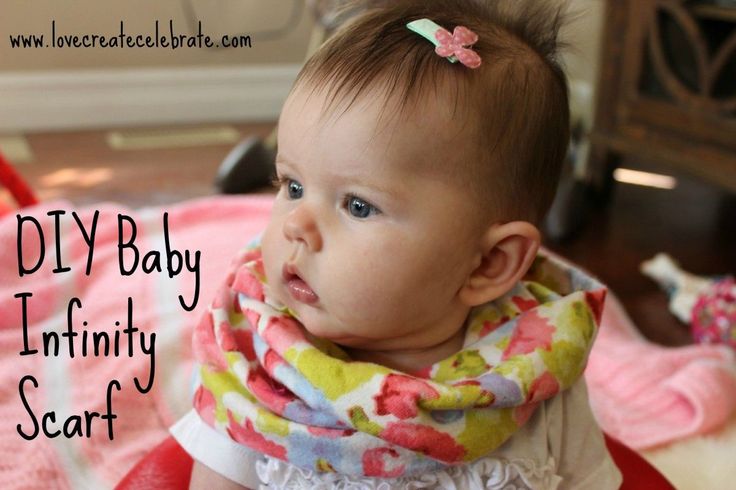 I do this by sticking my arm through the hole, grabbing the other end and pulling it through.
Step 7: Find the seam on both ends of your fabric tube. Pinch the seams flat together (the printed side of the fabric will be sandwiched together) and pin.
Step 8: Starting at the seam that you just pinned start to sew around the circle of your scarf leaving a half inch seam allowance or more if your selvage edge happens to be bigger. I work slowly on this step, stopping to pinch the two pieces of fabric that I’m about to sew together to make sure that they are correctly lined up as I sew.
Step 9: When you get about half way around your scarf it’s going to get tough to keep going because your hole is getting smaller. I find the easiest way to continue is to flip the top part of my scarf inside out making a little pocket for the scarf. Keep sewing your seams together until you are about to hit the part of the scarf you have in the pocket.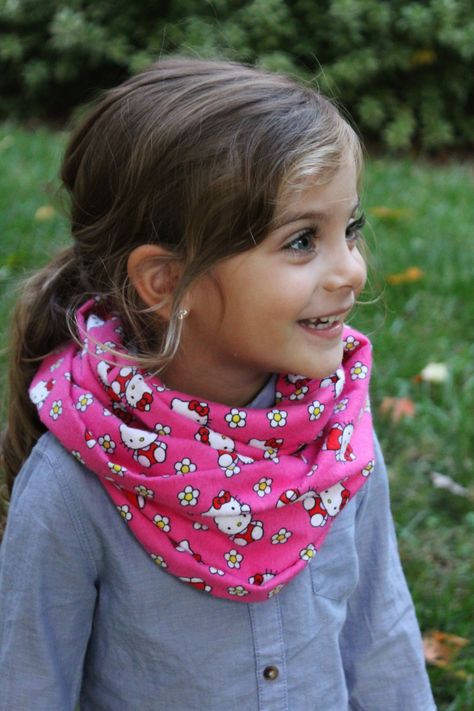 Backstitch, remove from sewing machine and pull scarf out of pocket.
You will be left with a little gaping mouth in your scarf.
Step 10: Pinch the mouth together.
Step 11: In my adult infinity scarf tutorial I had you hand sew the hole in the scarf closed. I’m terrible at hand sewing and realized that it knocks a bit of time off of each scarf if you just sew it closed with the machine. Your seam isn’t invisible this way but really that part of the scarf is usually hidden underneath at the back of your neck. I made my mom one with the invisible seam and one with the sewing machine seam… she never noticed the difference. If you want to hand sew it check here for instructions, otherwise take the scarf to your sewing machine and leaving an 1/8 of an inch seam allowance sew the hole shut.
The part you just sewed will look something like this (only probably neater because I kind of messed up.)
Final Step: Puff the scarf up, grab your kiddo and double loop it around their neck.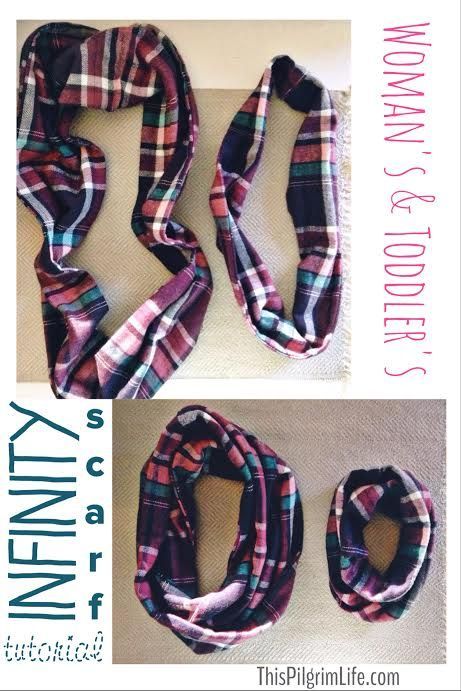 It makes the cutest little fashion accessory for your fashionista!
I hope you enjoyed my 15 minute kid’s infinity scarf sewing tutorial!
If you have any questions please don’t hesitate to ask and I’ll do my best to help out. If you make an infinity scarf for your little one I’d love to see pictures!
Want even more DIY Gift ideas? Check out these Homegrown & Healthy 12 Days of DIY Christmas ideas!
ABOUT CRYSTAL
Hello Creative Family is the go-to resource for parents looking to ignite their creative passion with simple, everyday and back-to-basics projects. We want to inspire people to live, love and teach the handmade, homemade and heart-made lifestyle so they can raise their children in a creative home. Welcome to my creative family! Read more...
Quick & easy crafts straight to your inbox!
Related topics:
1 Hour or Less Crafts DIY and Craft Handmade Gift Ideas SewingThree + One Toddler Infinity Scarf – FREE PATTERN
My daughter has been eyeing all my scarves and wanting them for herself, so I felt it was about time I make her some more of her own.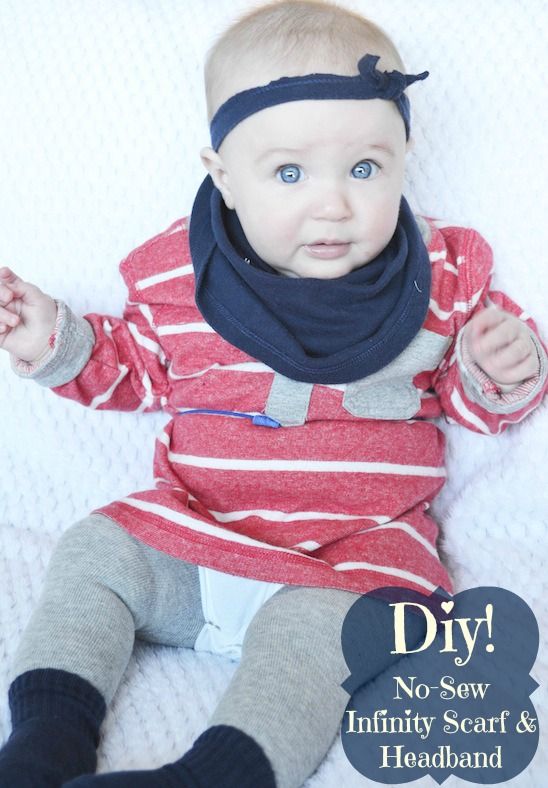
I made her a cowl last time, so I thought I would try an infinity scarf this time.
She requested PURPLE! this time, which was a bit a surprise but a nice change of pace, since she’s been such pink all the things girl.
I love mini scarves because they are SO quick to work up and they only use about one skein of yarn.
This scarf is really simple, and uses only very basic stitches. It’s a great beginner project or a quick, afternoon project if you’re more proficient with a hook.
The name for this scarf, Three + One, comes from how it’s worked up, three rows of sc and then a row of dc mesh. It’s also a nod to my daughter’s age. She’s four so she’s technically more preschooler than toddler, but she’s also tiny for her age, so this scarf should still be about right for a toddler.
That said, I worked this up while she was sleeping and it ended up a little more snug than I prefer. I’ve made a few adjustments to the final pattern to give a slightly looser fit (than what you see pictured) so there’s more room to grow.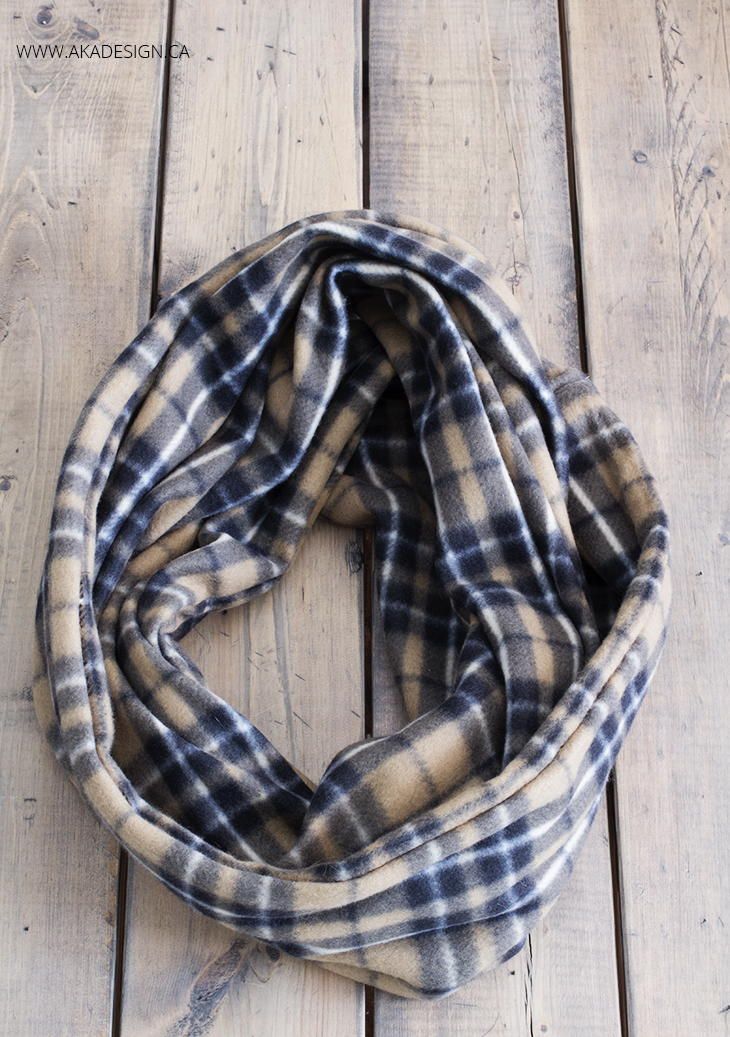 I have also included instructions for sizing up the scarf to older kid and adult sizes!
- approx. 170 yards of worsted weight yarn (4)*
- 5.5 mm hook
- yarn needle and scissors
*I used Lion Brand Vanna’s Choice in purple.
ABBREVIATIONS (American terms)- ch = chain
- sc = single crochet
- dc = double crochet
4 x 4 inch square = 11 sc x (3 rows sc + mesh dc row + 3 rows sc + mesh dc row + 3 rows sc + half of mesh dc row)
SIZINGThe scarf is about 5 1/4 inches wide and 36 1/2 inches long when relaxed and not stretched. This is about right for an older baby or toddler, with some room to grow.
To enlarge the pattern, add increments of 3 chains. If making the scarf for an older child (7-10), I recommend adding another 4 – 8 rows in addition to length, for a more proportional look.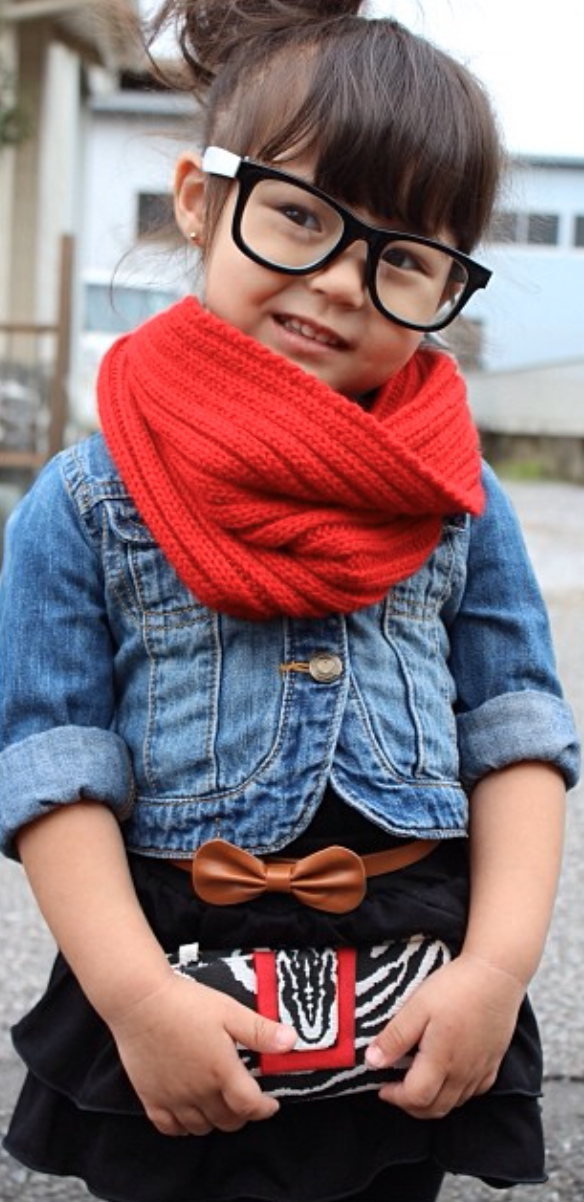 For teens and adults, add 12 rows.
Ch 102. Slip stitch into first ch, making a loop.
Row 1: Ch 2, sc across row and slip stitch to the top of ch 2 to complete looped row. (102 including ch 2)
Rows 2-3: Repeat Row 1.
Row 4: Ch 4, skip two stitches and dc. * Ch 2, skip 2 stitches, dc. * Repeat from * to * 32 times. Ch 2, slip stitch into 2nd ch in ch 4 worked at the beginning of the row. (34 dc, including ch 4)
Row 5: Ch 2, 2 sc in space, *sc in dc, 2 sc in space.* Repeat from * to * all the way around loop row (102, including ch 2).
Row 6 -7: Repeat Row 1.
Row 8: Repeat Row 4.
Row 9: Repeat Row 5.
Row 10 – 11: Repeat Row 1.
Row 12: Repeat Row 4.
Row 13: Repeat Row 5.
Row 14-15: Repeat Row 1.
Tie of yarn, leaving a tail 8 inches long.
Weave in tails with a yarn needle.
That’s it!
Cozy up for the cold and get kicking! 🙂
how to sew a snood for a child and an adult
A snood is a tube scarf or a ring scarf.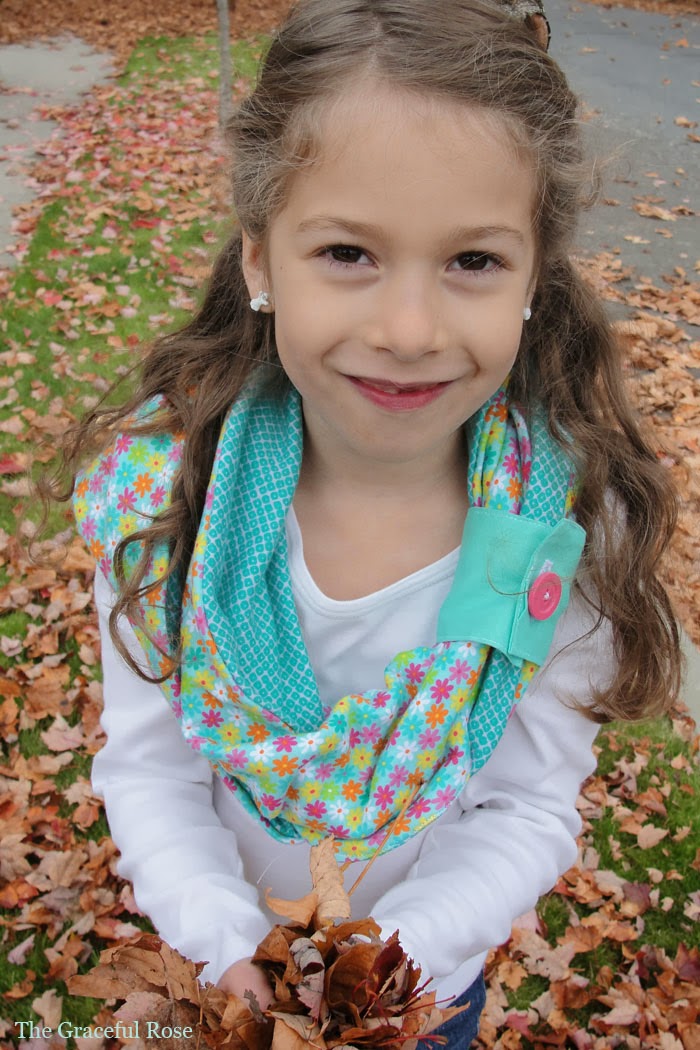 This scarf has no ends and does not tie at the neck: its edges are neatly sewn together to form a wide ring. This design allows you to effectively drape the snood around the neck without fear that something will accidentally knock out or unwind. Another convenience will be the ability to use the snood as a scarf and a hat at the same time. The flexibility of the ring allows you to make a kind of hood out of it. nine0003
It is not surprising that snoods, having become fashionable several years ago, do not give up their positions from season to season. Today, from a trendy novelty, they have become a familiar classic that many women have in their wardrobe. By the way, not only women, the versatility of such a scarf allows you to create models for men and, of course, for children.
Interesting! In foreign online stores, snood can be found as infinity scarf - "infinity scarf".
He deserved this poetic name for his shape.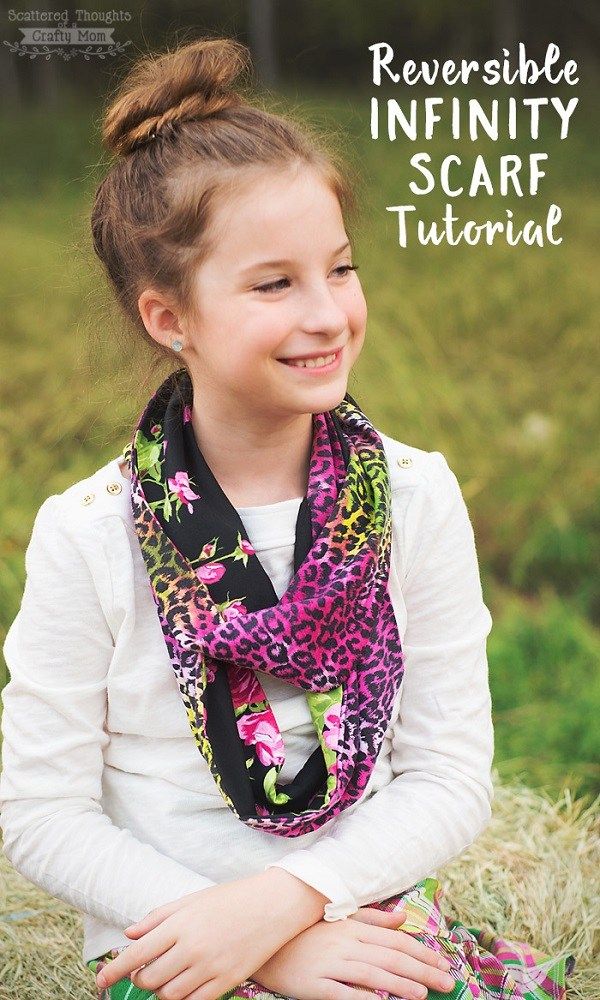 When folded, it can resemble a figure eight - a sign of infinity . And in the unfolded ring has neither beginning nor end.
Snoods can be either knitted or sewn. Thanks to their simple and versatile form, they can be made quite quickly with your own hands. So, as your fantasy tells you. We recommend sewing fleece snood.
Materials and tools for sewing
From fabrics you can choose fleece (both natural and the more common synthetic), cooler, ribana or footer. In general, almost any dense, warm and at the same time elastic fabric .
Attention! It is better to do things from a cooler a little less - it stretches very well.
For sewing, you will need a regular sewing machine, matching thread, scissors and a ruler. The product is cut in a straight line, as simple and easy as possible.
How to sew a snood
If you have at least minimal sewing skills, this model will not cause you any difficulties.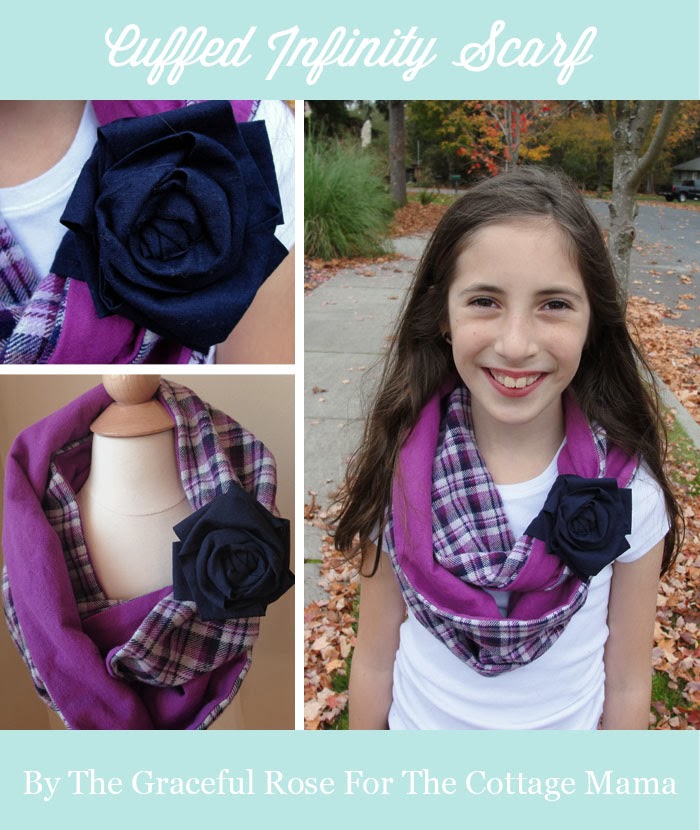 nine0003
What measurements do you need for work
The only measurement you really need is the circumference of your head. After all, the scarf should be easy to put on and take off even when folded in half.
Important! Be mindful of the seam allowances: they will take about an inch on each side.
The width is calculated according to your taste, but should not be less than the width of the neck - it's still a scarf! You can "try on" the fabric in front of the mirror and determine which width will fit best into your wardrobe. Both as a hat and as a scarf. nine0003
Workflow
You will need fabric: a little more than two girths of your head in length . You can choose the width according to your taste. Just don't make the scarf too tight, it should drape.
Snood can be made both one-sided and two-sided.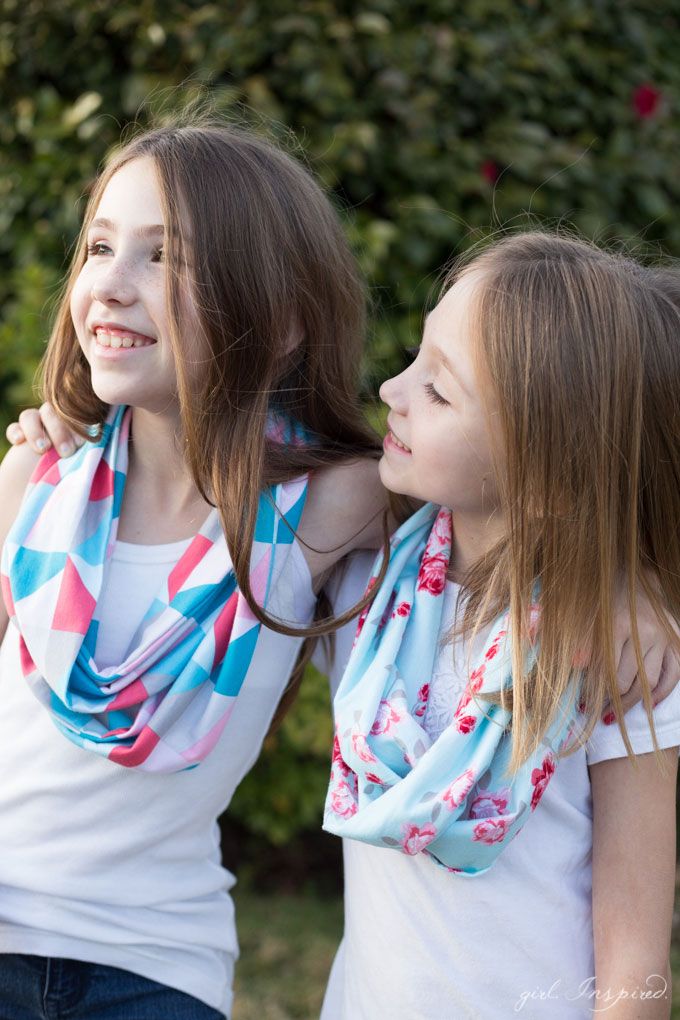
- For single sided , the width of the fabric will be twice the estimated width of the finished product. During sewing, it will be folded in half.
- For double-sided , you will need to choose fabrics in matching colors.
The fabric is simply folded in half. In the case of a double-sided product, two pieces of fabric with each other. And is then sewn from the wrong side of . Be sure to leave a small hole in the seam. You will then turn the scarf right side out through it.
Sewing a baby snood
For example, we chose double-sided version . This is the most difficult model - if you can handle it, one-sided snood will not cause you any difficulties.
Step by step instructions
- Making pattern . For a child of 4–6 years old, it will be a rectangle 55x26 cm.
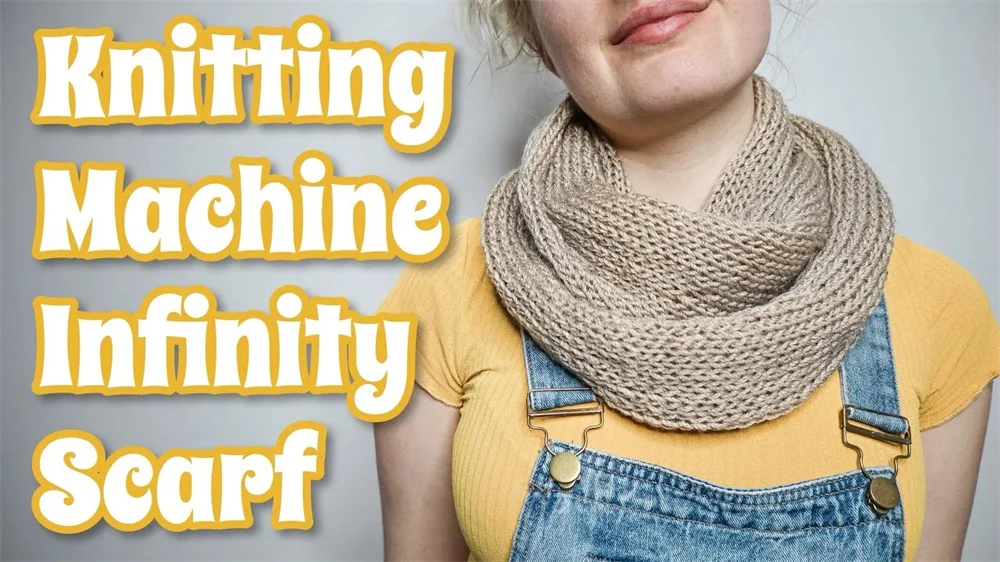 For better protection of the neck in the neckline of the jacket, we will make the middle wider - 33 cm. Don't forget the seam allowance!
 - Fold pieces right sides in , sew top and bottom. nine0068
- Turn right side out . The more accurately the details matched, the more accurate our snood will be! For fidelity, iron.
- Sew the edges with a temporary basting and try on the product for a child. If it is large, the edges can be trimmed slightly.
Attention! If you are sewing a snood as a gift, you can do without trying it on. But it is better to know the size of the head in advance. And do not delay with such a gift - children grow up quickly!
- Turn inside out again and sew the side edges together to make a ring. We leave a hole of a few centimeters unsewn.
- Turn right side out again .
 He's almost ready. It remains to quietly sew up our hole with a hidden seam.
Hurrah, it worked!
Knitted body
Types of bikinis
Like this article? Share with friends:
Article author:
Elena Evdokimova nine0003
I willingly take on non-standard tasks, I love unusual topics that the reader sometimes does not even think about. It is important for me that my work is understandable to a person, and most importantly, useful. I am ready to devote all my time to authorship, because I treat it with great responsibility and interest. The main goal for me is to make your life a little easier and easier, so I'm always ready to answer your questions
Ask the author
what is it and how to wear it? – article "WAG concept"
Home » About the company » Articles » Women's snood scarf: what is it and how to wear it?
Fashion trends change rapidly over time, so the range of trendy accessories is also rapidly expanding.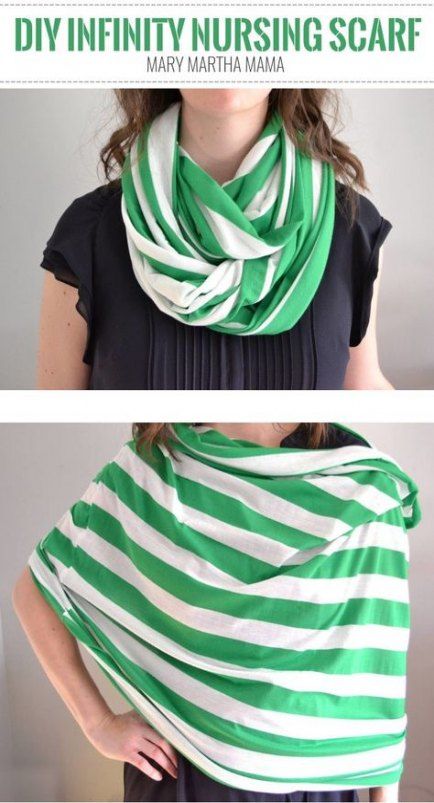 Women's snood scarf combines the main advantages of a classic scarf and a hood. Outwardly, the product resembles a large knitted or fabric ring. Since a thing is connected in a circle, it has no beginning and no end. The ability to transform the model into a hat and vice versa allows you to create original bows and appear in a new image every day. On the pages of the WAG CONCEPT online store, you can order various items and knitted hats wholesale or retail. nine0003
How to wear a snood scarf?
Women's snood scarf comes in different lengths and sizes. The larger and longer the option, the more interesting it can be beaten. The most practical and effective ways to decorate:
- Put on a scarf and turn the bottom edge over, thereby forming a loop that should be thrown over the head again.
- There is also a technique similar to the previous one, but with one more turn.
- Applying one of the above methods - first put on the hood, and then the accessory.
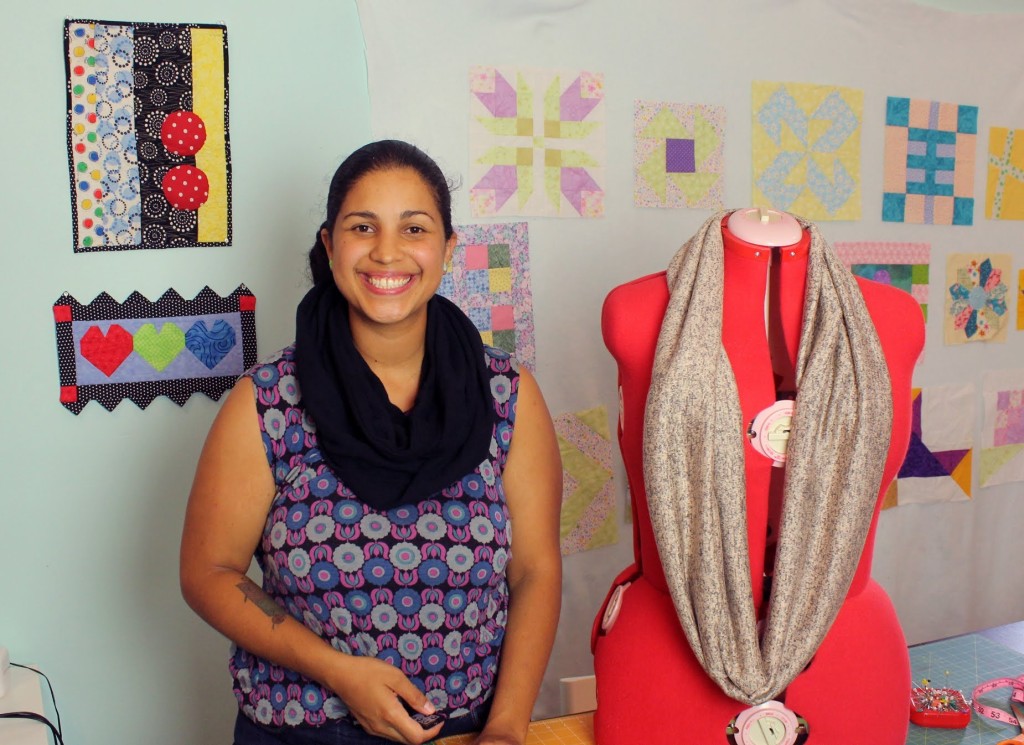 nine0068
 - Roll the scarf in two or three layers, so that it fits snugly around the body.
- It is better to use elongated varieties, fold them in half, lay them on the shoulders, cross the edges and pull them a little.
- Position the specimen on the head, leave the lower part, and drape it around the neck.
What to wear with a snood scarf
Women's snood scarf is most in demand in autumn, winter or spring. A decorative element will be a great addition to everyday, office, walking or holiday bow. Depending on the season, girls choose different woolen, knitted, fur, chiffon or cashmere materials. They go well with fur coats, padded down jackets, quilted jackets, leather jackets, coats, trench coats and jackets. nine0003
Snood scarf is suitable for every day, for friendly walks, romantic dates, business meetings and special occasions. Large collars have become the most widespread, which can be combined with sheepskin coats, trench coats, raincoats, windbreakers, leather jackets, leather jackets, vests and jackets.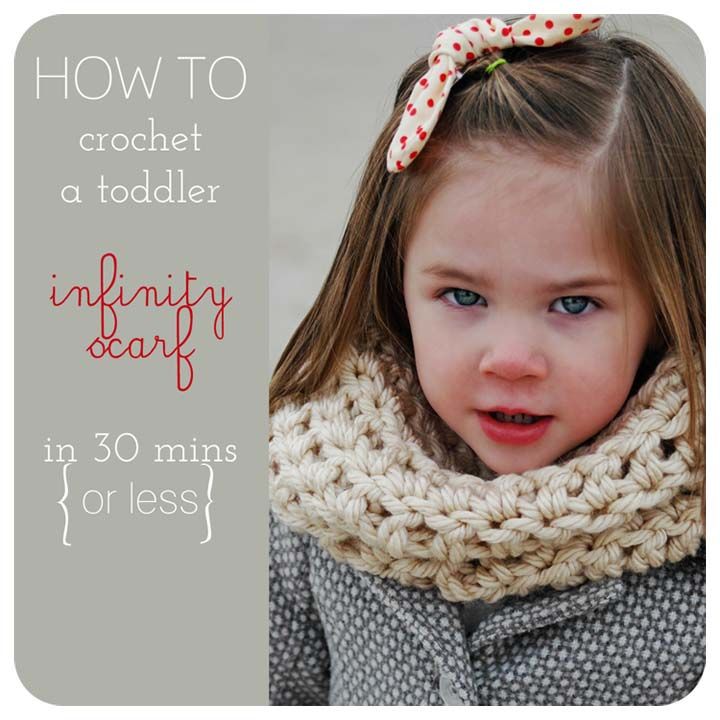 Focusing on the season, knitted and cotton variations are welcome.
What accessories to combine a snood scarf with?
Leading stylists and designers recommend to combine women's snood scarf with original accessories:
- Bags. Be sure to consider leather bags with a strict geometric shape with short or elongated straps. Don't forget small purses made of stretchy fabrics, clutches with unusual finishes and textile backpacks.
- Jewelry. Miniature gold or silver earrings will look wonderful with coarse knit crafts. Look out for oversized jewelry in bright colors with beading or glittery details.
- Gloves. To create a complete look for winter or autumn, use gloves or mittens to match the color of the scarf. nine0068
- Brooch. If you want to emphasize the texture or drape of the collar, try attaching an oversized, multicolored gemstone, silver, or gold brooch.
How to choose the color?
World-famous fashion industry experts advise you to pay attention to collections in discreet classic shades.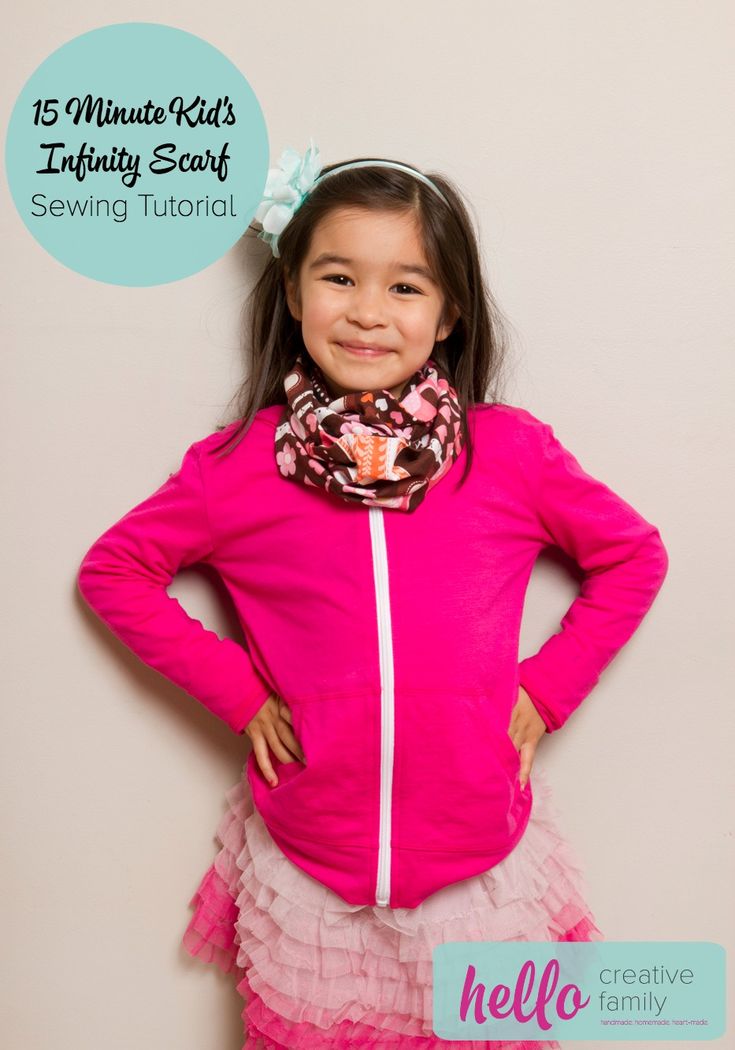 Black, white, milky or beige women's snood scarf looks great in combination with any tones and does not distract from the main outfit. Pastel shades of pink, yellow or purple will add an image of femininity and tenderness. Among the colorful solutions, canary, light green, raspberry, violet and sky blue things received the greatest demand. nine0003
When choosing a snood scarf, you should give preference to strict dark colors. Regardless of the tonal range of a cohesive wardrobe, gray, blue, emerald, brown and graphite options provide the required accent. If you prefer a light palette, you will like snow-white, gray-beige, peach and coffee interpretations.
Advantages of snoods over traditional scarves
Main advantages of snoods over traditional scarves:
- Multifunctionality. The design style depends on the imagination of the owner. nine0068
- Unisex. Products are designed for women and men.
- Reliability. Products will always protect you from cold and wind if wrapped tightly.


