How to make a scrapbook for your child
Making a Mini Scrapbook with your Kids
Jump to ProjectLearn how to make a simple DIY mini memory scrapbook that your children can decorate and customize on their own. Kids will love this creative scrapbooking activity that is perfect for family photos or vacation memories.
Make mini scrapbooks using paper and rubber stamps.
This project first appeared over at Somewhat Simple where I’m a contributor.
A note from Aimee: This blog post first appeared on The Crazy Craft Lady in August 2017. It has since been updated to bring you the best, most current creative content.
A Mini Memory Scrapbook for Kids
My kids love to look at photos… photos of themselves that they ask me to take on my phone, vacation photos, family photo albums. They love it all. I decided to take our family photo album game up a notch after a recent weekend trip to Madison, WI. I took our favorite vacation photos and made a mini scrapbook for my daughter to decorate and customize however she wanted.
Supplies Needed to make Mini Scrapbooks
This post contains some affiliate links for your convenience. Click here to read my full disclosure policy.
- cardstock paper (feel free to choose any color, but I used paper bag brown)
- plain white computer paper
- paper trimmer or scissors
- stapler
- various family or vacation photos
- embellishments – washi tape, rubber stamps, photo corners, stickers, colored pencils and markers, etc.
How to Make A Mini Memory Scrapbook
First , cut rectangles out of your cardstock and white paper. Remember that the width of your mini scrapbook will be limited by the size of your stapler.
Fold the stack of cardstock and paper in half. Then staple along the crease to form the book’s seam.
Using a rubber stamp or marker, give the cover of the mini scrapbook a title. I used rubber stamps to spell out “my memories” for my daughter’s vacation photos.
Next, fill in the pages of the book with photos. Secure the photos with double-sided tape or photo corners. Add rubber ink stamps that have plenty of white space for your child to color.
Let your child decorate! Add washi tape and stickers in the white space. Simply let their imaginations run wild!
UPDATE: Here are more mini scrapbooks that we’ve made:
Materials
- cardstock paper (feel free to choose any color, but I used paper bag brown)
- plain white computer paper
- paper trimmer or scissors
- stapler
- various family or vacation photos
- embellishments – washi tape, rubber stamps, photo corners, stickers, colored pencils and markers, etc.
Instructions
- First, cut rectangles out of your cardstock and white paper.
Remember that the width of your mini scrapbook will be limited by the
size of your stapler.
- Fold the stack of cardstock and paper in half. Then staple along the crease to form the book’s seam.
- Using a rubber stamp or marker, give the cover of the mini scrapbook a
title. I used rubber stamps to spell out “my memories” for my daughter’s vacation photos. - Next, fill in the pages of the book with photos. Secure the photos
with double-sided tape or photo corners. Add rubber ink stamps that
have plenty of white space for your child to color. - Let your child decorate! Add washi tape and stickers in the white space. Simply let their imaginations run wild!
Don’t forget to PIN this craft for later:
This project first appeared over at Somewhat Simple where I’m a contributor.
How to make a kids scrapbook – Paperchase
adminKids grow up so fast these days. It seems like one moment you’re watching them take their first steps and the next, they’re about to graduate.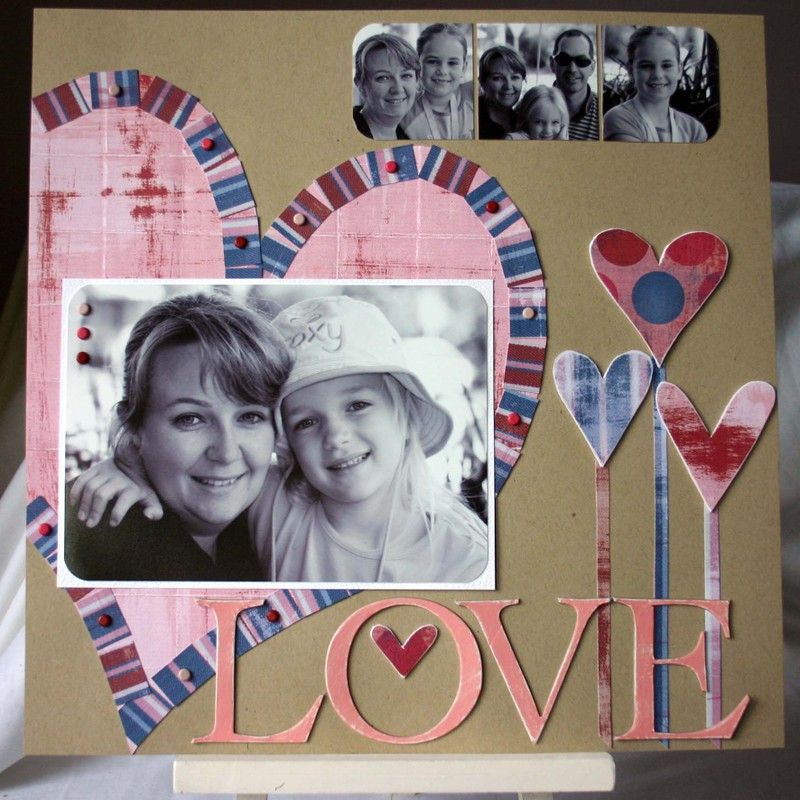 It’s important to savour every special moment with your little one. That’s why we’ve teamed up with two amazing mums, Tia and Laura from Little Button Diaries to celebrate the art of scrapbooking. They will teach you how to create the perfect scrapbook layout (inspired by a day at the beach with their own kids), using a few simple techniques, helping you to capture the memories for years to come
“Scrapbooking is a lovely way to document happy memories of time spent with your children. We used a summer’s day at the beach for our kids scrapbook as it made us smile and we wanted to remember it.”
For this project we’ve used one of Paperchase’s classic Kraft scrapbooks.
Before you begin, prepare all of your materials.
What you’ll need...
- Printed photographs
- Kraft scrapbook
- Scrap paper
- Scissors
- Glue dots
- Photo corners
- Washi tape
- Silver ink pen
- Stickers
Next, choose your photos. We printed our own so we could play around with sizes and designs. We added a polaroid effect to them using Picasa (a free and easy-to-use photo editing software). In order to save on ink and photo paper, we printed low-res versions of the images in different sizes first, tried out various combinations on the page and then printed them properly.
With your photos printed, arrange them on the page and select some scraps of coloured card. Lay them next to the photos and pick a selection of colours that work well with your photographs. Arrange the card and photos onto the page. Play around with them until you are happy – think about layering, angles, colours, spacing and any embellishments you want to add to the page. When you are happy with the layout, take a picture for reference in case you forget it! Stick the card down with glue dots.
Step 2Attach the photos using photo corners and washi tape for the larger images. Tear the tape instead of cutting it if you want a more rustic finish.
For a bunting effect, take a teacup and place it over one of the pages’ top corners. Draw around it with a pencil. Cut some card scraps into 1cm triangles and glue them along the pencil line to create a string of bunting.
Step 4We used the same method to create a sun design on the opposite page, using a pencil to draw around a circular lid that measured about 3cm. Cut small triangles of different sizes from yellow card and glue them along the line.
Step 5To create washi tape text, type out the word(s) you want, playing around with different fonts until you have something you like. Italics worked well for our design. Now simply print and cut out.
Step 6Next, take a piece of card (a little bigger than the size of your printed text) and cover one side of it with strips of washi tape. If there are patterns on the tape, try to line these up for consistency. Take the cut-out text, reverse it and glue onto the back of the taped card. Now simply cut around the text (you’ll need a sharp pair of scissors), position on the page and glue it down.
Add in your memories under the photographs using silver ink. Write the text in pencil first, just in case you go a little wobbly or make a mistake! Rub out the pencil underneath when the ink is dry.
Step 8Finally, embellish the pages with stickers, jewels, ribbons or collected treasures – whatever takes your fancy!
Top tip: Don’t throw away any tickets from your days out – you can incorporate them into your scrapbook design. If you’ve been on a walk, why not take a flower home to press and include that too!
Happy scrapbooking!
Laura & Tia from Little Button Diaries x
Back to blogMore from The Journal
View all1 / of 3
View all
A simple do-it-yourself notepad - State Scientific Library of Kuzbass.
 V.D. Fedorova
DIY simple notebook
Add to the chosen Star_BORDER
Materials:
8 sheets of paper for sizes A4
1 leaf of colored paper (or paper for scrapbooking
Knitting threads
Awl
Utility knife
Dummy mat
Ruler
Scissors
Decor materials (optional)
To make a notebook, you first need to prepare the materials. The most important thing in a notebook is to choose a cover that you like. For the cover, you can use thick colored cardboard, scrapbooking paper, colored pastel paper, etc. The material for the cover depends only on your own preferences.
For the indoor unit, it is better to use thick drawing paper, drawing sheets need 8 pcs. If you wish, you can use office paper for the printer, then you can take not 8, but 16 such sheets, so that the volume of the notebook is preserved.
The first thing to do is fold each sheet and cover in the middle. For sheet A4, you need to put serifs at a distance of 14.8 cm from the edge on both sides.
Careful creasing of a sheet of paper should be done so that no crease is formed at the fold. It is necessary to attach a ruler to the measured lines and draw the back of a clerical knife across the paper. The ruler should not be removed, it is necessary to carefully bend the sheet along it.
Fold all sheets and cover into a single notebook.
Mark out the notebook by measuring 3 cm from the top edge. The resulting serifs must be an even number.
Pierce the notebook from the middle with an awl, being careful not to hurt your fingers.
Thread a thick knitting thread into the needle, measure the thread to two heights of the notebook with a margin.
You need to start flashing from the inside. The free edge of the thread should remain inside the block, first you need to go down the notebook, alternating the holes in a checkerboard pattern, then go back up also in a checkerboard pattern.
Tie a knot inside the notebook, cut off excess threads.
Trim the edge of the notebook by placing a mock-up mat between the pages of the notebook. Place the ruler along the edge of the cover, and evenly trim the uneven edge on one side. Flip the notebook over and do the same on the other side.
For a while, you can put the notebook under a book press or fasten it with clips so that it compresses a little and does not diverge in the middle.
If desired, you can decorate the notebook with stickers, decorative elements or keep it minimalistic. In such a notebook, you can keep a reader's diary, draw, make collages and much more.
Author:
Ilyina M.A., Head of the Software Sector
Information Environment Development Department master classes creativity
How to make a notepad - a tutorial with step by step illustrations
A notepad is not only a very practical and useful thing where you can enter important notes, but also a great option as a gift. At the same time, you can create it yourself, with the support of your child. In this article we will tell you how to make a notebook with your own hands.
Children's Origami Notebook
This is the easiest work that a child of any age can handle. At the same time, we get a bright and small notebook from improvised means.
Materials:
- double-sided colored paper and scrapbooking sheet;
- ruler;
- pencil;
- scissors;
- PVA glue.
Production:
We cut out identical rectangles from colored paper with a length of 20 cm, there should be four of them in total. We form a sheet for scrapbooking of the same size.
After that, we divide each one-colored rectangles in half to get 8 stripes.
Now fold one strip lengthwise and make an accordion out of it. We repeat the same with other sheets.
We combine all the resulting accordions into one large one, fold it and put something heavy on top so that the sheets fold into a book.
Now we form a beautiful cover for our craft from a multi-colored sheet. To do this, bend it in half, form the edges of the future notebook.
And it remains only to complete the work, for this we put all the main parts together, glue the pages to the binding and get a beautiful gift.
Multicolour notepad
This is a very colorful version of the craft, as it is always more pleasant to write notes on multi-colored sheets. In addition, the work is very exciting, so your child will not only develop hand motor skills, but also cheer himself up. In addition, the work will not take much time, and the result will please the eyes.
Materials:
- colored paper, suitable for office paper;
- material for the cover, you can use different options: felt, thick fabric, cardboard, etc.;
- hole puncher;
- ribbons or rings for fastening;
- additional decor;
- scissors;
- adhesive.
Production:
Prepare the pages of the future notebook, they should be the same size. Now put all the sheets together, in one even pile, it is best if the colors alternate. If you want to add variety, then the edges of the pages can be cut with curly scissors or create various patterns. Now you need to make holes with a hole punch at the same distance from the edge. If you can’t pierce the entire stack at once, then do everything in parts.
Will now create cover art. In our case, we used cardboard and felt, but you can take any dense fabric. We cut out two identical rectangles from cardboard, their dimensions should be slightly larger than those of the pages by about 1 cm. On one side, glue the cardboard with felt so that it is stretched as much as possible, stitch the edges with a sewing machine in a zigzag stitch. Using a hole punch, make the same holes as on the pages.
Now stack the cover and sheets so that the holes match up, thread the ribbon through and tie knots. Make sure that it is not too tight, otherwise the pages will not turn well. Instead of a ribbon, you can take rings or elastic bands. It remains only to complement your craft with decor. Be sure to decorate everything on the front with various beads, clippings, rhinestones and much more. You can also decorate some sheets, so it will be more interesting to make notes.
This do-it-yourself notebook made of paper and felt can be a great gift for any person.
Classic Notebook
If you want to own an original notebook, it's best to make it yourself.
Materials:
- desired amount of white paper;
- strong thread and needle;
- superglue;
- cardboard;
- bandage;
- utility knife;
- decor.
Production:
We prepare the pages, for this you need to cut the sheets into equal sizes, the format 10x15 cm is usually used, but you can choose your own. We bend them in half and put them under a heavy one so that they are compacted, as this will facilitate the work in the future.
Now we form the sheets with a notebook, so that in total we get 6 pages. On each such notebook we make holes into which we will then thread the thread, we make sure that there is the same distance everywhere, so be sure to use a ruler. After that, sew all the sheets together, tying a knot on the outside with a thread.
From the outside, under the seam, skip the bandage. After that, we grease the entire spine with glue and put it again under a heavy one until it dries completely.
In the meantime, making the cover. It can be created using cardboard and fabric or special paper for scrapbooking. Be sure to decorate everything with decor and connect it to the sheets with glue, then put it under the press.
Kawaii Miniature
If you want to make a real, adorable homemade notebook, then here's how you can work with cute results.
Materials:
- colored paper;
- scissors;
- markers.
Production:
Fold the sheet in half, repeat this procedure several times, in the end it should be folded four times.
Unfold the sheet and now begin to fold it across the previous lines, when we do this, we will have 16 identical rectangles on the sheet.
Using scissors, make three cuts along the very edge to the middle.
Now you need to bring the bottom of the figure up, and the top - down. We direct the clarity with the palm of our hand.
Now place the strip edgewise to create a hole in the center. After that, we connect the edges, leading them to the center, so that additional pages form along the edges. We glue them if necessary.
On the front side, you can apply a cute drawing with felt-tip pens or place a charming sticker.
A4 notepad
Usually craftsmen make small items, but if you need a large diary, then you can use one of the methods.
Materials:
- A4 sheets;
- glue and gauze or hole punch and spiral;
- fabric or felt.
Production:
Fold the sheets in half to make a notebook.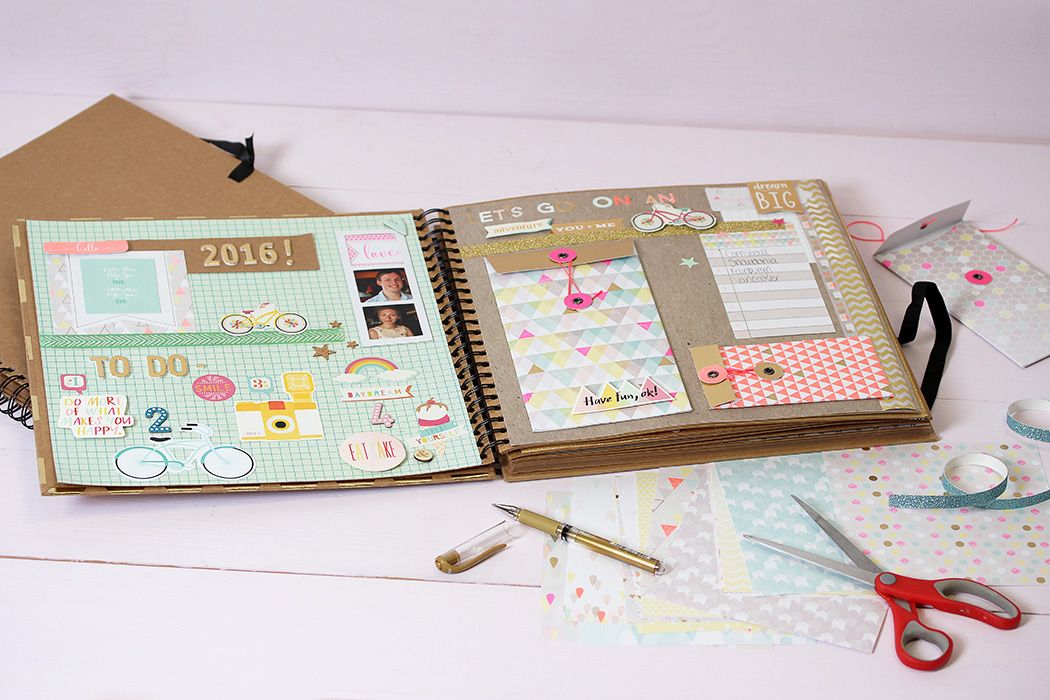 After that, we connect the pages together, you can use one of the methods described.
First - glue the sheets, and then fix the gauze on the spine. We leave everything to dry, after which we place the cover on paper.
The second - using a hole punch, we make the same holes, after which we pass a spiral through them. Similarly, you need to repeat with the cover. This option is much more convenient, since the pages will be easily turned over, but it can take several hours to work.
The easiest notebook out of a notebook
This is the easiest way to create a beautiful notebook that will take a little time.
Materials:
- sheets from a notebook;
- printed color picture, preferably on thin photographic paper;
- stapler;
- pencil;
- ruler;
- utility knife.
Production:
We cut the notebook sheets in half, we do the same with our future cover, only the size should be a little larger, by about 0. 5 cm.
5 cm.
We put all the pages in a pile, fix them with stationery clips. Now we begin to connect the edges with a stapler.
Bend the staples on the reverse side, and now the work is completed.
How to make a notebook without glue?
It happens that you don't always have the right items at hand, so you have to improvise. As an example, we will tell you how to make a notebook with your own hands without using glue.
Materials:
- spring;
- hole puncher;
- cloth;
- cardboard;
- plain sheets;
- PVA glue;
- brushes;
- ruler and pencil;
- decor;
- scissors.
Production:
We are preparing the page sizes of the future product. We do the same with the cover, cut it out of the fabric, only the width and length should be about 0.5 cm larger. Using a brush, apply glue to the cardboard of the desired size, then apply the fabric. If you want a soft cover, then before that, first lay the fleece or synthetic winterizer.