How to make a child's bed
7 Awesome DIY Kids Bed Plans - Bunk Beds & Loft Beds
Apparently, I have a habit of designing and building adorable kids’ beds! Check out these 7 awesome kids bed ideas with building plans!
1. Sliding Barn Door Loft Bed
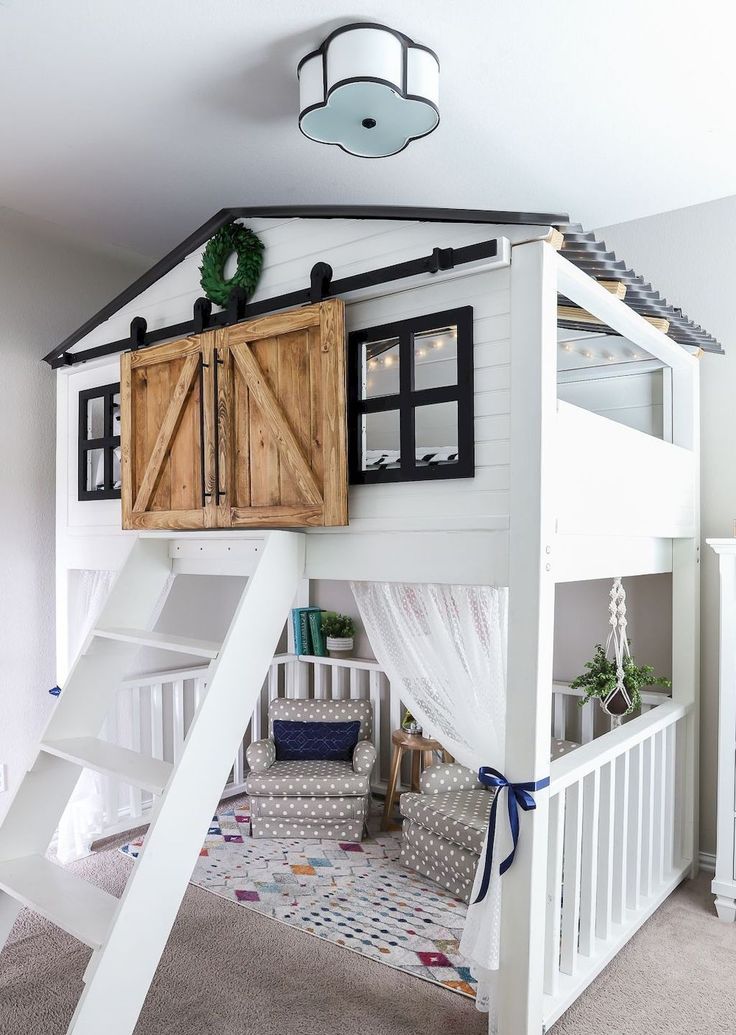
My daughter’s sliding barn door loft bed makes bedtime so magical! It fits a full-size mattress and leaves plenty of space underneath for playing, reading, and tea parties!
Learn More About This DIY Kids Bed →
2. Triple Bunk Bed
This DIY triple bunk bed is such a huge space-saver – the kids have so much floor space in their room now that their beds are tucked away in one corner. This is also a smart solution for grandchildren or multiple kids sharing a room. These beds fit a twin size mattress and with the total cost of lumber ringing in at just under $200, building it was not only fun, but cost-effective too! Pretty awesome, right? I just love DIY.
Learn More About This DIY Kids Bed →
3. Toddler House Bed
I teamed up with Anya and her husband Topher on this DIY Toddler House Bed project. Anya runs a Florida-based sign shop called Haven Made Designs (follow her on Instagram @havenmadedesigns). She and her hubby were transitioning their daughter from a crib to a toddler bed and wanted to build her something fun and whimsical, yet low to the ground. I’m so happy they reached out and asked me to draw up the plans for them!
This bed accommodates a crib/toddler mattress. Can you believe this project cost less than $50 in lumber?! Fifty bucks never looked so good!
Learn More About This DIY Kids Bed →
4. DIY Cabin Bed
This is the bed I built for my son. I teamed up with my dear friend Ana White to bring you the building plans and tutorial for this DIY cabin bed. You may recall how I built my three-year-old son a $30 platform bed that primarily served as a placeholder until I built him The Most Epic Bed Ever. Well, this is the bed I was talking about. I built it so that it easily disassembles since we move around so often (Army life).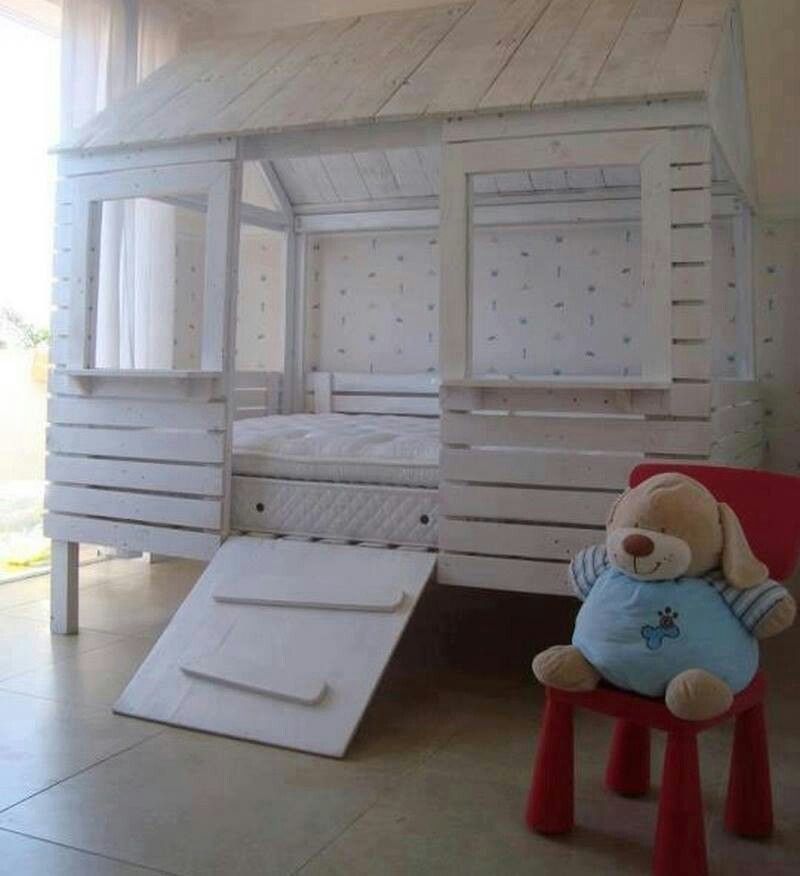
Learn More About This DIY Kids Bed →
5. DIY Lego Loft Bed
My dear friend Jaime Costiglio asked me to collaborate with her on this fun project! She built this ‘bed full of fun’ for her son. Isn’t it awesome? I mean, check out all that storage and the fun play/work space underneath, not to mention those adorable hanging buckets! Genius.
Learn More About This DIY Kids Bed →
6. Restoration Hardware-Inspired Toddler Bed
I built this bed when my daughter transitioned from a crib to a toddler bed. I fell in love with a similar bed from Restoration Hardware, but just couldn’t bring myself to drop that much money on a bed that would last us only a few short years. Building this DIY kids bed saved me so much money and I just love how it turned out, but my heart broke a little because my baby girl is growing up way too fast!
Learn More About This DIY Kids Bed →
7. Kitty Twin Trundle Bed
Betty wanted to build a twin-sized trundle bed for her kiddos so she reached out to me to draw up the plans.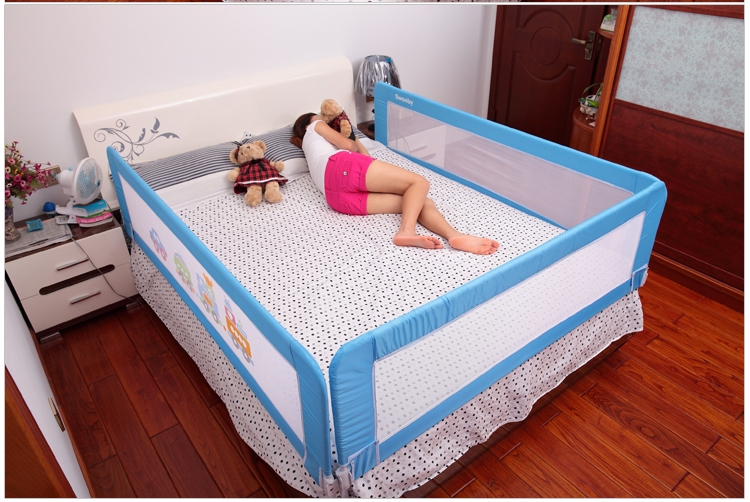 She was inspired by an adorable unicorn headboard she spotted online and we decided to put our own spin on it and came up with this sweet kitten headboard! It’s so cute! And the additional roll-out trundle bed makes sleepovers extra fun!
Learn More About This DIY Kids Bed →
That’s all my DIY kids bed plans for now. I’ll surely be adding more in the future, but hopefully these plans will be useful if you’re looking for a few awesome kids bed ideas.
20 Unique DIY Bed Plans for Kids Bedroom (Free Plans Included)
Transform your kid’s bedroom into a dream space with these 20 unique DIY bed plans for kids. Where he/she can not only rest or sleep but can think of future goals. We just can’t miss out the fun factor while decided a bed for the kids’ bedroom and all these homemade designs will create too much fun for the kids and will also be an absolute comfort for the kids.
Have you made your mind to build a bed for your kids at home that your kids will love to cherish for years to come? Then get some great design inspirations from this list of 20 Outstanding DIY Beds for Kids that are more than beautiful, durable and stylish and would make the best gifts ever for your kids.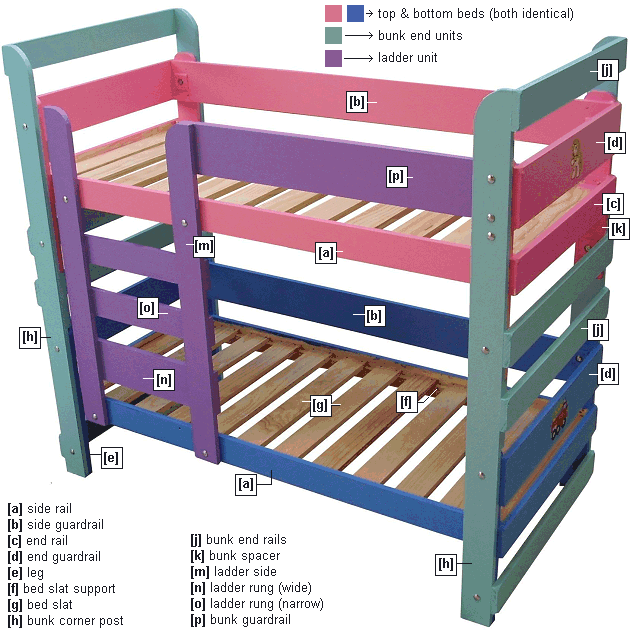
Building any of these beds for your kids will instantly raise you up in their eyes and you can also go with your minimal skills and experience to build any of these inexpensive bed designs.
Build the simple plain bed for the kids that can be added up with the mattresses and decorative headboards for a fancy look. Next also build the bungalow style loft beds for the kids that will be accessible through elegant stairs that you can also build with the leftover wood.
Win the heart of your kids by making a pirate ship bed that you can also fancy up using custom LED lights, and also build the storage-friendly kids’ bed that will also help declutter kids’ bedroom by providing ample storage space for the toys and other materials. Build a loft bed will also be a great option you are short on bedroom space and this will also allow you to set up a study table or computer desk underside.
Build the elegant models of bunk beds for newly built kids’ bedrooms and also get busy with your tools to build DIY bunk bed in the wall that will not take much space.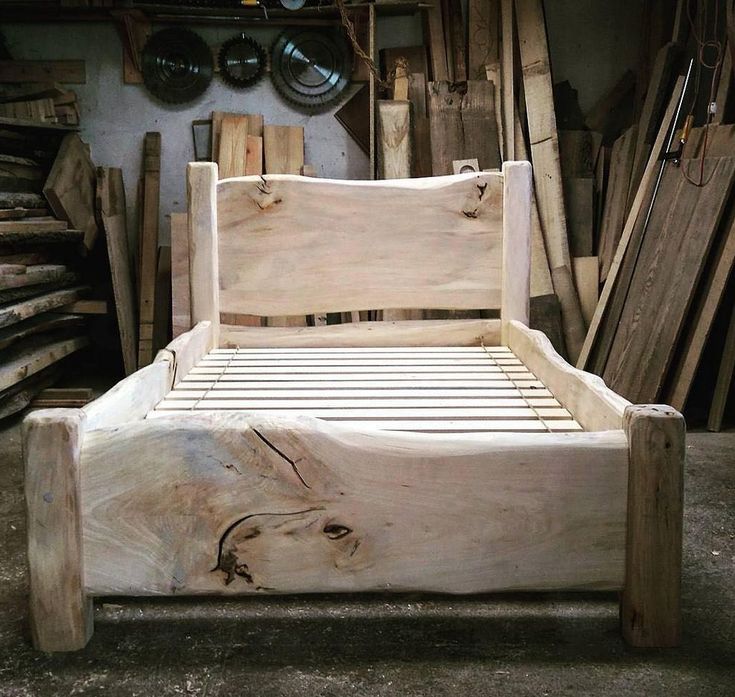 Rock the teen bedroom with the cabin style beds and win also the heart of your kids instantly by building a microbus bed.
Browse the entire list of these DIY kids bed ideas and click on attached reference links to grab full free tutorials, free plans, and step-by-step instructions.
Build Sliding Barn Door Loft Bed:
Build a bungalow-style loft bed for kids’ bedroom that may come with sliding barn doors that will definitely bring a great style to them.
Peek into creative details of this given sample that provides underside sitting space and is having a little bungalow style bed built in the higher level that also comes with a chevron roof.
Full how-to tutorial here jenwoodhouse
DIY Two Toddler Beds for $75:
Need to organize the newly build kids bedrooms? Then do make the new wooden beds for them that will not take much of your time.
Look at these phenomenal toddler beds that are self-made and will only cost you 75$.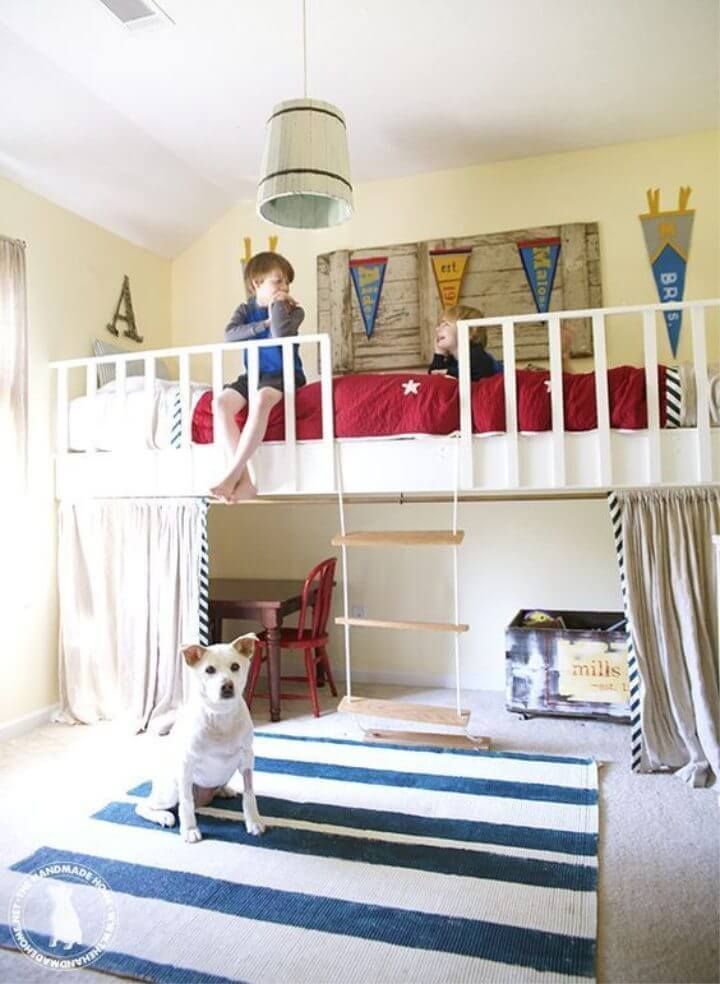 Another great kids’ bed idea. designmom
How to Build Child’s Pirate Ship Bed:
Want to build a lovely kids’ bed on a special theme then this pirate ship bed will make a great inspiration for you.
A perfectly cute boat style wooden bed that you can build even with the recycled wood.
The lighted tree branches all around create a great scene for sure. Tutorial here littlethings
Modern DIY Bed with Storage:
The storage space is highly needed in the kids’ bedroom to store the kids’ toys, books, and other paraphernalia, so opt for this wooden storage bed for organizing the kids’ bedroom.
This is easy to build a black painted bed that provides box style storage space underside and it also comes on wheels. Here is how to make it homedepot
Build Your Own Loft Bed:
The loft beds are always visually pleasing and you can easily build wooden loft beds at home for the kids’ bedroom that will not break the style of the kids’ bedroom.
Build this bed higher on the wall and then install a stair to climb to the higher levels as you can see.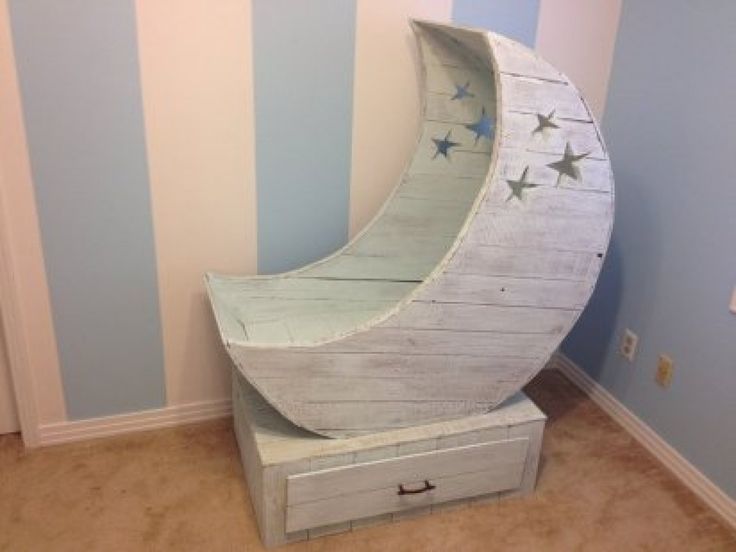 Step-by-step instructions here blackanddecker
DIY Camp Loft Bed With Stair:
One more epic looking loft bed is here to make at home, here the amazing design dimensions and wooden sturdiness will grab more of your attention.
It will definitely bring a great style to the kids’ bedroom and is super quick and easy to make using the wood slats or lengths. How-to tutorial here ana-white
Make Bunk Beds for Kids:
Lacking bed space in the kids’ bedroom then here is a great hack to get instant comfy bed space, just install the mini bunk beds in the wall space and enjoy.
Here a deeper wall area has been transformed into a bunk bed using wood and creativity. Another mind-blowing bed design for the kids’ bedroom. Instructions here theycallmegranola
How to Make Bunk Beds:
You can be your own boss and furniture setter and can build all sorts of bunk beds at home for the custom kids’ bedrooms.
Look at this pro-style wooden bunk bed come with storage cubbies built in the stair steps and is super stylish and sturdy.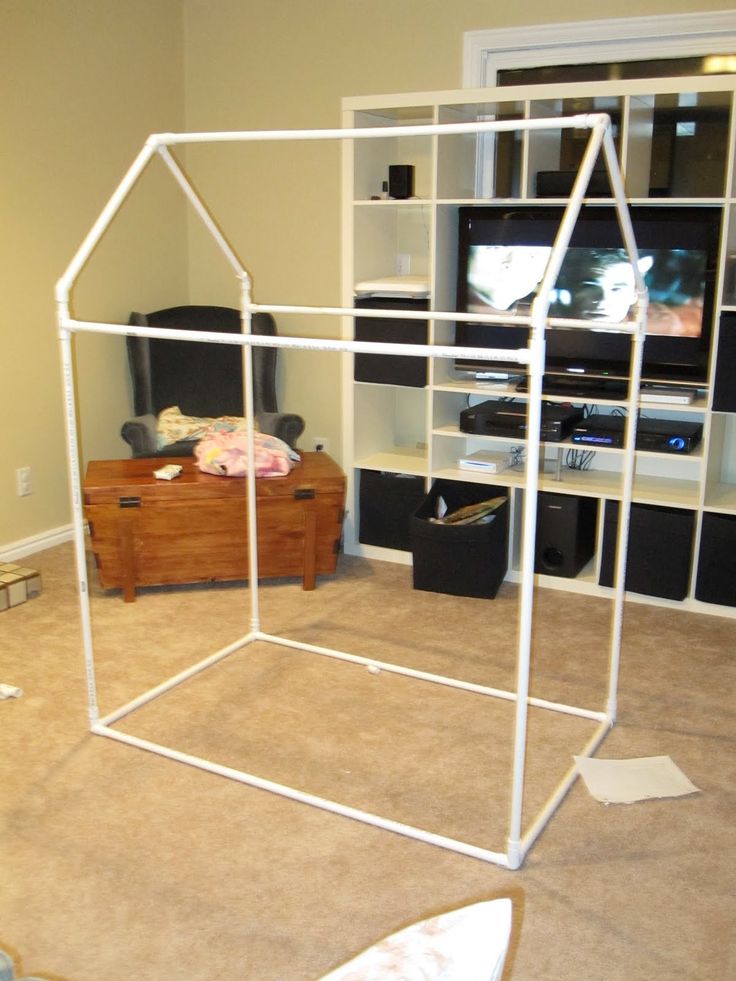 Free bed plans and tutorial here suburbanwifecitylife
Cabin Bed for Kids:
Duplicate this another beauteous model of wooden bed that is also self-made one and is sure to bring great charm in the kids’ bedroom.
This is like a mini bungalow that comes with a chevron roof supported with heavy-duty wooden pillars.
This bed is cute like your kids. Here is how to build this cabin bed jenwoodhouse
Build Micro-bus Bunk Bed and Playhouse:
A lovely playhouse, a stylish loft bed, a fun-making bunk bed, and a fabulous wooden achievement.
This bed is all in one and is inspired by a bus and provides bed space on the top. It offers stairs also to reach to higher levels.
Full how-to instructions here instructables
Build a Clubhouse Bed for Kids:
The design ideas are endless for the kids’ beds and here is another one to grab your attention, a clubhouse bed for the kids that is super easy to whip up.
Again a mini home like a wooden bed that you can quickly make with wooden slats and it will make the best gift for the kids.
Full tutorial and free plans here ana-white
Build Kids Teepee Trundle Bed:
This bed design will make you say a big “Wow” as it is super cute and stylish and is sure to make a great addition in the toddler’s bedroom.
A stylishly luxurious teepee trundle bed design that has been painted nicely and is sure to be loved by all the kids.
Full how-to tutorial and free plans here imgur
Hanging Bed Kids for Under $100:
The best bed solution for the kids’ bedrooms that are not very spacious.
A perfectly cute hanging bed that is well supported through the heavy-duty metal chain and will only cost you under $100.
How-to tutorial and installation guides here ourpaleolife
Adorable DIY Toddler House Bed:
Win also the heart of your toddlers by building this very gorgeous house style wooden bed that is adorable and cute.
Go with the slatted arrangements of wood slats to build this mini house cabin like a bed with chevron roof.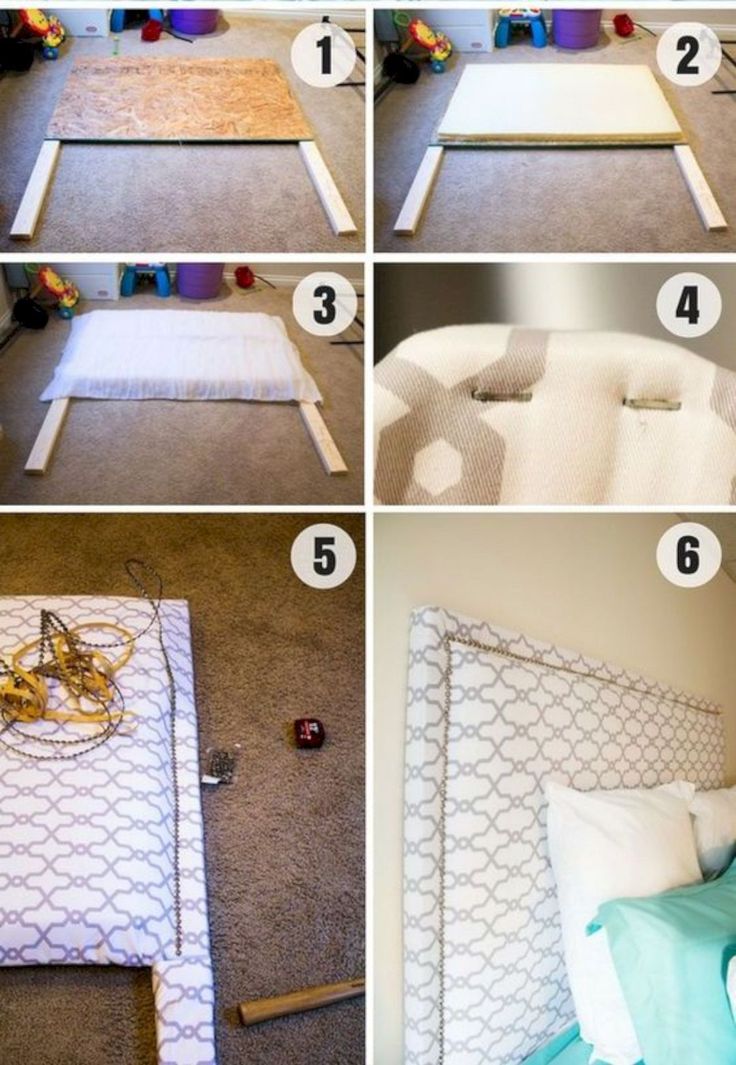 Full how-to tutorial here jenwoodhouse
DIY Loft Bed for Kids:
Win also the heart of your kids by installing this outstanding loft bed that is super quick and easy to build and will be loved dearly by all the kids in a home.
It provides a stair made of wood slats and rope to reach to higher bed levels. Decorate it in your own way.
Tutorial and free plans here thehandmadehome
Loft Bed With Storage and a Desktop Space:
Perfect budget-friendly and storage-friendly bed idea that provides storage and display shelves along with stylish stairs to reach higher levels.
Here this bed also comes with a matching L-shape desk installed to underside corner and hence you can easily install a mini office underside this bed.
Full how-to guides and tutorial here ana-white
Unique DIY $160 Twin Bed:
Look at this phenomenal bed design that is sure to be loved by all the kids, a stylish twin bed that comes with a raised headboard and is sure to be a glam addition in the kids’ bedrooms.
It also comes with a beautiful footboard.
Here is how to build this bed shanty-2-chic
DIY Triple Bunk Bed for Kids:
A total solution for the kids’ bedding, a triple bunk for the kids that is a self-made one and is too cute to win someone’s heart.
All the built-in bed levels are equally spaced and this bed design also provides stairs to reach to higher levels.
Clone it using recycled wood slats. Full how-to tutorial and instructions here jenwoodhouse
DIY Pottery Barn Inspired Bed:
Are you addicted to pottery barn style of decors? Then you will definitely like this pottery barn inspired bed that is totally handcrafted one.
This PB bed knock off will cost you just nothing if you build it with the reclaimed wood.
Willing to clone it? Full tutorial and free plans here shanty-2-chic
How to Build Beadboard Twin Bed:
You will be a big fan of the slatted arrangements of wooden lengths that build this spectacular model of a wooden twin bed.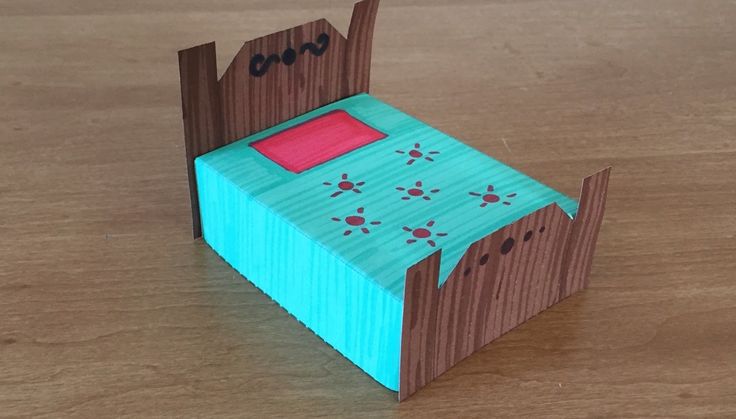
A perfect beadboard creation that is guaranteed to be loved by every kid for sure.
The chic white appeal makes it more visually attractive. build-basic
what's inside? Mattress, diaper, positioner. How to put and make up a crib for a newborn
Last time we talked about which crib to buy for a newborn. Now it's time to equip it: buy a mattress, stock up on diapers and make the crib safe for baby to sleep and wake up. How to do this, says the author of the book "Smart Mom. How to prepare for the birth of a child in three days."
Baby mattress and how to cover it
It is important to choose the mattress exactly according to the size of the bed (error of 1-2 cm is acceptable). Then later there will be no question about the gaps between the mattress and the side walls, because the legs or arms of an actively crawling or rising child can fall into the gap or get stuck there.
Some mattresses have two sides: softer and firmer. In the first months of a baby's life, for safety reasons, it is recommended to lay on the harder side of the mattress.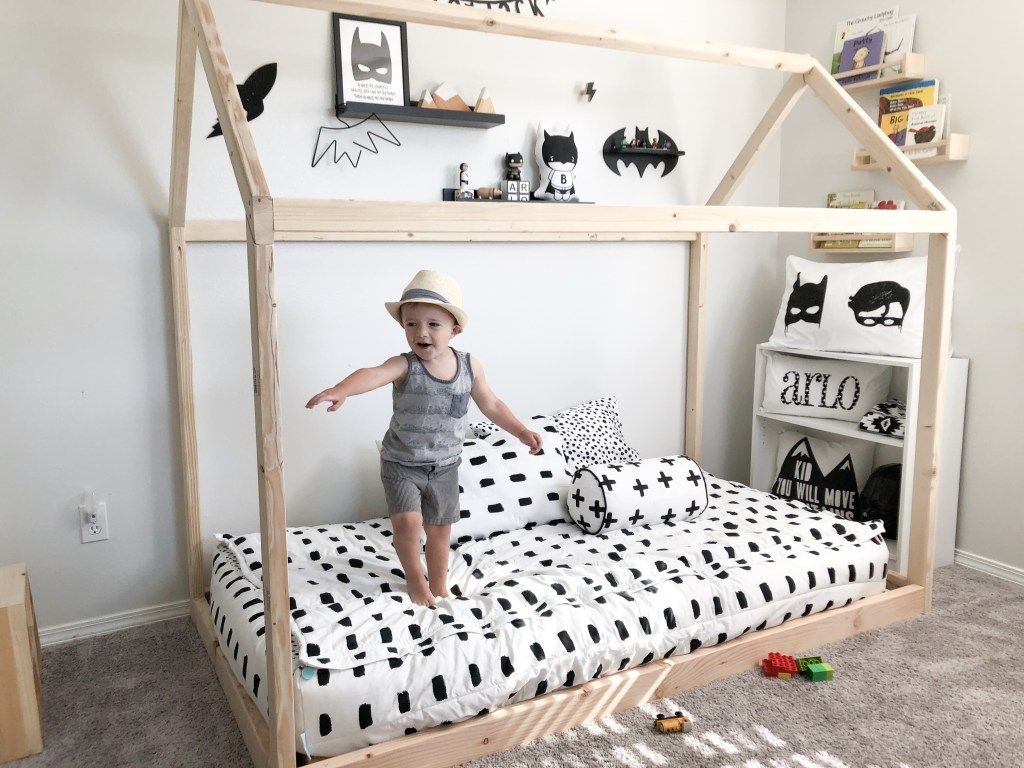 The baby still has weak neck muscles, and if he accidentally rolls onto his stomach, he will not be able to lift and turn his head on the soft surface of the bed to breathe freely.
To prevent the baby from getting the mattress wet, you can put diapers on it: special waterproof cloth or paper disposable . But remember that all such impervious diapers or oilcloths give the effect of overheating, and the child lying on them will be hot and uncomfortable, even diaper rash may appear on the skin.
As an eco option, felted lambswool bedding can be used. It is warm, soothing, perfectly absorbs moisture and, interestingly, even wet, keeps heat well. Another easy way to keep the baby's bed dry is to put a few cotton or flannelette diapers on the mattress in a thick layer, which will not overheat and save the mattress.
From above we cover the mattress with a suitable size cotton or flannelette diaper or stretched sheet with an elastic band . Large diapers perform two functions at once: they can be used both as a sheet and for swaddling a baby. The decent dimensions of such diapers will allow you to wrap the baby comfortably and with a supply of fabric. Usually, after a couple of minutes of active struggle with the "correct" size diaper, the child resigns himself and falls asleep calmly. When a young mother, out of ignorance, tries to swaddle a screaming baby in a small diaper, then, in principle, a convenient method of calming children discredits itself.
Anti-spitting crib
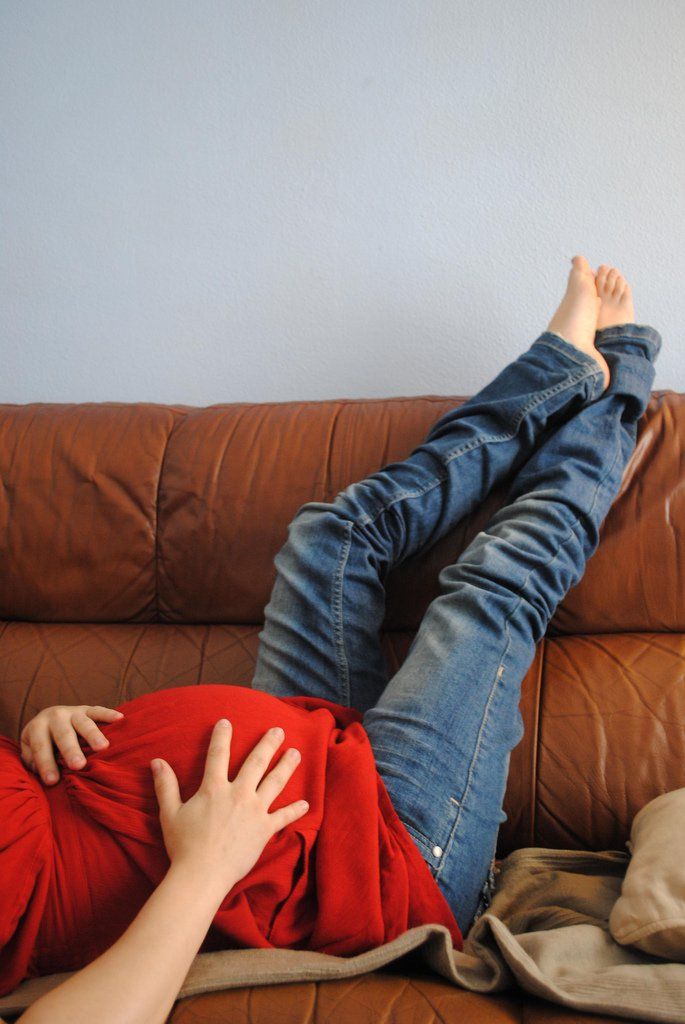
Raise the head end of the crib or carrycot by approx. 25 degrees . To do this, manufacturers build in a special lifting mechanism in some models. But most often it is absent, so you will have to put something under the mattress yourself: a folded flannelette blanket, a terry towel, a couple of cardboard boxes or boards. A good, dense mattress will not sag, but will retain its shape and slope, like a drawing board.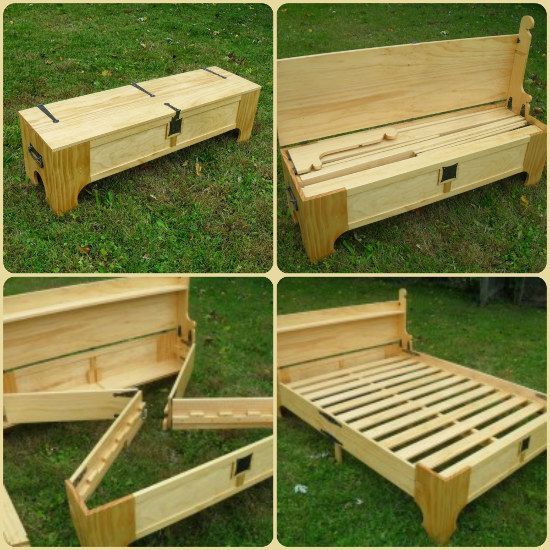
Why do you need to lift the head end of the crib? To prevent or reduce the frequency and ease of regurgitation (reflux of milk from the stomach into the mouth and then out).
Due to the immaturity of the nervous and digestive systems, infants in a horizontal position may spit up more often, therefore, the risk of choking increases, i.e. milk from the baby's stomach into the mouth, and from there into the respiratory tract (this is called "aspiration").
In babies, for quite a long time, in some even up to a year and a half, the coordinated regulation of such a complex mechanism as swallowing matures. The structural features of the children's stomach exacerbate this process: infants have a poorly developed muscle ring (Gubarev's sphincter) at the entrance to the stomach, and obtuse angles of His. In adults, they are sharp and therefore help to create the effect of a non-spilling inkwell, which, along with a well-developed sphincter at the border with the esophagus, prevents the exit of liquid food from the stomach.
For additional protection against regurgitation of the newborn, it is customary to place a little on the side of the crib at an angle slightly less than 45 degrees . To do this, you will need small tightly rolled diapers that you need to put under the back and tummy of the baby, or positioner - a special device with soft stops. It consists of two longitudinal rollers, the distance between which is easily adjustable. Correctly fix the child's body in a position on the back or on the side, and this will not allow him to roll over on his stomach, and also did not end up with his head under the covers.
Up to six months, an infant still has poor control over its body and will not be able to free itself from the tissues covering its face and nose. Therefore, do not hang his bed with loose diapers and blankets, and do not place large plush and other toys in its headboard that can fall on the baby’s face.
In the first month of life, the child learns to hold his head, and the natural curvature of the cervical spine - cervical lordosis - gradually begins to form in him.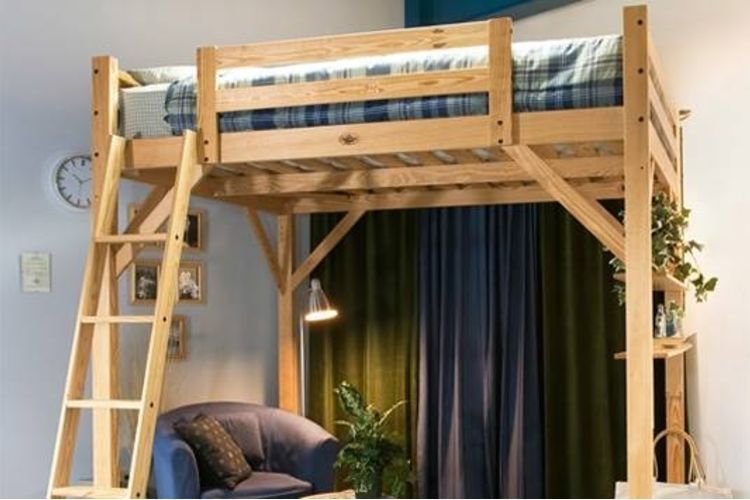 Therefore, the baby needs a pillow, but instead of the soft and familiar one, we build the baby small flat headrest made of natural materials . A soft flannelette diaper is suitable, which must be rolled up in several layers. Such an ascetic pillow should be changed daily, but sometimes more often if the diaper becomes wet due to frequent regurgitation.
In the first two or three months, until the baby can roll over by itself, do not forget to put him on the left side, then on the right side . In other words, put your baby to sleep on different sides of the body every day. This is necessary in order to avoid the habitual rotation of the head to one side and deformation of the baby's skull bones.
Frequent and favorite turning of the head to one side quite quickly leads to the risk of developing its habitual inclination to the same side, and also provokes a violation of the symmetry of the muscle tone of the entire body of the baby.
Where to put the baby cot?
It is necessary to provide free access to the crib so that parents do not have to squeeze through to it, sandwiched between a wall, radiator or cabinet.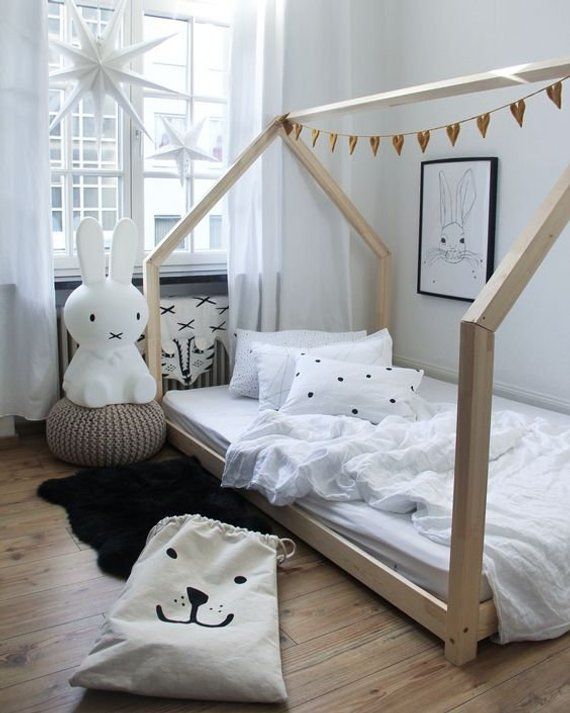 Without a doubt, it is more convenient to approach the child from the side, and not from the end of the crib.
Find the most comfortable and safe place in the room for your baby to sleep: not in a draft, not next to a cold wall of the house or, on the contrary, with a hot radiator; it is undesirable to place shelves with books, paintings or flowers above the crib. Try to exclude and electromagnetic smog , which is created by TVs, computers rolled into rings or crossed wires, mobile phones, tablets and even powerful electrical appliances behind the wall where there is a crib.
Children of the first year of life have a remarkably developed sense of smell. "What do they need it for?" - you ask. The life of a small child is completely dependent on the mother and her milk. In order for her to protect and feed him, the baby must "smell" where his mother is. To do this, in women who have given birth, the tubercles on the areolas around the nipples (Montgomery's glands) begin to produce an oily lubricant that attracts the child.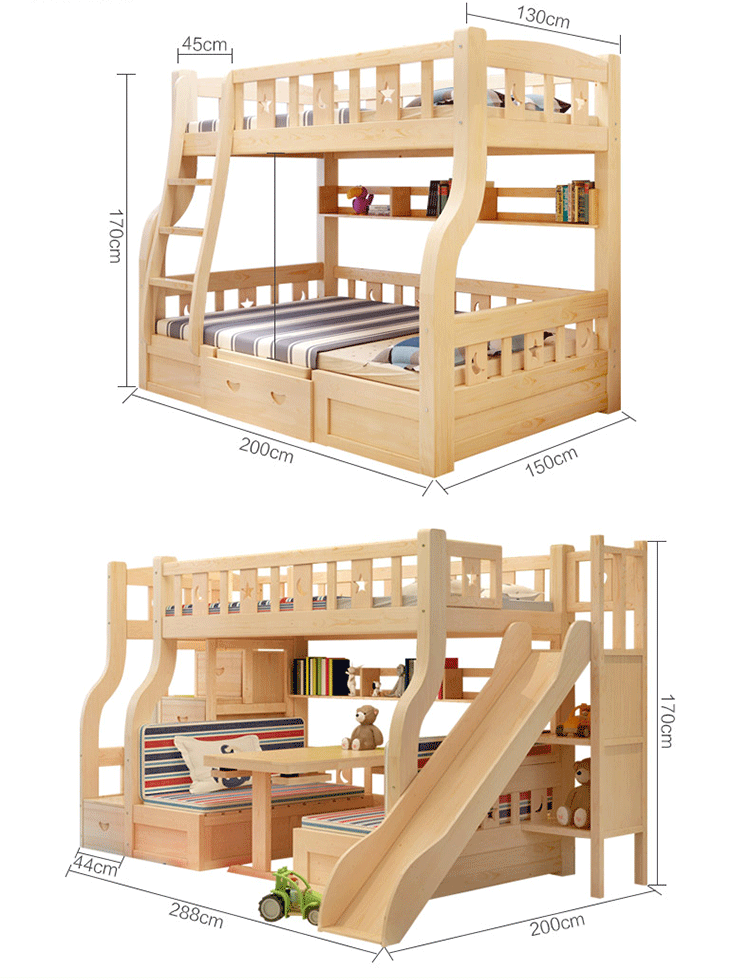
It was customary for many peoples to put a piece of cloth or a soft sleeping rag doll in the crib next to the baby, splashing a few drops of breast milk on it. Such dolls, such as "dudu", are very popular in France. The aroma of milk from "dudu" hovers in the crib next to the baby and helps the baby overcome the stress of a physical break with his mother after childbirth. You can just put some item of clothing in the crib, for example, a T-shirt that keeps your mother's smell.
How to make your bed beautifully, step-by-step instructions for every occasion
During special occasions, weddings, gala receptions or close relatives, it may be necessary to have a beautifully made bed. Someone likes to decorate their room even in everyday life, and someone is interested in how to make a bed beautifully after a vacation, seeing this in an expensive hotel. Regardless of the reason, it will be useful for housewives to learn how to make a beautiful bed, they will be able to please their husband, guests or relatives.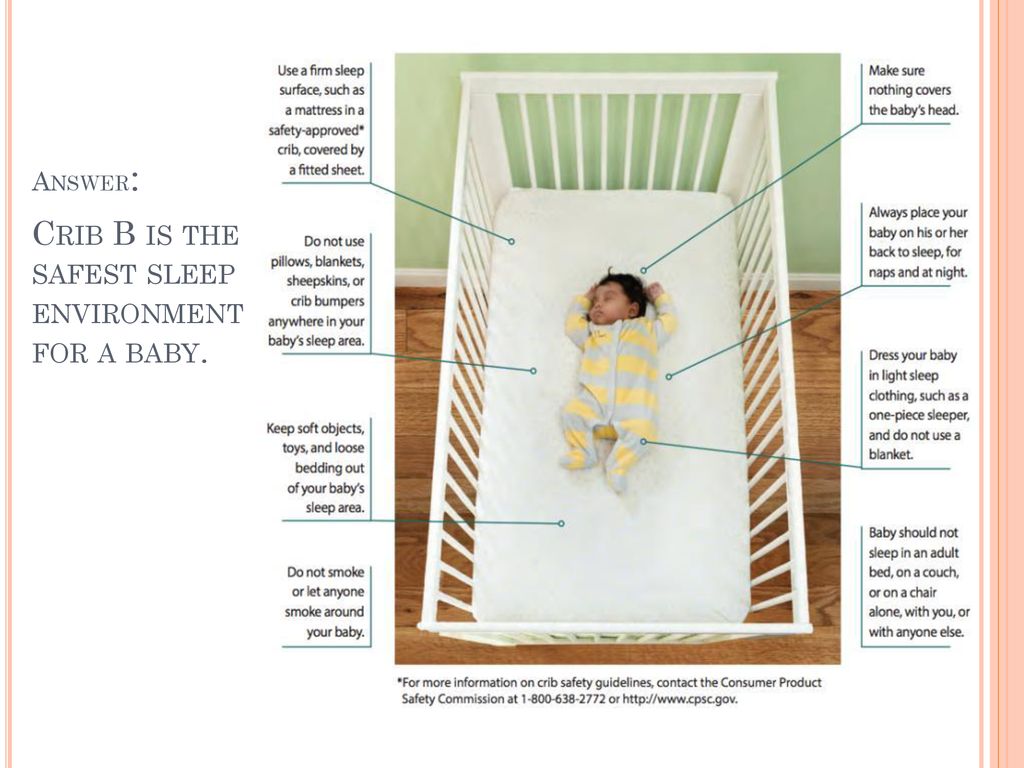
Content
- Quick methods
- Beautiful methods
- Combinations of color
- Additional decor
- photo
Fast methods of fasting ways to lay out the most popular time in the morning, -something more. If the owners are in a hurry to work, often the only way out is to make the bed quickly, but in such a way that everything looks tidy. A neatly made bed is one of the most important components of cleanliness and comfort in the room.
There are at least two ways to quickly make a bed and keep it looking neat and tidy. Below is a step by step guide on how to quickly make a bed in the bedroom:
- Pillows are placed over the sheets at the base of the bed. If there are several of them, they should be located on the same straight line, without touching each other;
- A blanket or blanket is spread out behind the sheet and pillows. If the bed is single and the blanket is double, it must be folded lengthwise twice.
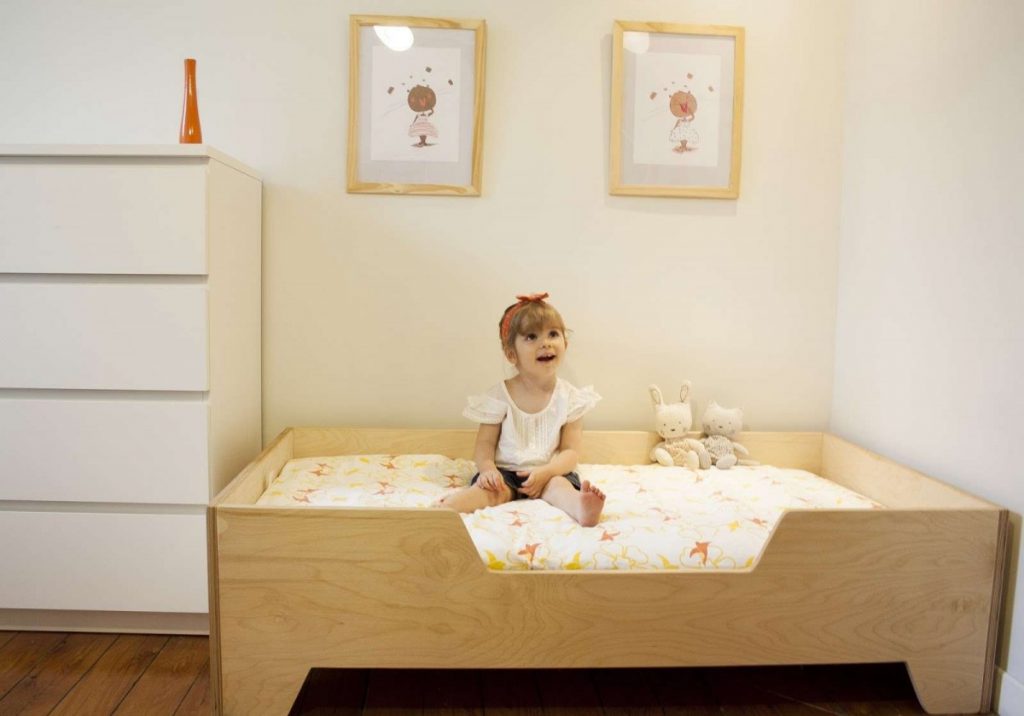 According to the rules, the blanket should not hang over the edges of the bed;
 - A blanket is placed over the blanket. It is larger than a mattress and a blanket. The cover does not hang down to the floor. It spreads evenly, there are no wrinkles on it.
This way of making the bed is quick and easy. It does not involve the use of additional decorative ornaments. The pillows are hidden under the covers. No part of the bed linen is visible upon entering the room.
This way of making the bed is suitable for children of primary school age. They can do it on their own if they sleep in a separate small bed.
The second way to make a beautiful bed is similar to the first. Their differences are the way the blanket is removed and the location of the pillow. The method described below is more suitable for a bed on which beautiful bedding is located. Pillowcases are especially important in this case.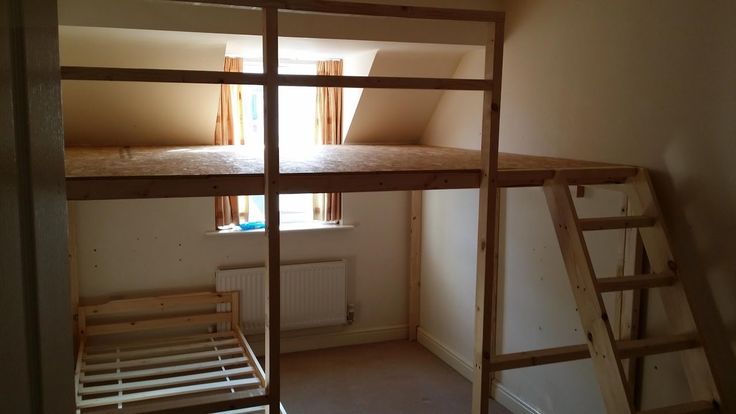 If they are sewn from satin, lace material, have a beautiful pattern, decorative braid, frill, embroidery or some other decorative elements, then the method described below is better suited.
The bed is made as follows:
- The pillow (or pillows) is temporarily removed from the bed;
- The duvet is folded to cover the entire area of the bed where the pillows are located. Moreover, if there are 2 or 3 pillows, the blanket is folded fewer times than if there is only one pillow;
- The folded blanket is placed on the part of the bed where the pillow is located;
- After that, the bed is covered with a bedspread. It straightens out so that there are no folds, dents and irregularities on it. The blanket is covered in the same way as the rest of the bed;
- After that, a pillow is placed on the bedspread, on the hill where the blanket is located. She straightens out so that her decorative elements, decorations or patterns are visible when entering the room.
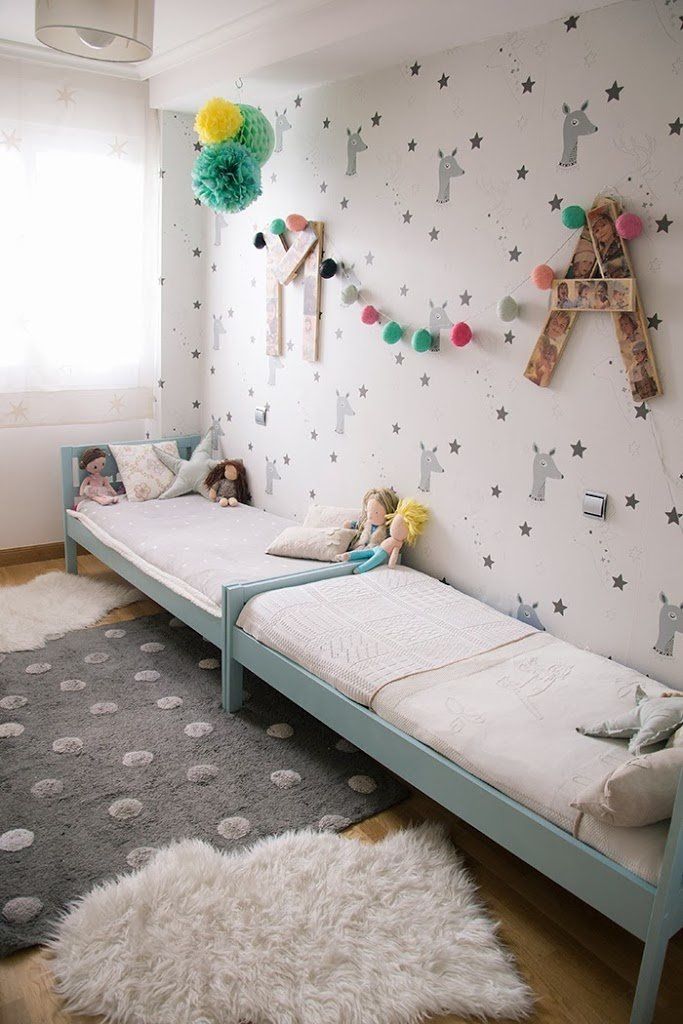
When making the bed in this way, it is important that the sheet does not peek out from under the covers. The bedspread should be larger than the sheet in order to cover it completely. The mattress should also be covered with a blanket.
Beautiful methods
A beautifully decorated bed is one that is arranged according to a certain scheme with decorative elements or has a special arrangement of interior details on the couch. These may be:
- Coverlets;
- Plaids;
- Pillows;
- Decorative cushions;
- Folded towels;
- Knitted doilies;
- Embroidered napkins;
- Soft toys.
To make your bed beautifully, you need a little more than a regular bedspread. It is necessary to adhere to the rules of how the blanket, sheet, decorative bedspread are straightened and where pillows and a blanket are placed. How to make a beautiful bed: 10 simple rules that will help you achieve an impeccable result:
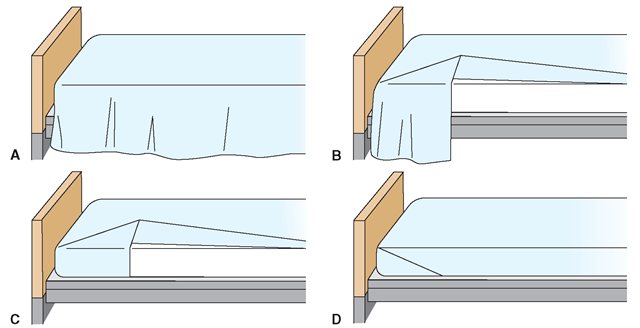
- It is necessary to wear a decorative skirt on the mattress.
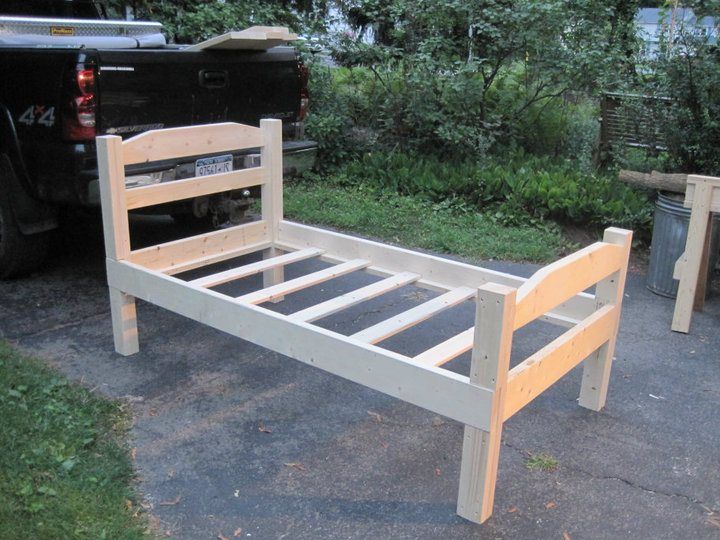 It can also be placed on the base of the bed. It should reach the floor. The main purpose of the skirt is to prevent dust from collecting under the bed;
 - The skirt must be straightened on all sides so that the folds hang evenly and evenly. There should be no bends under the mattress;
- It is mandatory to wear a mattress topper on the mattress. It serves to ensure that the mattress stays clean longer and lasts longer. Thanks to the mattress pad, the sheet lies flatter and rolls less;
- The sheet is first placed on top of the mattress pad so that the side edges and side where the legs are located hang freely. At the head of the bed, it is necessary to tuck the sheet behind the mattress so that it does not roll or wrinkle;
- Only after that you can tuck the side where the legs are, and then, forming beautiful angles, tuck the sheet under the mattress on the sides. It is this sequence that will help form neat corners;
- Spread a duvet evenly over the sheet.
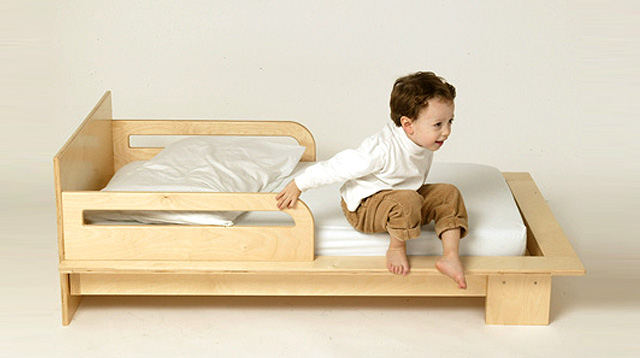 If it is in a duvet cover, it should also lie evenly and form a single plane on the surface of the bed;
 - A decorative cover is placed over the blanket. Its dimensions should be such that it either hangs down to the floor, or slightly covers the skirt;
- Pillows are then placed on the bed. In their number, size and shape, the beauty of making the bed is hidden. Pillows can be positioned in a variety of ways. You can first lay the large ones in size, and put the smaller ones on them, or near them. If pillowcases differ in color and material, this should also be taken into account. Figured products, pillowcases in the form of hearts, stars and other elements should be located in the most visible place;
- At the opposite end of the bed, opposite the pillows, you can put a thin blanket folded several times. Its color should fit into the color scheme of the decorative bedspread and pillows;
- Additional decorative elements can be placed on the made bed.
 If there are more than 5-6 pillows on the bed, you can do without decor.
This description of how to properly make the bed allows you to cope with the cleaning of the bed within 10-15 minutes, depending on the presence of decorative elements. But this method is not suitable for cases where someone will sleep on the bed during the day - it is too difficult to clean it 2 times a day. For special occasions or for important guests, this is how you need to make the bed.
Color combinations
Correctly combined colors in the interior are also important when choosing a color scheme for a bed. The table below shows color combinations. The first column shows the main color (this can be the room as a whole), and the next - the colors that should be used predominantly when decorating the bed.
| Basic color | Complementary color 1 | Complementary color 2 | Complementary color 3 | Complementary color 4 |
| Pink | Brown | White | Olive Mint | Sky blue |
| Tomato red | Intense blue | Green mint | White | Sandy |
| Light brown | Light cream | Pale yellow | Magenta Violet Red | Green |
| Fuchsia (deep pink) | Lime, mint green | Brown | Tan | Gray |
| Raspberry red | Damask rose | Black | White | |
| Orange | Lilac, violet | Blue, blue | Black | White |
| White | Red | Black | Blue | |
| Dark brown | Mint green, lime | Blue | Lemon yellow | Purplish pink |
| Cherry Red | Light orange, sandy | Pale yellow, beige | Gray | Azure |
Following these options for choosing the colors of bed linen for the color interior of the room, you can choose the perfect combination.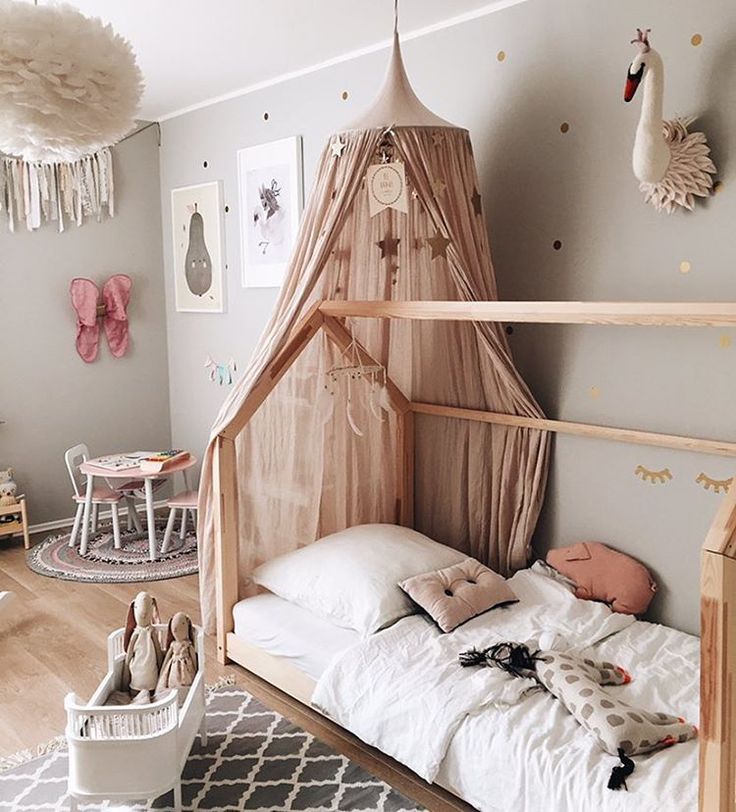 You should not be limited to standard colors either. Combinations should be selected that would appeal to those who sleep in this bedroom.
Additional decorations
Additional decorative elements that decorate the bed, especially appropriate when decorating the bedroom for honeymooners, guests, and when cleaning children's beds. For example, bedspreads can have decorative tassels, patterns, gold embroidery, beadwork, or even a photo print. Blankets can be made in a different color scheme than bedspreads. Plaids in Scottish check, terry single-color and tiger plaids are fashionable. Pillows for sleeping can be large square or rectangular sizes (50 * 50 or 50 * 70 cm). They can be non-standard, larger or smaller.
Decorative pillows to be placed on top of sleeping pillows. They are made in smaller sizes, often with ruffles, ruffles, tassels and other decorative elements.
Towels for decoration are folded in the form of snails, hearts, swans or other beautiful shapes.