Cleaning baby bottle nipples
Cleaning bottles, nipples and breast pumps | From Tiny Tot to Toddler
It is important to thoroughly wash baby bottles, nipples, breast pumps, and other items used for feedings to prevent gastro-enteritis and the development of thrush in your baby’s mouth.
Breast pumps and baby bottles need to be kept very clean when feeding your baby breast milk or commercial infant formula.
Cleaning recommendations for bottles and nipples are slightly different depending on which milk you use. Breast milk contains white blood cells and other components that prevent bacteria from growing for a while. Commercial infant formulas contain no such components and may also have been contaminated during preparation.
Inspect the nipples regularly. They will wear out over time due to the effects of suction, heat, contact with milk and exposure to sunlight. Replace them before they become soft or sticky, and throw them away immediately if they have holes, are torn or change texture.
Disposable bags are too flimsy to be reused. Don’t pour hot milk into them either as they could burst.
Cleaning is the most important step in caring for these items.
Germs, particularly bacteria, may develop and survive in milk, so be sure to remove all traces of milk from bottles, nipples and breast pumps every time you use them.
Cleaning
When?
- After every feeding, clean everything thoroughly no matter what type of milk you use.
How?
- Immediately after feeding, take everything apart.
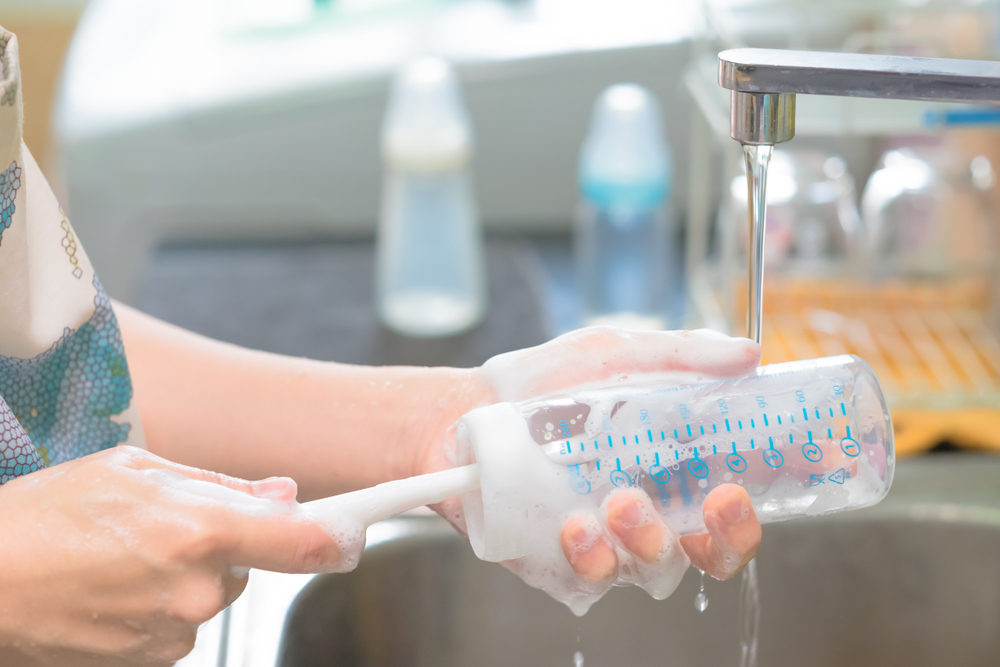
- Rinse the bottle, nipple and cap or breast pump in cold water. Be sure to run water through the hole in the nipple to remove surplus milk.
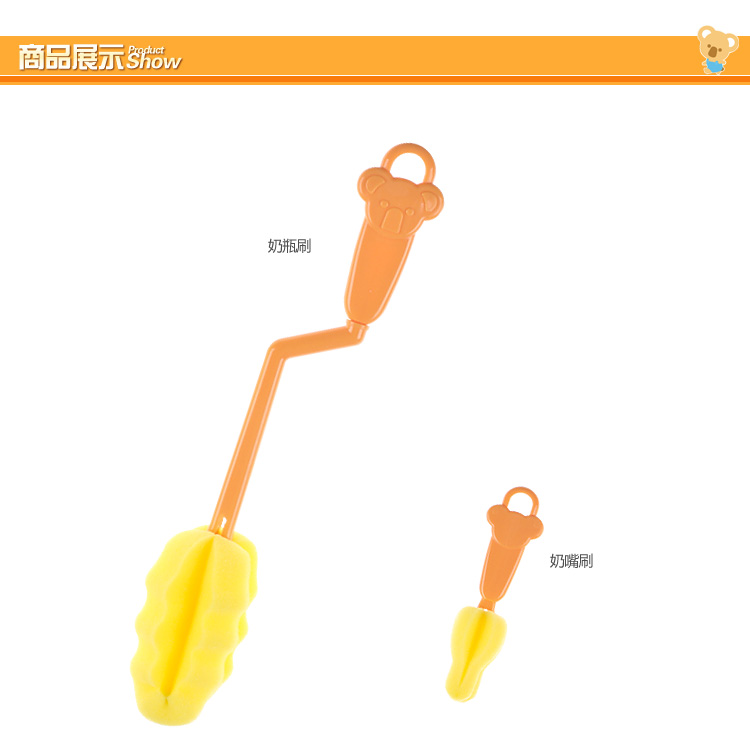
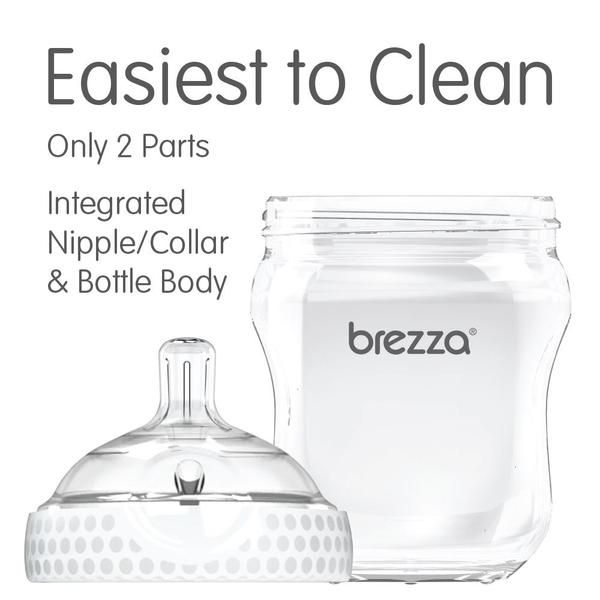
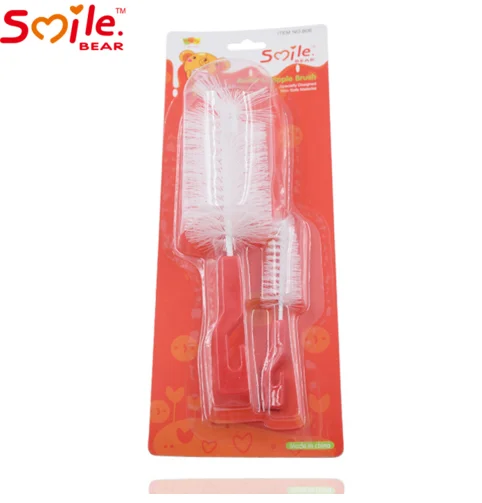
- Use hot, soapy water and a nipple and bottle brush. Scrub the bottle and nipple well, inside and out. Make sure to thoroughly clean all grooves on both the plastic ring and the bottle.
- Rinse in warm tap water.
- Drain and cover with a clean towel.
Once the bottles and nipples are clean, you can disinfect them to reduce the number of remaining bacteria.
Disinfection (sterilization)
When?
- Disinfect everything before using it for the first time, whether it’s for breast milk or commercial infant formula.
- If you’re using commercial infant formula, disinfect your material after every feeding until your baby is 4 months old. You can disinfect all your bottles and nipples once a day if you have enough of them to use for a full day’s feeding.
How?
In boiling water
- Take everything apart, clean all parts thoroughly and put them in a large saucepan.
- Cover in water, taking care there are no bubbles trapped in the bottles.
- Cover the saucepan to prevent too much water evaporating.
- Bring the water to a boil and boil for at least 5 to 10 minutes.
- Let cool and remove the items with clean hands.
- Drain and cover with a clean towel.
In the dishwasher
To disinfect items in the dishwasher, your dishwasher must have a high‑temperature washing and drying cycle.
- Choose this cycle, not the energy‑saving cycle.
- Take everything apart and clean thoroughly.
- Put bottles and rings on the upper rack. You can also put nipples in the dishwasher provided they are made of silicone. Latex (rubber) nipples must be sterilized in boiling water since they are not dishwasher safe.
With an appliance sold to disinfect baby bottles and nipples
- Follow the manufacturer’s guidelines.
8 Tips for Washing Baby Bottles and Breast Pump Parts
Get the Exclusive Pumping Playbook! Shop Now
Home » Pumping Tips » 8 Tips for Washing Baby Bottles and Breast Pump Parts
Created On:  | Updated: | By Amanda | 16 Comments
Are you overwhelmed with all of the baby bottles and other infant feeding gear you need to wash? Trying to find the best way to clean and store everything? Here are 8 tips for washing baby bottles and pump parts.
This post may contain affiliate links, which means if you click a link and purchase something, I may make a small commission at no additional cost to you. I only recommend products I love! More information here.
Here’s how to wash your breast pump parts and baby bottles in the easiest possible (and safe!) way.
1. Take everything apart before washing
This might be obvious to experienced pumping moms, but I did not actually know I was supposed to take breast pump parts apart to clean them when I came home from the hospital. I just sort of kept them assembled and washed them the best that I could for the first week.
This isn’t how you are supposed to do it. Before you wash infant feeding items, take everything apart.
Note: You don’t need to wash your tubing every time. More on this here.
2. Use a wash basin and a dedicated bottle brush
The CDC recommends washing pump parts and bottles in a wash basin rather than directly in the sink in order to avoid contamination with any bacteria that might be there. They also recommend using a bottle brush that is only used for infant feeding items.
You can get a wash basin on amazon for less than $10. If you need one for washing pump parts at work, you may want to get a collapsible one.
3. Wash bottles and pump parts in hot soapy water
When you’re ready to wash everything, fill up your wash basin with hot, soapy water.
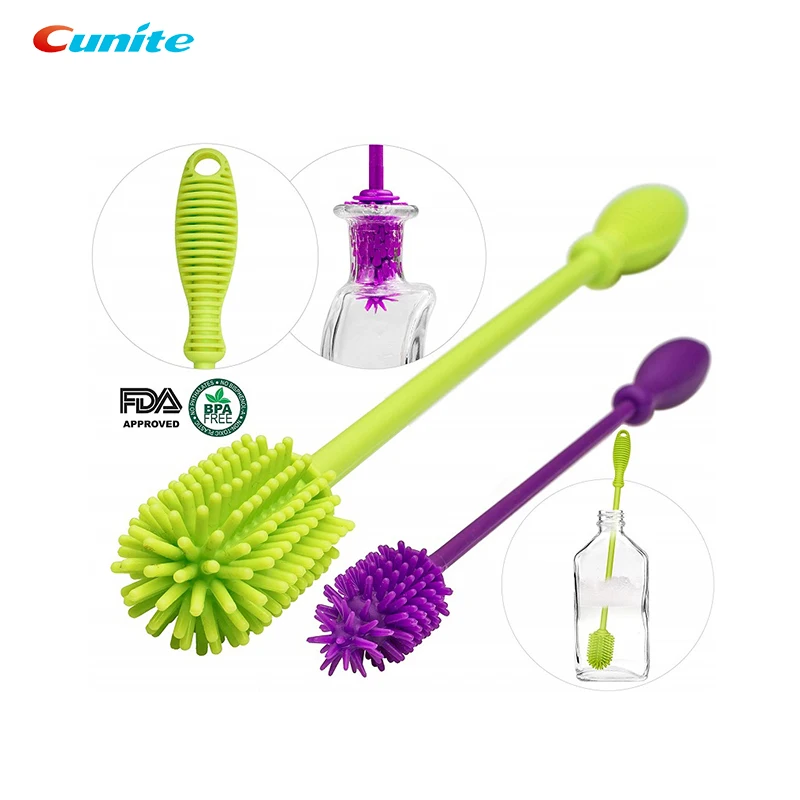
It’s important to use the bottle brush to get the soap on all of the parts (versus just soaking and rinsing). If you have breast pump parts that are a struggle to get to with your brush, try getting a set with smaller pieces like this one. They can be especially helpful for breast shield connectors.
4. Does your drying rack take up your whole counter? Make it vertical.
After you’re done washing your pump parts, you can set them out to air dry.
When I was exclusively pumping, bottles and pump parts took up my entire counter. If this is your current experience, you can make your drying rack vertical using a three tier cooling rack like this.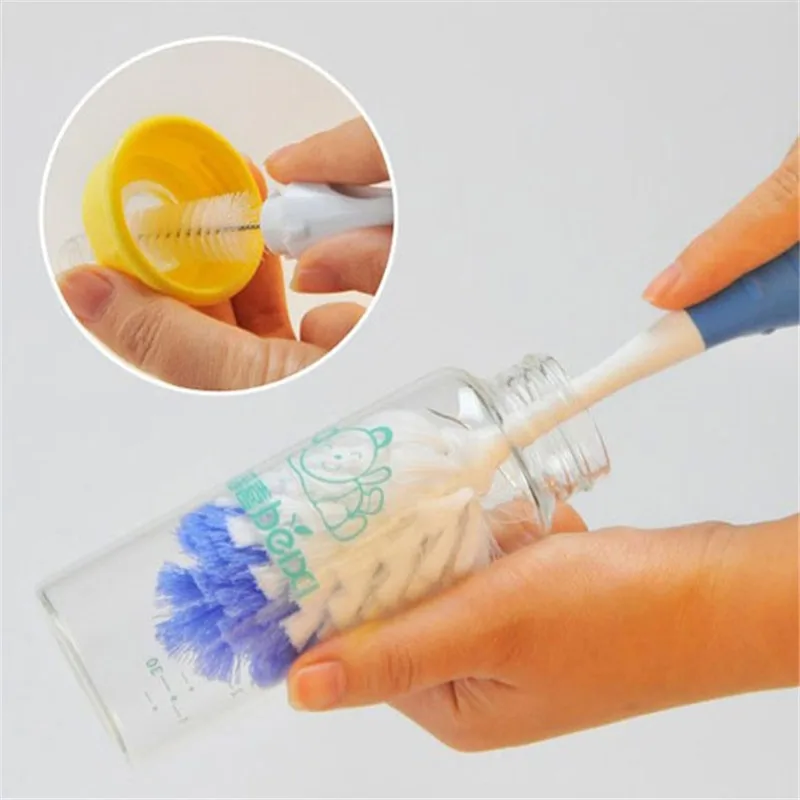
5. Use vinegar to get stubborn fat off of bottle nipples
Do you find that the nipples of your bottles are cloudy? Sometimes, breast milk fat residue can stick to them no matter how many times you wash them.
To get it off, you can submerge the nipples in a vinegar/water solution (10 parts water to 1 part white vinegar).
Soak them for 30 minutes, and then wash the nipples with soap and hot water.
6. Sterilize pump parts and bottles regularly
The CDC recommends sterilizing pump parts and bottles once a day for babies who are under three months old, who are sick, or who were premature.
If your baby doesn’t fall into one of these categories, it’s fine to sterilize a bit less often.
There are a bunch of ways that you can sterilize your infant feeding gear – a tabletop sterilizer, a microwave bag, boiling them, etc.
More information on each of these methods here.
7. Wash bottles and pump parts in batches
When you’re pumping 8-10 times per day, it can get exhausting to be constantly standing over the sink washing bottles and pump parts.
If you can, I would recommend getting a few extra sets of everything you need, and then washing them all at once.
In the past, I put breast pump parts in a zip-top plastic bag in the refrigerator between uses. However, the CDC now recommends washing pump parts in between each use. More info on this here.
8. Consider using your dishwasher to cut down on washing time
Another option to make the washing process easier is using the dishwasher to wash all of your gear.
Put infant feeding items on the top rack, and put smaller things like breast pump parts and nipples in a mesh bag (like this one) or other container. (Be sure to check your breast pump instruction manual to confirm that everything is dishwasher-safe.)
An added benefit of using the dishwasher is that if yours has a heated drying cycle, that will also take care of the sterilizing step.
I hope these tips for washing baby bottles and pump parts are helpful! Let me know if you have any other tips or questions in the comments!
posted in: Bottle Feeding Breast Milk, Pumping Tips
Featured on:
As am Amazon associate I earn from qualifying purchases.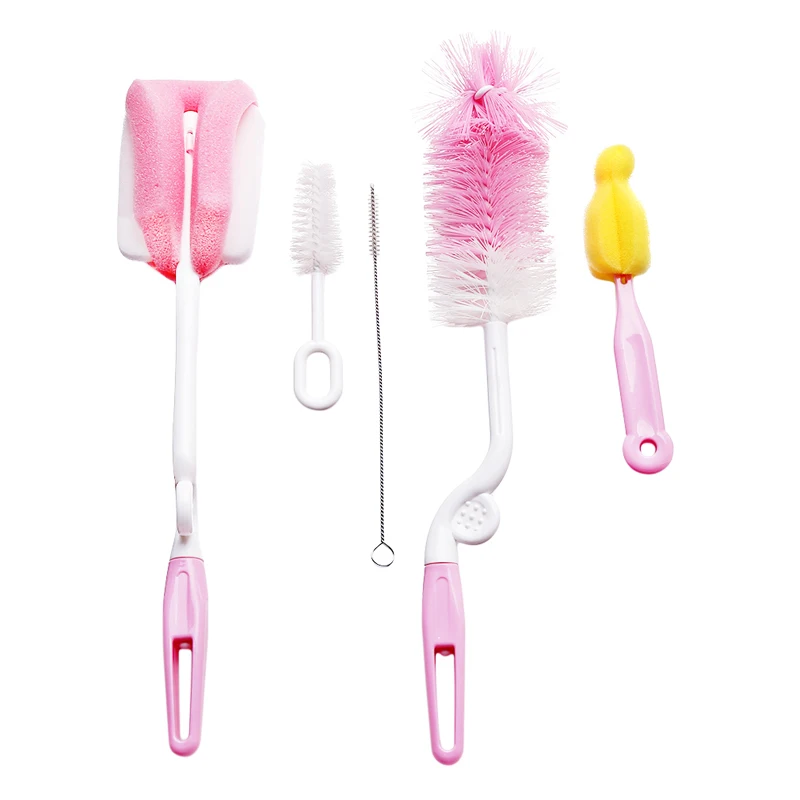
Bottles » Q&A
Why is it good that the internal system prevents vacuum in the bottle?
There are two main problems with most traditional baby bottles: air and vacuum. Air entering the baby's stomach can cause discomfort, gas, and regurgitation. The vacuum in the bottle can cause moist air and fluid to accumulate in the baby's middle ear. Traditional non-ventilated bottles are usually unable to prevent the creation of a vacuum at the time of feeding, which leads to a gradual difficulty in sucking liquid out of them. Babies squeeze the nipple tightly with their lips when eating, however, as the negative pressure increases, they begin to swallow air, because they cannot continue to squeeze the nipple tightly with their lips. Air enters these bottles through the vent in the nipple and fills (bubbles) the breast milk or formula.
When to move to the next level of Dr. Brown's?
Nipple design Dr. Brown's provides different levels of flow depending on the age of the baby and their feeding preferences.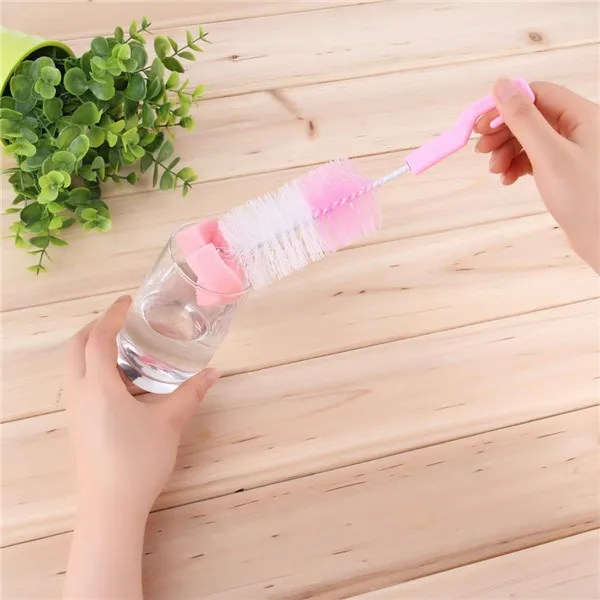 There are no special or exact rules for moving to the next level, we can only give you general recommendations:
- Level 1 - 0-3 months
- Level 2 - 3-6 months
- Level 3 - 6-9 months
- Level 4 - over 9 months
- Y-Cut - Y-cut for thick drinks and cereals
We also offer Preemie teats for premature babies. For any questions about the appropriate teat level for your baby, please contact us.
Can I use Dr. Brown's for bottles of other brands?
No, Dr. nipples. Brown's can only be used for Dr. Brown's.
Can I use Dr. Brown's without a ventilation system?
Dr. bottles Brown's Natural Flow® must be used with an internal vent system as this is necessary for the bottle to function properly and prevent vacuum.
Dr. bottles Brown's Options can be used with or without a ventilation system. As the baby's sucking skills become more developed, some parents find it convenient to feed without a ventilation system.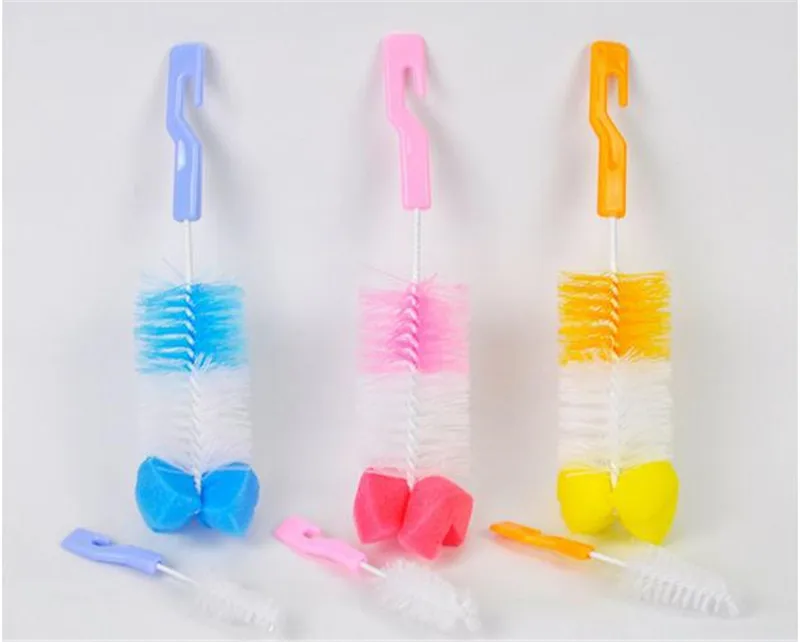
When can I remove the ventilation system from the bottle?
There is no exact time to start using a bottle without a ventilation system. Many parents start by feeding their baby with our vented bottle and then experiment as the baby's sucking skills begin to develop. You can start experimenting from 6-7 months. If the baby shows any signs of discomfort during or after a feed, we recommend using the ventilation system for another month and then trying again
Can the bottle be used to heat formula in the microwave?
We do not recommend using a microwave oven to heat bottled formula because such heating can create hot spots (hot spots) in the milk or formula that can harm the baby. To heat milk or formula evenly, we recommend placing the bottle in a pot of water on the stove, or using our Dr. Brown's Deluxe, which heats liquids evenly and safely.
Is it safe to wash the Dr. Brown's and its components in the dishwasher?
Yes, you can wash all parts of the Dr.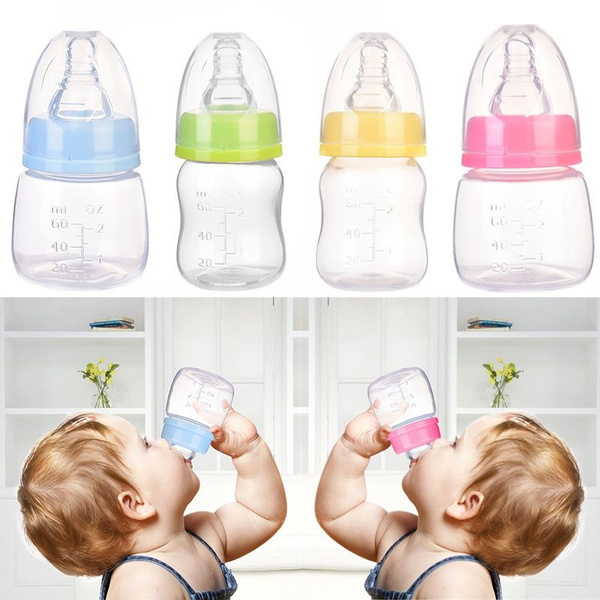 Brown's on top of your dishwasher. To ensure the safety of parts during washing, you can use the Dr. Brown's.
Is it possible to sterilize Dr. Brown's?
Yes, sterilize Dr. bottles. Brown's can. This can be done in several ways.
- Sterilize parts in boiling water for 3 to 5 minutes maximum. We recommend bringing the water to a boil, then turn off the heat and leave the bottle components in the water for 3-5 minutes.
- Use our sterilizer Dr. Brown's Deluxe. This is an electric steam sterilizer that can sterilize all Dr. Brown's, as well as most bottles from other brands.
- Use Dr. Microwave Steam Sterilizer. Brown's with a special tray that can easily accommodate bottles and bottle components.
- Use microwave sterilization bags which can quickly sterilize bottles and bottle components, as well as pacifiers and drinking cups. Each such package can be used up to 20 times.
The inside of the bottle will remain sterile until touched, including with fingers.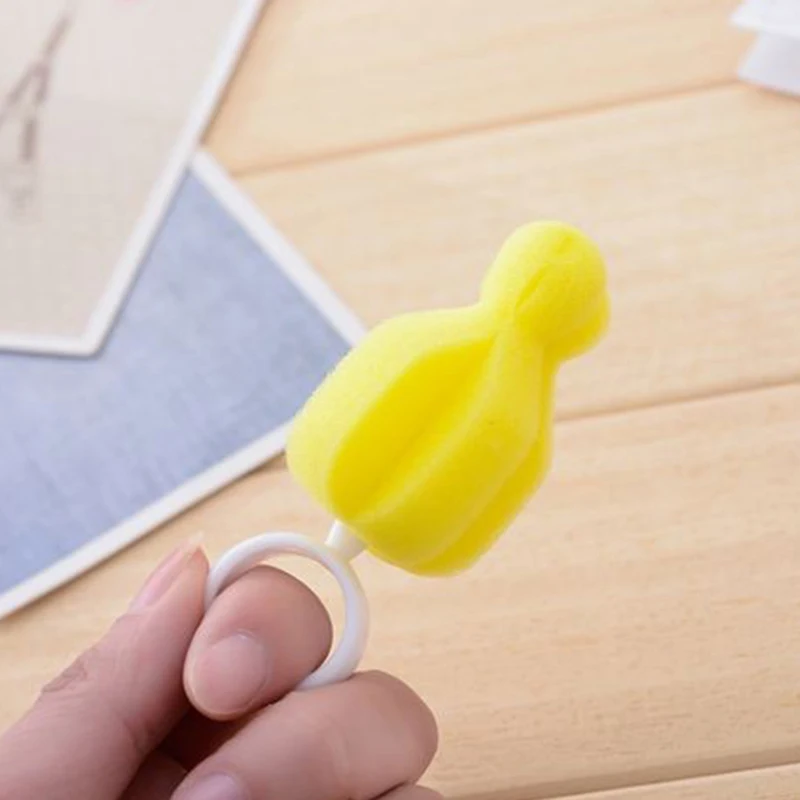 After the bottle is dry, we recommend screwing the nipple/nipple holder/cap onto the bottle to prevent contact during storage.
How to clean the bottle?
Bottles and bottle components may stain or film for several reasons. Plastic bottles and components may become discolored or cloudy from constant contact with ingredients in formula or breast milk, such as iron, or from contact with juices, foods, cleaning products that contain natural or artificial colors, precipitation, excessive boiling, or daily washing in the dishwasher. It is unlikely that discoloration or haze will affect the operation of the ventilation system as long as the bottle itself is in good condition.
Here are some tips moms sent us:
- White Vinegar - Soak the bottle in a 50/50 solution of white vinegar and water for eight hours, then rinse in cold water. After that, cloudiness and odors should disappear.
- Tea soda - pour tea soda dissolved in warm water into a bottle and then gently clean the inside of the bottle with a brush.
 To get rid of the sour-milk smell, fill the bottle with warm water, add a teaspoon of baking soda, shake well, and leave overnight.
Is this a leak?
Dr. bottles Brown's are equipped with a ventilation system. This means that no negative pressure is created in the bottle while feeding the baby. Under certain conditions, fluid may escape through the ventilation system. To prevent leakage, we offer a few tips.
Preparing the bottle:
- Check that the components of the ventilation system fit snugly together.
- The ventilation system must be removed from the bottle while formula is being heated.
- Avoid overheating. Overheating can expand the air in the bottle, pushing formula through the vent system, which can cause leakage.
- Avoid shaking the bottle when stirring the formula. Use a spoon to stir the mixture. You can use a jug to stir Dr. Brown's.
Feeding:
- Avoid overfilling the bottle.
 The ventilation system will not work properly if the liquid is above the filling line marked on the bottle.
 - Hold the bottle at a 45 degree angle when feeding. This will ensure the proper functioning of the ventilation system.
Transport:
- Keep bottles upright during transport.
- Use bottle caps when you travel. They turn the bottle into an airtight container and will help prevent any leakage while traveling.
We also suggest that you take care of the right time to move to the next teat level. If you are not sure what is causing the leak or want to fix the leak, please contact customer service.
How to use the Dr. Brown's bottle cleaner?
Brush Dr. Brown's has several features that make it ideal for cleaning our bottles. Below are instructions for using our brush.
- Take the bottle apart and soak all parts in hot soapy water.
- Insert the brush into the bottle by twisting it inside and out and inserting it back into the bottle.
 The brush, consisting of bristles and a sponge, thoroughly cleans the inside of the bottle.
 - Use a small wire brush to clean the ventilation funnel.
- Use the base in the handle of a brush with a ribbed surface to clean the silicone teat.
- Rinse all components of the bottle and leave to dry completely.
What are our bottles made of?
Dr. bottles Brown's are made from BPA-free polypropylene plastic or borosilicate glass. All components of the Dr. Brown's, including the ventilation sleeve, funnel, pacifier holder, and lid, are also BPA-free. Our pacifiers are made from high quality medical grade silicone.
Where are your bottles made?
Most Dr. Brown's are made and packaged in China. Some of our items are made in the USA. Our silicone nipples are made in Germany, USA and China. The country of manufacture is indicated on the packaging. Dr. Brown's is committed to the quality of its products, and we carry out rigorous testing and rigorous quality control of our products.
HOW TO STERILIZE PHILIPS AVENT 9 BOTTLES0001
The walls of nipples and bottles are teeming with millions of microbes. They are not afraid of boiling water, soda and detergents. The only thing that kills them is hot steam, which literally dissolves bacilli with a probability of up to 99.9%. Porridge and milk keep longer. A formula-fed baby is less likely to get sick.
So, mums, end your feeding with poorly washed bottles and learn how to disinfect them the way our grandmothers did. Only in a new way.
How to sterilize baby bottles
Washing with a brush or sponge is a must after every feeding. And it is better to sterilize in the evening or in the morning, in order to get rid of all pathogenic bacteria and not worry about the cleanliness of children's accessories.
When doing this, you must follow the safety rules: otherwise you can inadvertently scald or deform plastic dishes.
Below are three general guidelines for sterilizing baby bottles.
- The utensil must not be immersed in boiling water, otherwise it will soften and melt.
- Glasses and bottles are placed with their neck down: so that the steam cleans the inside, and the condensate flows down the walls into a bowl.
- Bottles must not touch the sides of the pot as they may melt and stick to them.
After sterilization, it is better not to remove the dishes from the container for about ten minutes. It should cool down to a comfortable temperature. And if you really need it, you should use tongs, oven mitts or a kitchen towel folded in several layers.
By the way: Baby utensils: how to choose - 4 key parameters to help
How to sterilize pacifiers for babies?
Teats are sterilized in the same way as bottles, but with the base down - to steam not only the outer walls, but also the inner walls. And let the moisture drain.
Types of sterilization
Two types of sterilization are used for the treatment of children's utensils - steam and dry heat.
- In the first case, the vessel is steamed.
- In the second, washed and still wet bottles are heated in the oven, sterilizer, microwave, multicooker and even in the dishwasher, which supports steam treatment at 80+°C.
Life hack: how to steam bottles and other things with sterilization bags (such as Nuvita NV1087)
- Put dishes in food bags.
- Pour 60-70 ml of water into them.
- Microwave for 2-3 minutes.
The sterilization process is as simple as a copper penny. Evaporating moisture destroys pathogenic (and not only) microbes from various surfaces. Materials exposed to hot air and steam do not creak from cleanliness, but are sterile and safe for health.
In this way, not only nipples and bottles are disinfected, but also brushes, bowls, thermoses and cups like Avent SCF796/01 and so on.
Interesting article: When did the first baby stroller appear: 10 facts from history
Microwaveable
The microwave oven offers 3 sterilization options. Not all of them are suitable for processing nipples.
- Place the bottles in a glass or ceramic dish → fill it with water → cover with a lid → put the microwave on maximum power for 5-7 minutes.
- Pour water into the bottle 1-1.5 cm from the bottom → microwave for 3-5 minutes. The nipples will have to be washed separately.
- In the Nuvita type microwave sterilizer (NV1085), it is enough to put the container → pour water → click on the valve → set the device to work for 5-8 minutes.
Picking up a hot dish is easier with tongs or oven mitts.
Sterilization in the microwave gives its advantages and disadvantages, described in the table:
Informative article: TOP-7 3 in 1 strollers the inner bowl of the multicooker. So that the saucepan does not smell like food, otherwise bottles or children's dishes will take over this smell.
The subsequent sterilization process in the multicooker is similar to microwave.
- Pour ≈ 1-1.5 liters of water into the bowl.
- Place the steam rack and place the bottles upside down.
- Seal the steam device hermetically.
- Set the "Steam" mode to 15 minutes or the "Sterilization" mode.
- Remove the dishes and cover with a towel to cool completely.
This method also has its pros and cons.
Sterilizer
Baby sterilizer is an electrical device for cleaning utensils. Works carefully, the bottle will not crack due to overheating.
Everything is calculated with medical precision in the method of steaming with a sterilizer. The device holds up to 6-8 bottles and the same number of nipples. A great example of such a device is the Philips Avent 3-in-1 steam sterilizer. It is ideal for a family with several kids.
How the device works is as simple as it gets. It consists of step by step actions.
- Pour cold water into the tank (how much is indicated in the instructions).
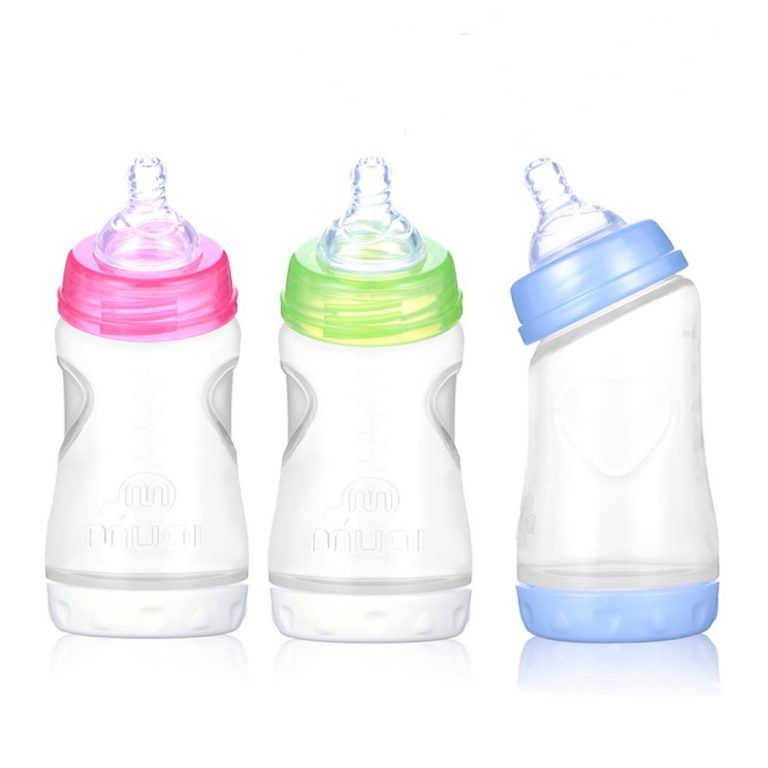
- Place pre-cleaned bottles in special niches. This should be done upside down.
- Close cover.
- Switch on the sterilizer for 7-15 minutes.
- Let the device “cool down” for 5-7 minutes. This is necessary so that you do not accidentally burn yourself with steam.
If the use of the bottles "does not burn", then they can be left under a closed lid - so they will be sterile for another 4-5 hours. If you need to get one of the bottles, take only it, and close the rest of the clean bottles with lids.
Before putting the dishes into the sterilizer, make sure they are clean. The device removes germs and odor, but does not cope with pollution.
Read: Top 5 Best Convertible Strollers
Avoid Sterilization Mistakes: 4 Common
Many parents make basic mistakes that are best addressed in advance.
1. Unwashed or poorly washed utensils
Leftover food provokes the reproduction of microflora and can cause stomach problems in a child.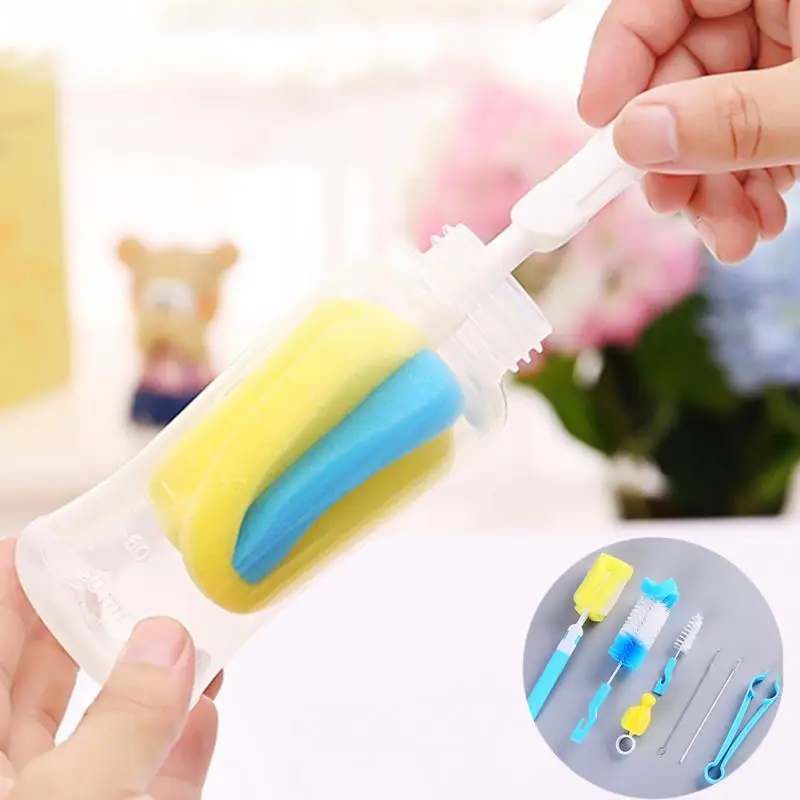 And sterilization does not wash out food residues - only cleaning can do this.
2. Pot boiling
You can't boil! The maximum allowable temperature for children's utensils is 110 ° C. And often it is even less. Otherwise, the bottles may melt.
3. Installation in a steamer and microwave without water is contraindicated
The device will burn, and the dishes will melt.
4. Sterilization of dishes with visible chips and cracks
Microbes accumulate and multiply in them, which can cause diseases of the gastrointestinal tract and not only.
Note: TOP-10 strollers with inflatable wheels
Pros and cons of sterilization
Each parent has his own opinion about sterilization, but there are definitely no indifferent to this issue.
Arguments "For" and "Against" are summarized in the final table:
So when choosing "to sterilize or not", everyone decides for himself.