Where to store bottles after sterilizing
How to Store Sterilized Baby Bottles
ⓘ We are reader-supported and may earn a small commission at no additional cost to you if a purchase is made through one of our links.
When you’re a new parent, there are so many things to worry about – from how to keep your baby safe and healthy, to how you’re going to survive on little sleep. One key aspect of early parenthood is ensuring the safety & health of your little one, and that’s where sterilizing your Bub’s baby bottles & feeding equipment comes in. Is it possible to sterilize the bottle every time you feed your baby, with so many other chores on your plate?
The good news is that you don’t have to sterilize your baby’s bottles after every use. In fact, you may store baby bottles and keep them sterile for up to 24 hours. Now you may be wondering how to store sterilized baby bottles. Don’t worry – In this blog article, we will walk you through the importance of baby bottle sterilization, some different ways to do it, and six easy steps for storing your baby bottles safely and effectively.
Baby bottle sterilization is the process of using high temperatures to kill harmful bacteria that can cause disease. It’s important to sterilize baby bottles because, as your baby’s immune system is still developing, they are more susceptible to infection.
When you sterilize your baby’s bottles, you’re killing any harmful germs that could cause your little one to become ill. Germs like viruses can cause serious viral infections such as the HAV and rotavirus. These illnesses can be life-threatening for babies, so it’s important to take steps to prevent them.
Sterilizing & Storing Baby BottlesYou now know how important it is to sterilize your baby’s bottle. So you must be considering doing it. But how should you do it? How can you make sure it remains sterilized?
Well, if you’re looking for a hands-off way to sterilize your baby’s bottles, you can use a sterilizing machine.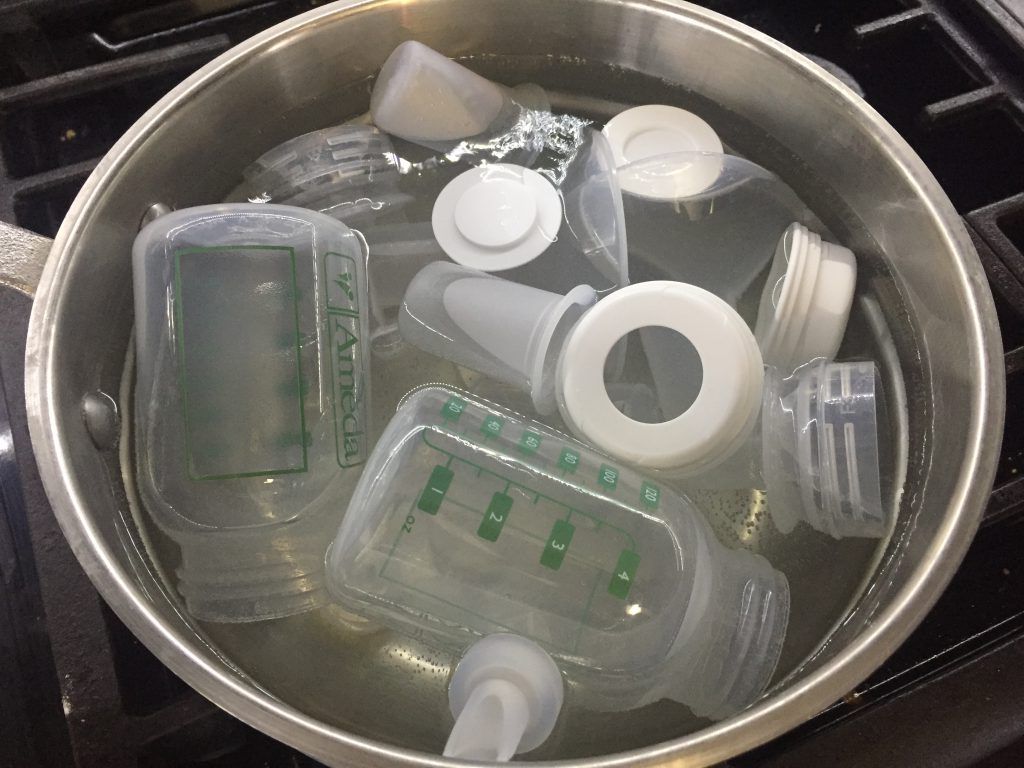 There are many different types of sterilizing machines on the market; click here to learn about some of the finest ones.
There are also many other ways to sterilize baby bottles. To check them out do read our guide on sterilizing baby bottles.
Once you have sterilized your baby’s bottles, it’s important to know how to store them properly to keep them sterile. Here are six easy steps for how to store sterilized baby bottles:
Step 1: Clean Your HandsThe first step is to make sure your hands are clean. Wash them thoroughly with soap and water for at least 20 seconds, then dry them with a clean towel.
Step 2: Keep the Sterilized Bottle for DryingTake the sterilized bottles and disassemble each component, including the attachment rings and nipple, one by one. Then place each component on a clean towel or drying rack separately. Place the bottles in an upright position.
Note that, if you’re using a drying rack, make sure it is clean and free of any dirt or debris.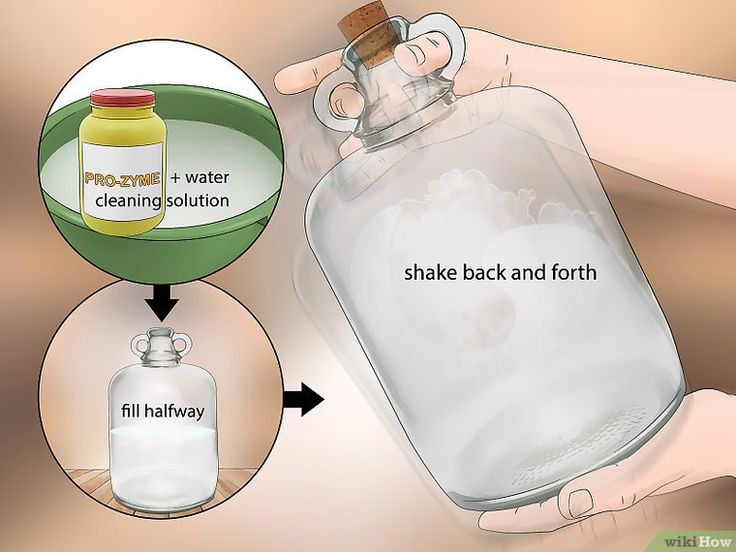
Now you need to choose how you’re going to store your sterilized baby bottles. You can use a clean cabinet, a sealed container in the refrigerator, or a sterilizer.
Step 4: Wash and Sanitize the Selected Storage MediumIf you’re using a cabinet or refrigerator, make sure to wash and sanitize it before storing your bottles. You can do this by wiping it down with a diluted bleach solution or another disinfectant and clean cloth. If you’re using a sterilizer, make sure it is clean as well.
Step 5: Reassemble the Sterilized BottlesOnce you have selected your storage medium and dried up the sterilized bottles, it’s time to reassemble them. Make sure to put the lid on tight so that the bottle is sealed.
Step 6: Store the Sterilized Bottles in the Selected Storage MediumFinally, store the sterilized baby bottles in the selected storage medium.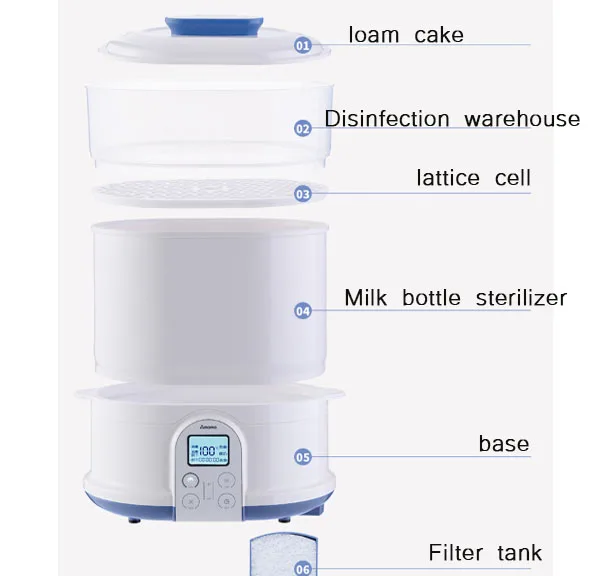 Here’s how you may use different mediums to store them:
If you’re storing your sterilized baby bottles in the kitchen cabinet, follow these few simple steps:
- To prevent the bottles from coming into touch with any dirt or debris, line them on a clean towel or sheet.
- Place the bottles on the shelf with the caps on.
- Close the cabinet door to protect the bottles.
If you’re storing your sterilized baby bottles in the refrigerator, follow these steps:
- Choose a clean and dry sealed container that is big enough to fit all of your baby bottles.
- Place the bottles in the container and close with a lid.
- Label the container with the date and time so you know when they were sterilized.
- Store the container in the refrigerator.
If you’re storing your sterilized baby bottles in a sterilizer, follow these steps:
- Follow the instructions that came with your sterilizer to properly sterilize your baby bottles. Note that, the sterilizer cleans itself during the sterilization of baby bottles, ensuring that it is a safe and secured location for baby bottle storage.
- Once the bottles are sterilized, you can keep them inside the sterilizer until you use them again.
- When you’re ready to use a bottle, take it out of the sterilizer and shake off any excess water.
Both sterilizing and storing your little one’s bottle in a sterilizer is a safer option than any other. Because these devices are designed to eliminate germs, bacteria, and any other harmful organisms that might harm your child. If you want to know more about this, do check our article on why a bottle sterilizer is needed.
It’s important to protect your infant by sterilizing their feeding equipment and bottles. It’s also crucial to understand how to store properly sterilized bottles to keep them that way. By following the steps above, you can ensure that your baby’s bottles are always safe and sterile.
We hope you found this guide on how to store sterilized baby bottles helpful. Thanks for reading!
Formula Feeding FAQs: Preparation and Storage (for Parents)
Whether you plan to formula feed your baby from the start, want to supplement your breast milk with formula, or are switching from breast milk to formula, you probably have questions.
Here are answers to some common questions about formula feeding.
Do I Need to Sterilize My Baby's Bottles?
Before the first use, sterilize nipples and bottles in boiling water for 5 minutes.
After that, you don’t have to sterilize your baby's bottles and supplies each time you feed your baby.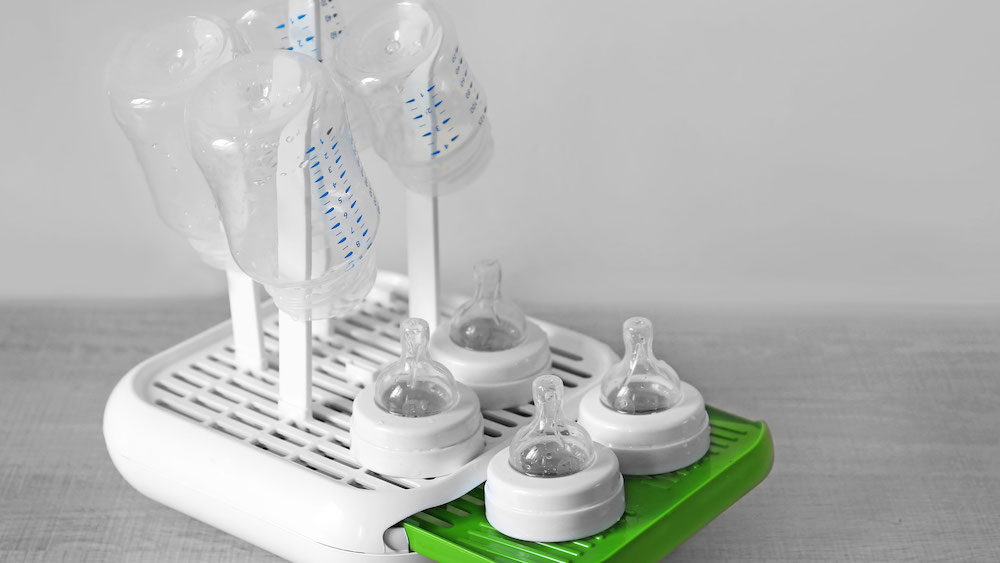 Do wash bottles and nipples in hot, soapy water (or in the dishwasher) after every use. You can get a store-bought countertop or microwaveable sterilizer, but it’s not necessary.
How Do I Prepare My Baby's Bottles?
Carefully follow directions on the label when preparing formula. Most store-bought formula comes in three basic forms:
- powders that you mix with water
- concentrates, which are liquids that you dilute with water
- ready-to-use (or ready-to-feed) liquids that can be poured right into bottles without adding water
Do not add more water than directed, or use formula past its expiration date.
Wash your hands well before preparing and feeding your baby. To mix powders or concentrates, use clean tap water. If you have a well, test the water to see if it’s safe before using it to mix infant formula.
If your tap water is not clean (or your baby has a weak immune system), boil it for at least 1 minute to kill germs. Let the water cool to room temperature before using it to mix formula. You also can use bottled water. Talk to your doctor if you’re concerned that your water is not safe.
Once prepared, the formula is ready to feed to your baby right away without refrigeration or warming. Feed your baby or store the prepared formula in the refrigerator within 2 hours.
How Long Can a Bottle Keep at Room Temperature?
Throw out any prepared or ready-to-feed formula that's been sitting out for 2 hours or more, or within 1 hour from start of feeding.
Can I Save Leftover Formula to Give to My Baby Later?
No, throw away any leftover formula. Harmful bacteria can multiply since the last feeding, which could make your baby sick.
Can I Prepare Formula Ahead of Time?
Some parents make a fresh bottle just before each feeding. But many parents make and refrigerate enough formula ahead of time to use for the day. If you know your baby eats every 3–4 hours, for instance, you can make 6 to 8 bottles to last you all day.
If you prepare formula ahead of time, store it in the refrigerator. You can use pre-made formula for up to 24 hours. Open containers of ready-made formula, concentrated formula, and formula prepared from concentrate can be stored safely in the refrigerator for up to 48 hours. Do not store unmixed powder in the refrigerator.
How Do I Warm My Baby's Bottles?
You don’t have to warm formula before feeding, but some babies may prefer it. To warm bottles, you can:
- Run the bottle under very warm or hot water for a few minutes.
- Put your baby's bottles in a pan of hot water. Be sure to remove the pan from the heat source before putting the bottle in it.
- Use bottle warmers that sit on your countertop at home or are portable.
Never use the microwave to warm bottles. It can create dangerous "hot spots" in bottles that can burn your baby’s mouth and throat.
Before warming a bottle, shake it. Then, test the temperature of the formula by squirting a drop or two on the inside or your wrist before feeding your baby. It should be lukewarm (barely warm), not hot.
HOW TO STERILIZE PHILIPS AVENT BOTTLES
Teats and bottles harbor millions of microbes. They are not afraid of boiling water, soda and detergents. The only thing that kills them is hot steam, which literally dissolves bacilli with a probability of up to 99.9%. Porridge and milk keep longer. A formula-fed baby is less likely to get sick.
So, mums, end your feeding with poorly washed bottles and learn how to disinfect them the way our grandmothers did. Only in a new way. nine0003
How to sterilize baby bottles
Washing with a brush or sponge is a must after every feeding. And it is better to sterilize in the evening or in the morning, in order to get rid of all pathogenic bacteria and not worry about the cleanliness of children's accessories.
When doing this, you must follow the safety rules: otherwise you can inadvertently scald or deform plastic dishes.
Below are three general guidelines for sterilizing baby bottles. nine0003
- The utensil must not be immersed in boiling water, otherwise it will soften and melt.
- Glasses and bottles are placed with their neck down: so that the steam cleans the inside, and the condensate flows down the walls into a bowl.
- Bottles must not touch the sides of the pan as they may melt and stick to them.
After sterilization, it is better not to remove the dishes from the container for about ten minutes. It should cool down to a comfortable temperature. And if you really need it, you should use tongs, oven mitts or a kitchen towel folded in several layers. nine0003
By the way: Baby utensils: how to choose - 4 key parameters to help
How to sterilize pacifiers for children?
Teats are sterilized in the same way as bottles, but with the base down - to steam not only the outer, but also the inner walls. And let the moisture drain.
Types of sterilization
Two types of sterilization are used for the treatment of children's utensils - steam and dry heat.
- In the first case, the vessel is steamed. nine0020
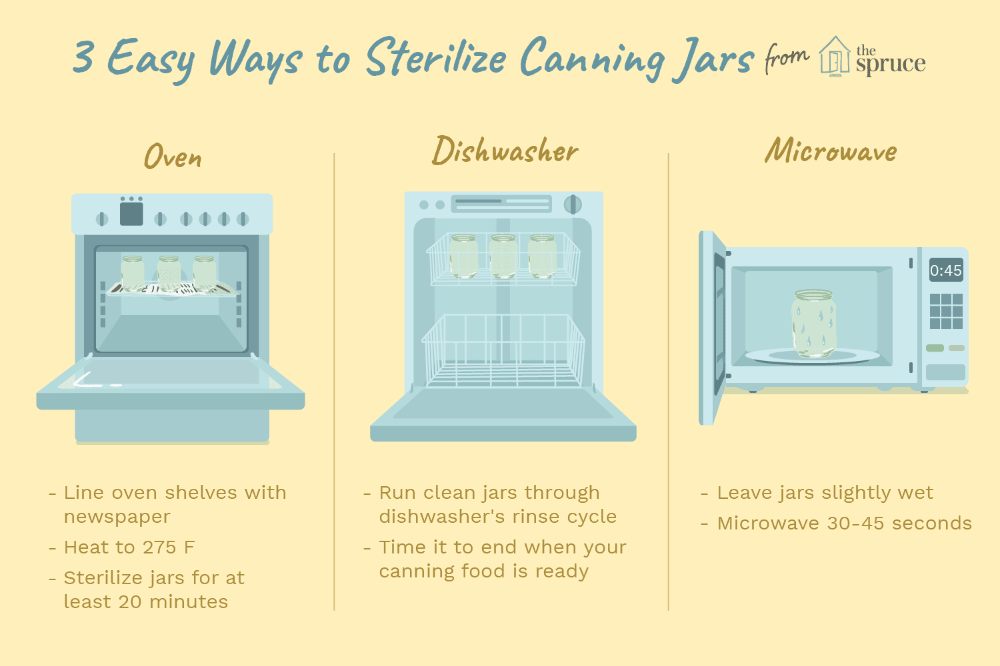
- In the second - washed and still wet bottles are heated in the oven, sterilizer, microwave, multicooker and even in the dishwasher, which supports steam treatment at 80+ ° C.
Life hack: how to steam bottles and other things with sterilization bags (such as Nuvita NV1087)
- Put dishes in food bags.
- Pour 60-70 ml of water into them.
- Microwave for 2-3 minutes.
The sterilization process is as simple as a copper penny. Evaporating moisture destroys pathogenic (and not only) microbes from various surfaces. Materials exposed to hot air and steam do not creak from cleanliness, but are sterile and safe for health.
In this way, not only nipples and bottles are disinfected, but also brushes, bowls, thermoses and cups like Avent SCF796/01 and so on.
Interesting article: When did the first baby stroller appear: 10 facts from history
Microwaveable
The microwave oven offers 3 sterilization options. Not all of them are suitable for processing nipples.
- Place the bottles in a glass or ceramic dish → fill it with water → cover with a lid → put the microwave on maximum power for 5-7 minutes.
- Pour water into the bottle 1-1.5 cm from the bottom → microwave for 3-5 minutes. The nipples will have to be washed separately.
- In the Nuvita type microwave sterilizer (NV1085), it is enough to put the container → pour water → click on the valve → set the device to work for 5-8 minutes. nine0020
Picking up a hot dish is easier with tongs or oven mitts.
Sterilization in the microwave gives its advantages and disadvantages, described in the table: the inner bowl of the multicooker. So that the saucepan does not smell like food, otherwise bottles or children's dishes will take over this smell. nine0003
The subsequent sterilization process in the multicooker is similar to microwave.
- Pour ≈ 1-1.5 liters of water into the bowl.

- Place the steam rack and place the bottles upside down.
- Seal the steam device hermetically.
- Set "Steam" mode to 15 minutes or "Sterilize" mode.
- Remove the dishes and cover with a towel to cool completely.
This method also has its pros and cons. nine0003
Sterilizer
Children's sterilizer is an electrical device for processing utensils. Works carefully, the bottle will not crack due to overheating.
Everything is calculated with medical precision in the method of steaming with a sterilizer. The device holds up to 6-8 bottles and the same number of nipples. A great example of such a device is the Philips Avent 3-in-1 steam sterilizer. It is ideal for a family with several kids.
How the device works is as simple as it gets. It consists of step by step actions. nine0003
- Pour cold water into the tank (how much is indicated in the instructions).
- Place pre-cleaned bottles in special niches.
 This should be done upside down.
 - Close cover.
- Switch on the sterilizer for 7-15 minutes.
- Let the device “cool down” for 5-7 minutes. This is necessary so that you do not accidentally burn yourself with steam.
If the use of the bottles "does not burn", then they can be left under a closed lid - so they will be sterile for another 4-5 hours. If you need to get one of the bottles, take only it, and close the rest of the clean bottles with lids. nine0003
Before putting the dishes into the sterilizer, make sure they are clean. The device removes germs and odor, but does not cope with pollution.
Read: Top 5 Best Convertible Strollers
Avoid Sterilization Mistakes: 4 Common
Many parents make basic mistakes that are best addressed in advance.
1. Unwashed or poorly washed utensils
Leftover food provokes the reproduction of microflora and can cause stomach problems in a child. And sterilization does not wash out food residues - only cleaning can do this. nine0003
2. Pot boiling
You can't boil! The maximum allowable temperature for children's utensils is 110 ° C. And often it is even less. Otherwise, the bottles may melt.
3. Installation in a steamer and microwave without water is contraindicated
The device will burn, and the dishes will melt.
4. Sterilization of dishes with visible chips and cracks
Microbes accumulate and multiply in them, which can cause diseases of the gastrointestinal tract and not only. nine0003
Note: TOP-10 strollers with inflatable wheels
Pros and cons of sterilization
Each parent has his own opinion about sterilization, but there are definitely no indifferent to this issue.
Arguments "For" and "Against" are summarized in the final table:
So when choosing "to sterilize or not", everyone decides for himself. However, if the child is often fed in public places where it is impossible to verify the cleanliness of the surfaces, it is advisable to at least wash the dishes thoroughly in very hot water. nine0003
Read: TOP 5 baby tricycles
Breast pump sterilization | Medela
To learn how to keep your pumped milk safe for your baby, read our basic cleaning and sterilization guide for your breast pump.
Share this information
When you can't breastfeed your baby, expressed breast milk is the best food for him. To keep it safe, it is important to know how to properly clean and sterilize breast pump parts. With proper cleaning and sterilization of the breast pump, milk can be safely stored in the refrigerator for up to five days and in the freezer for up to nine months. For more information, see our guide to storing, freezing and thawing breast milk. nine0003
Before pumping
All parts of the breast pump that come into contact with the breast and milk
must be absolutely clean and dry (details below). But this does not only apply to the breast pump: You also need to follow certain hygiene rules. Before pumping, always wash your hands thoroughly with soap and water (at least 20 seconds), rinse with clean water, and dry them with a clean towel. Breasts should be washed only if you are using cosmetics that are incompatible with breastfeeding. nine0197 1 If in doubt, read the instructions on the packaging. Many lanolin-based nipple products can be left on before pumping.
Tips for cleaning your breast pump after use
After pumping, wash and thoroughly dry all parts that have come into contact with the breast or milk, including bottles, valves and funnels, to prepare them for the next use.
- First rinse all parts with drinking water at approx. 20°C to remove milk protein residues. nine0020
- Then wash them with warm water at approx.
 30 °C using detergent.
 - Rinse again with drinking water for 15-20 seconds.
- The parts of the breast pump can also be washed in the dishwasher with normal detergent by placing them on the top shelf. Small items can be placed in the cutlery compartment. The top of the bottles, funnels and nipples should be pointing down.
- Dry all parts of the breast pump with a clean cloth or leave to dry on a clean kitchen towel. nine0020
- Be sure to read your pump instructions for specific cleaning instructions.
How to sterilize the breast pump
At least once a day, the parts of the breast pump must be sterilized after cleaning. In addition, it is necessary to sterilize the breast pump before the first use, as well as after a long break in use.
Sterilization involves thorough cleaning of germs and bacteria. Strictly speaking, what is called sterilization of baby care products is not sterilization in the scientific sense, and all kinds of products that are advertised as sterilization products do not completely kill bacteria and germs.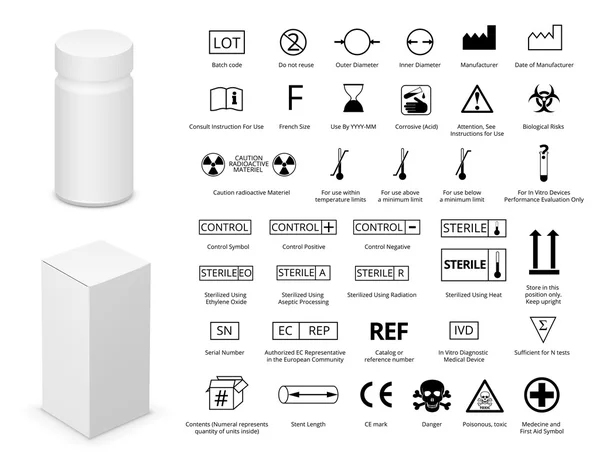 It is not possible to completely sterilize equipment at home, even by boiling, because the home environment is not sterile. However, what is meant by sterilization in the domestic sense of the word ensures that the pump and milk are completely safe for you and your baby. nine0003
All breast pumps are different and sterilization should follow the specific manufacturer's recommendations, but the most commonly used methods are:
- Boiling. Place the parts of the breast pump in a large saucepan and add enough water to completely cover them. Bring water to a boil and boil for at least 5 minutes. All parts must be completely under water.
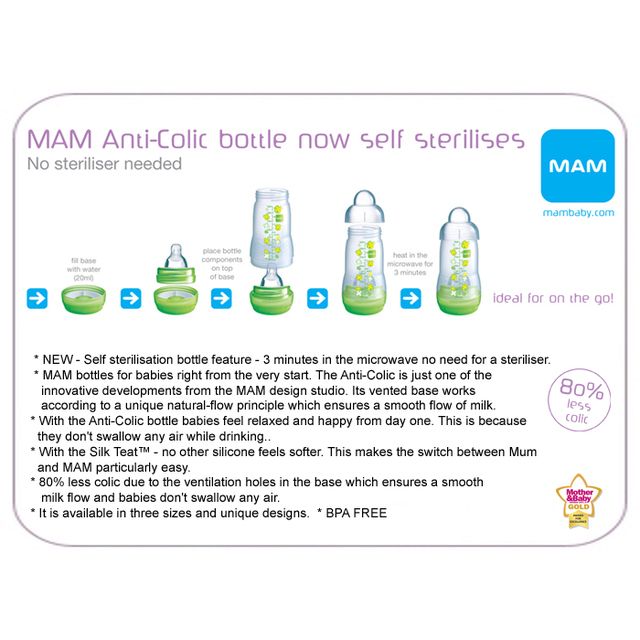
- Microwaveable. nine0030 Place the breast pump parts in a sterilizer or microwave sterilization bag and follow the manufacturer's instructions.
- Steam treatment. Place the accessories in the electric steam sterilizer. The top of the bottles, funnels and nipples should be pointing down.
- Treatment with sterilizing liquid or capsules. Some mothers prefer to use a cold water sterilization solution. All parts must be completely immersed in the solution for at least 30 minutes, with no air bubbles inside. The solution can be stored for no more than a day. You can also use sterilization spray. nine0020
After sterilization
Dry all accessories thoroughly before use.
- Using clean hands or tongs, remove the breast pump parts from the pot, sterilizer or sterilization bag. You can get burned, so be careful!
- Shake off excess water and dry all items with a clean cloth or leave to dry.
- Place all items on a sterilized surface or in a sterilized storage container. nine0020
Cleaning the pump after use and thoroughly sterilizing it at least once a day will ensure that breast milk is safe for your baby during storage.
Literature
1 US Food & Drug Administration. Using a breast pump.

