How to teach your child body parts
8 Ideas for Teaching Body Parts to Toddlers
28 shares
- Share
- Tweet
One important milestone for toddlers is learning their body parts. It’s adorable when your child starts to point to their eyes and nose; it’s an important skill and part of their language development. Parents can find so many options for teaching body parts to toddlers.
Learning their body parts don’t have to be boring!
Toddlers learn through talking, playing games, reading books, and all sorts of different ideas.
Your child finds their hands between three to four months old, and the discovery and exploration of their body continues from there. After that, your baby finds his feet; that’s always a funny time. Before you know it, he points to his arms, toes, and eyes.
Keep reading to learn all about teaching body parts to toddlers and some of the best tips for doing so!
Related: 21 Important Things to Teach Your 2 Year Old
This post may contain affiliate links for which I would receive a small commission on your purchase, at no additional cost to you.
When Should I Start Teaching Body Parts to Toddlers?
There is no set age when you need to start teaching body parts to toddlers directly. Many toddlers pick up the names of the body parts by songs and talking about their body regularly.
However, if you want to start purposefully teaching body parts, the earlier the better! It’s never too early to say the name of their body parts. All you have to do is change how you present it as your baby gets older.
Babies learn as soon as they enter the world!
However, you might not have to purposefully teach body parts since it often develops naturally. You might touch his belly while changing his diaper, and he learns the name through mimicking. When you say clap your hands and demonstrate, toddlers connect that those are their hands.
You’ll notice most children picking up the names of the body parts between 13 to 15 months old. Most 18 month old toddlers can point to at least one to two body parts.
How Many Body Parts Should a 2 Year Old Know?
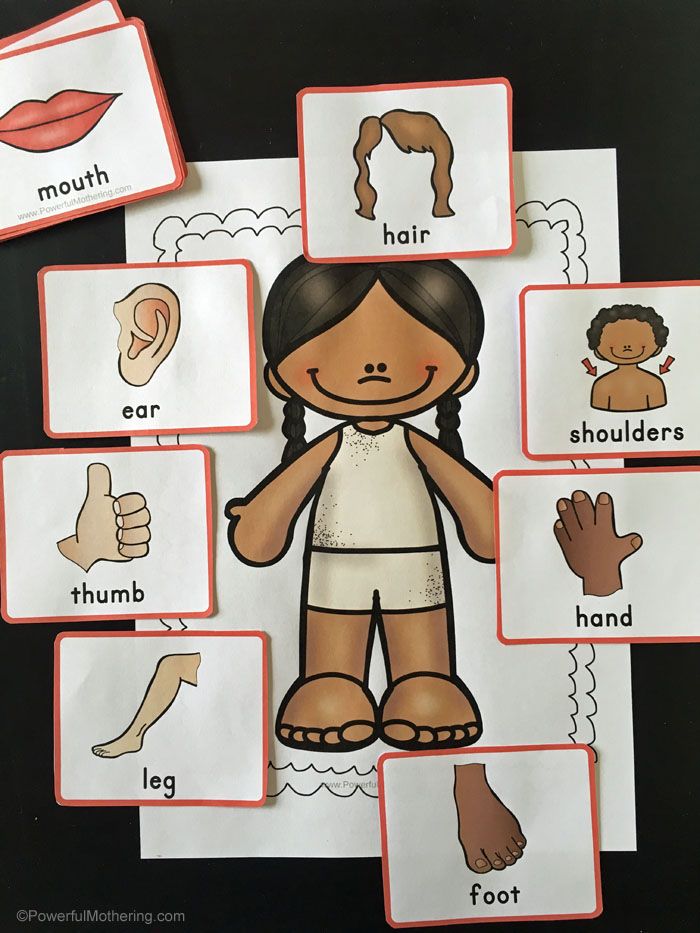
By the time your toddler is two years old, most will know their basic body parts, such as their hands, feet, legs, eyes, nose, and ears. These are basic, but they won’t know more “advanced” parts.
For example, your toddler should know what their arm is, but they won’t know elbows and wrists. Most of this knowledge comes from simple activities like getting dressed, taking baths, and silly things. The everyday activities are highly efficient when it comes to teaching body parts to toddlers.
8 Tips for Teaching Body Parts to Toddlers
1. Talk about Body Parts All The Time
Toddlers listen to everything their parents say; they’re little sponges, soaking in all the words we say.
So, when you’re doing daily activities like getting your toddler dressed and brushing their teeth, use body part names and talk about them
The more times you say “put your arm into the sleeve,” or “we need to brush your tongue,” the more likely your toddler will pick up and understand words.
2. Point to Animal Parts
Some toddlers won’t respond to learn their own body parts because the repetition bores them.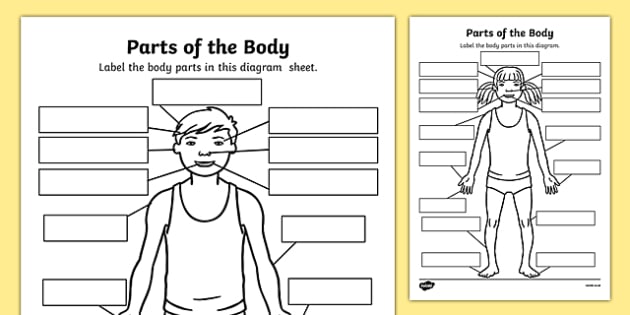 Instead, identify parts of animals, like their stuffed animals or your pets. You also can show that some animals have tails, and others don’t – this helps your child pay attention to differences and similarities.
3. Sing Songs about Body Parts
Toddlers love music and singing, and when their parents sing songs, they get so excited. Many popular kid songs involve body parts, making teaching body parts to toddlers even easier.
Try to sing one of these sounds each day, and get everyone moving. Point to the body parts and act silly. The more often you do this, the sooner your toddler picks up the body part names.
Here are some kid songs about body parts.
- The Hokey Pokey
- Head, Shoulders, Knees, and Toes
- If You’re Happy and You Know It
4. Learning Through Questions
As your toddler gets older, you can try teaching body parts to toddlers through questions. Ask him if he knows where a body part is and have him point to it.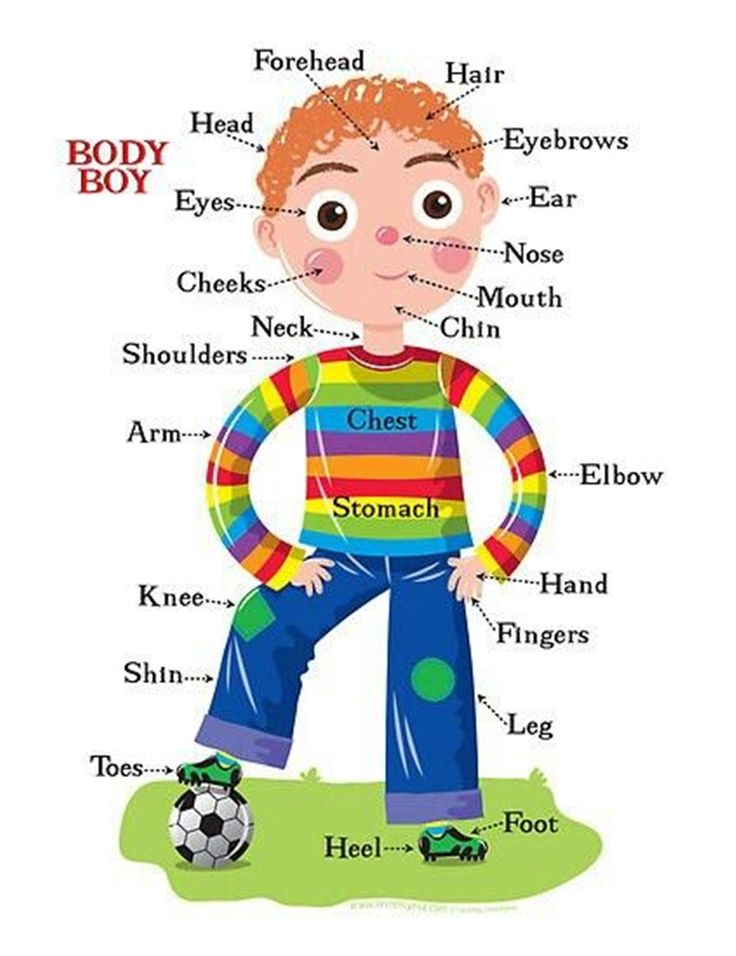 You might have to give a hint – that’s okay!
Ask these questions casually – whenever you think of them – but it works well. Not only do toddlers love showing off their skills, but it helps you know when to introduce new body part names.
5. Read Body Part Books
Parents know how important reading is for children; it is one of the most important assets for language acquisition. Spend quality bonding time developing pre-reading skills while teaching body parts to your toddler.
Many toddler-oriented books focus on body parts, and it’s important to point to these body parts in the pictures and on your child to make the connection.
Here are some of the best toddler books about body parts.
- The Foot Book by Dr. Seuss
- Hello, World! My Body by Jill McDonald
- My Feet by Aliki Brandenberg
- Curious Toddler: My First Word Book About Body Parts by Krokpa Publishing
- Toes, Ears, & Nose by Marion Dane Bauer
- Where Is Baby’s Belly Button? by Karen Katz
- My Hands by Aliki Brandenberg
- My Five Senses by Aliki Brandenberg
Related: 10 Books to Teach Your Toddler About Diversity and Equality
6.
 Hang Posters of the Human Body
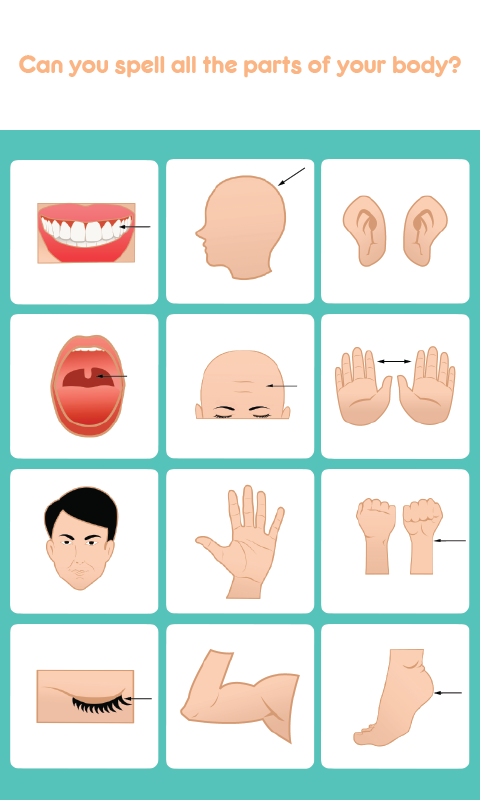
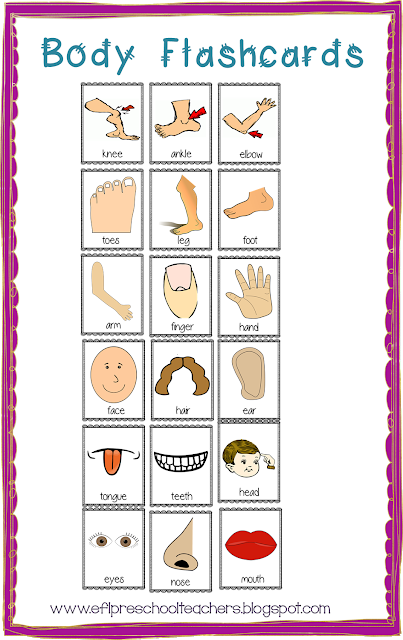
Many kids are visual learners; they learn best by seeing, and they get a lot of information that way. Hang some large posters of the human body in their bedroom, and point out the different parts regularly. Talk about what each part of the body does.
7. Play Simon Says
Playing games is another great way to introduce toddlers to the names of the body parts. One of the best games to play with your child is Simon Says in a simplified method, asking him to point or touch different body parts like head, knees, toes, ears, stomach, eyes, nose, and mouth.
8. Work on Body Part Puzzles
Some puzzles are designed to teach your toddlers about body parts. Wooden puzzles come in different shapes, and not only do they teach the parts, but they work on your toddler’s fine motor skills while learning the names.
Check out these body part puzzles for toddlers.
1. Kidzlane Wooden My Body Puzzle for Toddlers
Kidzlane sells their body puzzles for girls and boys with correct anatomy.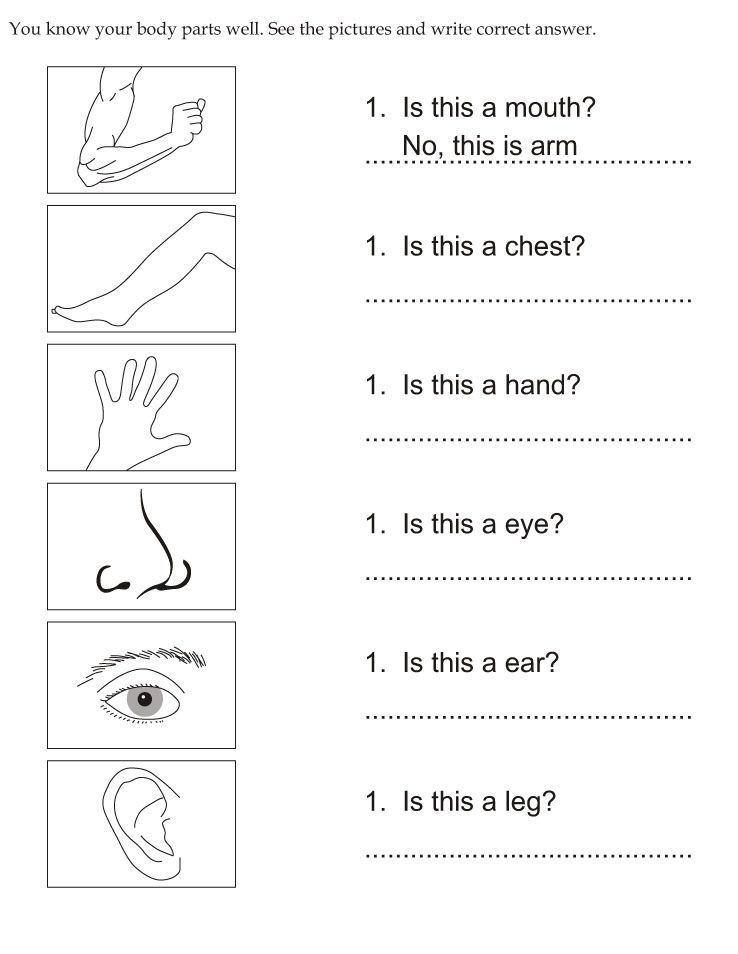 Grab their girl anatomy wooden puzzle or boy anatomy wooden puzzle!
 2. Melissa & Doug Magnetic Human Body Play Set
Melissa & Doug created a magnetic human play set with 24 magnetic pieces and a storage try. This puzzle features anatomically correct magnets for boys and girls, along with the body’s systems and organs. It’s ideal for toddlers 3 years old and up.
3. Toddler Human Body Parts Puzzles by Quokka Store
These puzzles are for toddlers between two and four years old. They’re anatomy puzzles with two large puzzles to teach your child the body parts. The parts are sturdy and legless.
How to Teach Toddlers about Private Body Parts
It’s important that parents stop ignoring private body parts. Most parents don’t discuss them with their toddlers, and they eventually pick up nicknames for them.
One of the most important things that parents can do is teach their child that there is no shame or embarrassment when it comes to their private organs.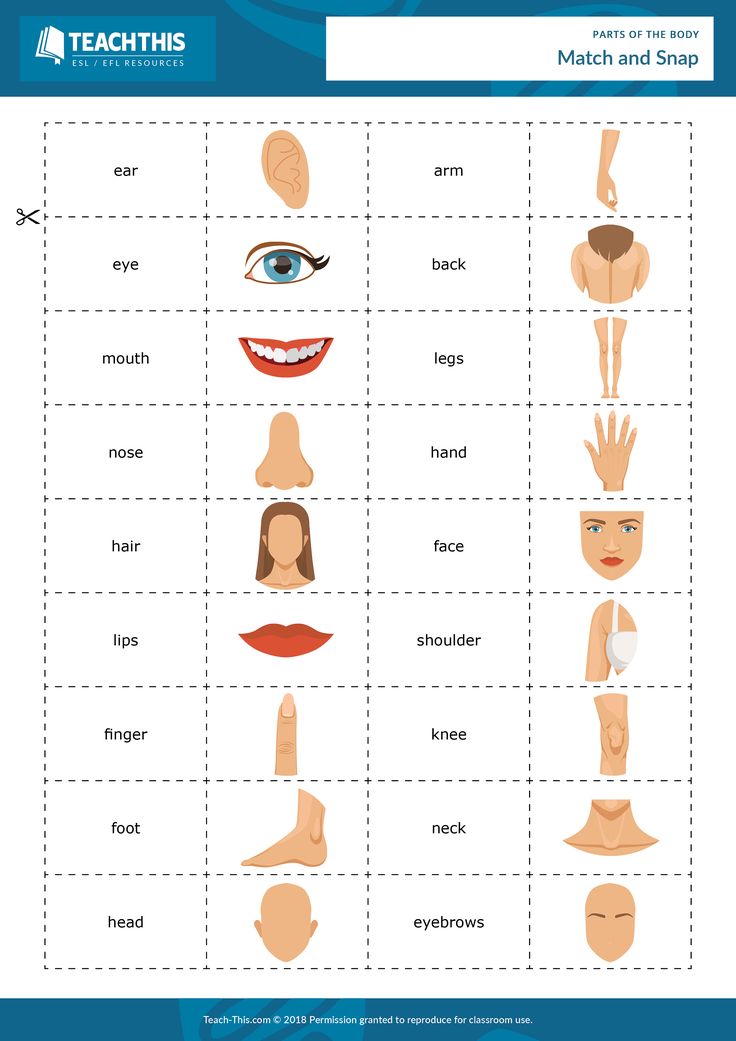 Use proper names – not nicknames – because no part of our body is shameful.
There is no need to introduce sex education to toddlers; instead, teach them the name of their genitals. If you notice that they use a different word, tell them the correct word.
Teaching body parts to toddlers is a lot easier than you imagine. It starts with talking to your toddler and pointing out their body parts before moving to games, books, and silly songs. Your child will learn their body parts before you know it!
Related posts:
Fun & Easy Ways to Teach Body Parts for Toddlers
Select your topic
Most popular
45 likes
Feb 3, 2022 Toddlers are balls of energy. And curious about the world around them and discovering their body parts, too. Teaching your toddler different body parts is a lot of fun when you can turn it into a game.
In This Article
- When Should I Start Teaching My Toddler Body Parts?
- 10 Fun Games to Help Teach Your Toddler about Body Parts
- How Many Body Parts Should a 2-year-old Know?
When you incorporate learning through play you are meeting your child’s need to explore their world on their terms and in an engaging way. Also, you are developing their language skills by listening and following directions. And when your child plays the discovery game of body parts you are asking them to repeat the name of each body part using early forms of speech and cognitive learning.
When Should I Start Teaching My Toddler Body Parts?
Children as babies are learning from the day they enter the world. And so that’s when you begin talking to your toddler about parts when they are babies.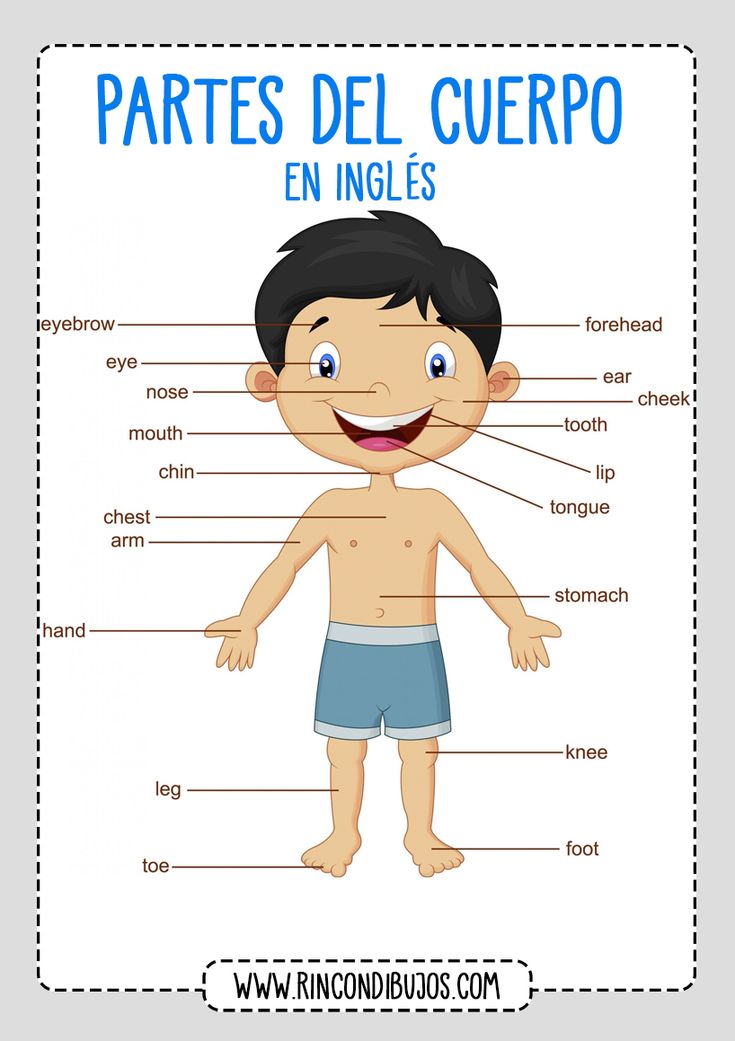 Singing silly songs and pointing to their noses and hands. They will begin to recognize the names and repeat them or pointing to them even before they can speak. Most young toddlers will mimic movements like clapping their hands.
In other words, it’s never too early to start introducing kids to their bodies. As they grow, you just change the way you present it to them. One of the best ways you can do this is to help kids learn their body parts in the form of games.
Boost Your Child’s Speech Development!
Improve language & communication skills with fun learning!
Start Free Trial
10 Fun Games to Help Teach Your Toddler about Body Parts
- Dig for parts sensory game: Depending on the age of your toddler, you can do this in two ways. For younger ones, you are going to take edible round fruit like blueberries or grapes. You can even make a pan of Jello as well if they decide to place things in their mouth, which of course they may do at this age.
Choosing a sensory bin, aluminum pan, or plastic bin you are going to load up the bin with enough fruit to cover the bottom and fully cover the body parts you are going to hide.
Next, print off and laminate a few pictures of body parts so that they are waterproof and edible proof. Choose very large pictures so that your child can’t swallow or choke on them. Ask your toddler to find you a body part and tell them what it is.
Toddlers love the element of surprise and picking things out. As your child ages or begins to speak you can then start asking them to find a specific body part. And to change it up use colorful orbeez to play the body part game.
- Punch the cups: Using the same laminated body parts you created. Take paper cups from the dollar store and cover their tops with tissue paper. You can do this by wrapping the tissue paper around with a rubber band. Before you place the tissue paper on, hide the pictures inside them. Then have your child punch through the tissue paper and discover which body part they found.

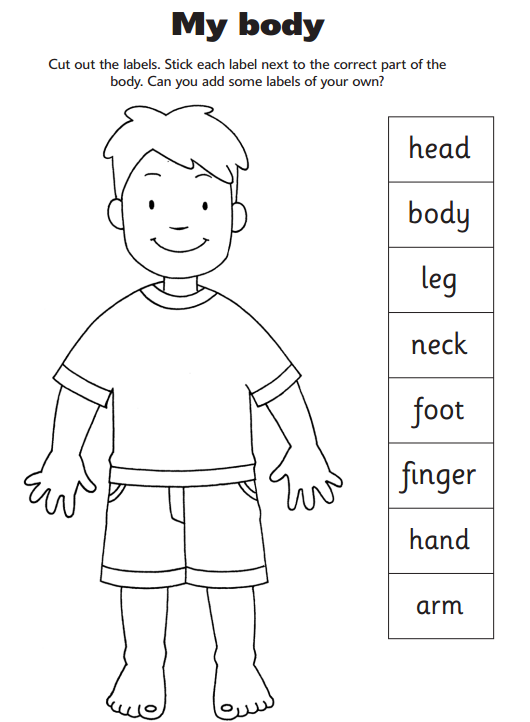
- Find your body part: Lay your child on an old piece of cardboard or a long craft paper. You could even take pieces of paper together. Then take a marker and draw their outline. After your child stands up, have them point to different areas of their body. Let me draw and color their silhouette for extra fun.
- Roll the dice and find the part game: For this, you will want to get a big foam dice cube from Amazon. Then print out body parts on sheets of paper. You could laminate for future playtime.
On the opposite side of the picture write a number that is on the dice. Then have your child roll the dice. With all pictures facedown and numbers faceup. After your child rolls the dice, have them flip the picture to discover what body part is underneath. This fun game will also help them with math skills.
- Play-Doh mats: Play-Doh mats are always fun. You can print out a blank face or body and laminate it.
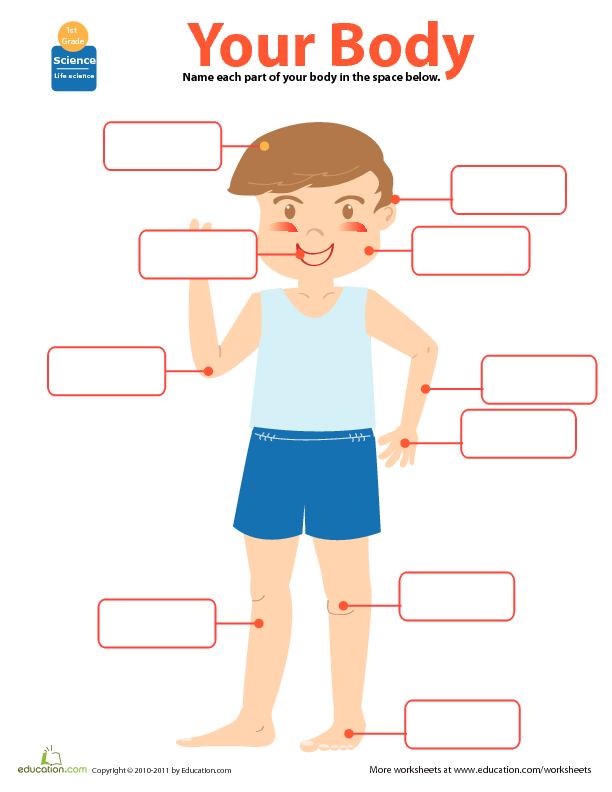 Using the Play-Doh, ask your child to make the body parts.
 - Dotting game: Get some paint dotters and then create your own bingo game. You can easily find pre-made printables on this site. Then using the paint dotters, pull the name of the body part and tell your child to dot their card.
- Duplo blocks body part match: Toddlers love to build. And duplos are perfect for their little hands. You can print a picture of themselves or animals or other people. Then cut the picture into pictures and tape them to the blocks. Have your child try to build the body in the correct order. A perfect example of this can be seen here.
- Play peek-a-boo: The classic game of peek-a-boo can be modified in so many ways. A fun way to play is to say “peek-a-boo, I see your (name a body part).” As you touch your toddler, tickle them and say their body part.
- What do you see at the zoo?: Take your child to the zoo and have them look at all the animals.
 While you visit each animal, play the game ‘I spy.’ Saying I spy the monkey’s tail. I spy the elephant’s big ear. Then turn to your child and say “Can you show me your ear? Do you have a tail?”
 - Pin the body part: Take a picture of your child and print it as large as you can. Lifesize would be ideal, but it doesn’t have to be. Then attach one picture to the wall or window. Using the other picture, cut it up into pieces. And using glue dots, have your child place the pieces of their body part to the picture on the wall. If they are really young then show them and do it together.
How Many Body Parts Should a 2-year-old Know?
When do babies learn body parts? By the age of 2 or 3, most kids will know their basic body parts such as legs and feet. They won’t yet know the different types of fingers or elbow vs. wrist. But for the most part, they should be able to know head-to-toe overall body parts.
Don’t underestimate the power of everyday activities when teaching your child to speak the names of their body parts.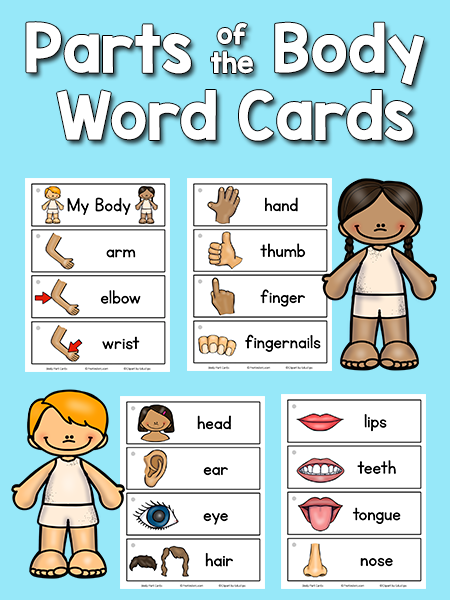 In the beginning, they may not be able to say the names of the body parts, but they may point to them.
As you get them dressed, bathe them, and so on, say the names of the body parts. For example: “It’s time to put your feet into your shoes. Let’s put your arms in your shirt.” This will also help increase their vocabulary as you are talking to them.
In conclusion, create positive connections with their bodies every day. By teaching your toddler to look at themselves in the mirror. Saying things like your strong arms helps you build. Your powerful legs are super fast. All simple ways to teach body parts to kids. But also helps promote body positivity. And appreciate the wonderful things our bodies can do.
Free Assessment!Take this quiz and get a report on your child’s milestones and a personalized learning plan.
Start the Assessment
Have a question for our Speech Therapists?
2-Year-Old 3-Year-Old
The author’s views are entirely his or her own and may not necessarily reflect the views of Blub Blub Inc.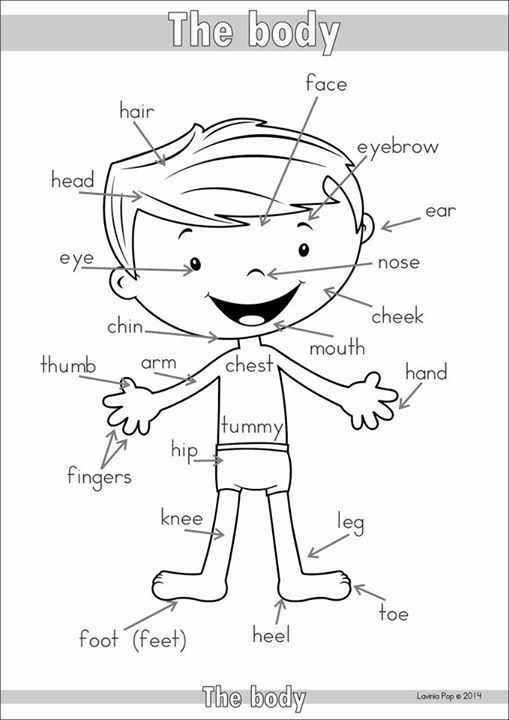 ="wpforms-"]
Learning parts of the body - 11 answers
I still haven't found anything on the topic (i.e. video), but there is a lot of interesting and useful information for self-study and games. If anyone needs it, here's something...
Exploring body parts with finger games
The final goal of the games below is to teach the kid to show everything on his own. Therefore, the simpler the initial gestures, the faster you will see results. Do not rush things and rejoice at any, even random, movement in the right direction. The child really needs your emotions.
When using these finger games, you can:
* show body parts on yourself with your own hands;
* with the arms (or legs) of the baby to touch himself;
* with the arms (or legs) of the baby to touch his body parts;
* use dad, for example, and then there will be no limit to the variety of actions.
So, I offer a list of finger games that allow you to play with your baby from birth and help to learn parts of the body:
House
Wall, wall,
(touch cheeks)
Ceiling,
(touch forehead)
Two steps,
(walk fingers over lips)
Ding - call!
(click on the nose)
Face
Where are you my eyes? Where are you my eyes?
(we take the baby's hands and close his or our eyes with our hands)
Here they are, here they are, here are my eyes.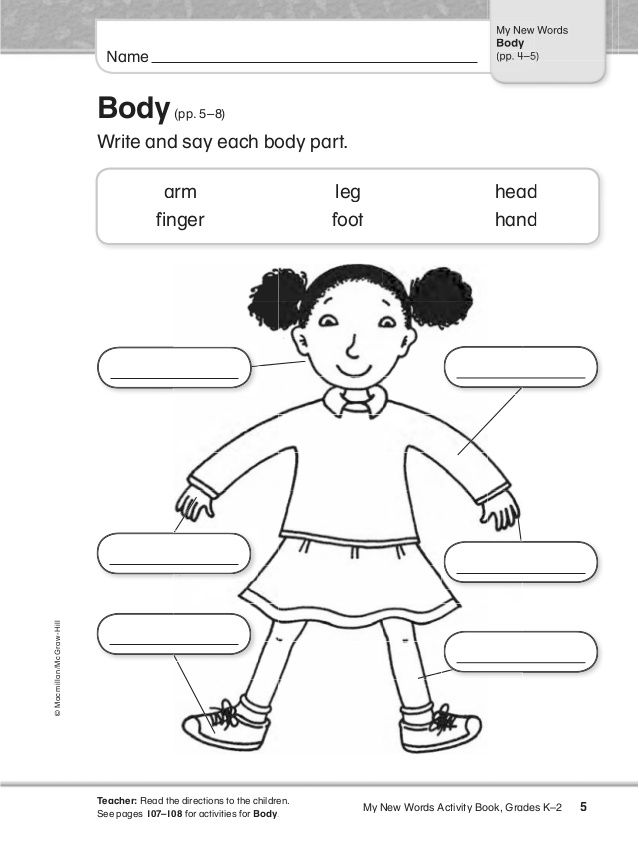
(we quickly move our hands away from our eyes and are glad that we found our eyes)
Where are you, my nose? Where are you my nose?
(now we hide the nose - first yours is better, and then the baby)
Here it is, here it is, here is my nose.
(point to nose)
(…repeat with ears, mouth, legs…)
Parts of the body or the baby's arms)
Shoulders, shoulders, neck, chest
(clap on the shoulders, stroke the neck and tap on the chest with fingers)
Do not forget something
(spread the arms to the sides)
Hands-hands - clap-clap,
( clap your hands with the baby's hands, or you can clap your own)
Legs-legs - top-top,
(also with legs in a lying or sitting position)
Once here and once there,
(head turns left and right; you can turn your head so that the baby sees; it is much more interesting to make it out of your hand little man, and even draw eyes and a nose on it)
This is no, but this is yes.
(head gestures “no” and “yes”; you can also turn the brush left and right and up and down)
Our wealth
Here is our nose,
Here are two ears,
Here is a big head,
Here are some hairs,
And I will blow on them!
Here is our baby
Heels and knees!
Here's a barrel, I'll grab it by the side,
I'll tickle for a long time!
Nose, mouth, head,
Ears, cheeks, forehead, eyes,
Arms, shoulders, neck, chest
Don't forget about the tummy.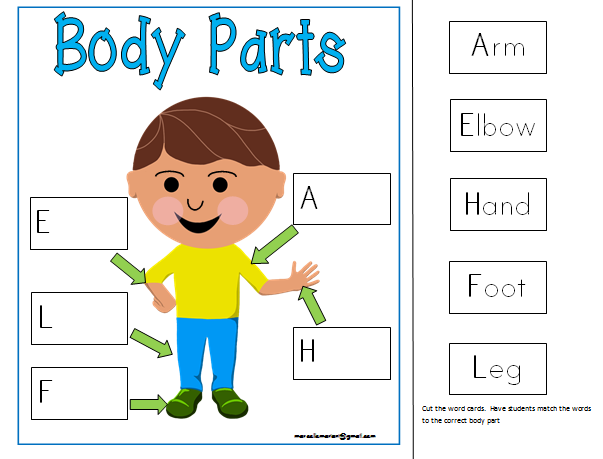
This is no, but this is yes.
This is one, and this is two.
Let's count the fingers:
One, two, three, four, five
One, two, three, four, five
Ten fingers, a pair of hands -
Here is your wealth friend!
The proposed finger games are intended for babies from birth. It has already been said how such play activities help communication, and it has been suggested to start playing as early as possible.
If you know more finger games that are suitable for the little ones, then I will be very happy to see them in the comments (do not forget to indicate the author or source).
Elena Kovaleva www/wonder-kids.ru
Games to develop the baby's idea of his body
Game - getting to know your body
Play this game when your growing child begins to name parts of his body. Touch your ears and tell your child, "I'm touching my ears. Can you touch your ears?" If he does not immediately understand you, wait a while and repeat the question.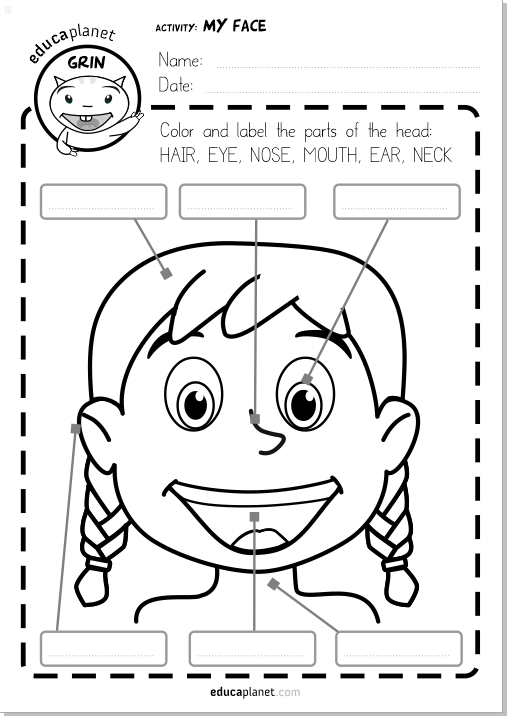 If he quickly does what you ask, use words that he usually does not hear, such as "elbows", "chin", "ankles", "back", etc., while ensuring that he also spoke them. If your child himself touches any part of his body, name it and touch the same part of your body yourself, imitating him. The game will be even more effective if you sing along, naming each of the body parts.
"Where is your head?"
Touching and naming different parts of your baby's body will help your growing baby learn more about himself. Repeat rhythmically while playing with the baby:
Show me where your head is,
Show me where your head is,
One, two, three,
Show me where your head is?
Say this rhyme over and over again, each time naming a different part of the child's body. When it becomes clear to you that the baby knows at least three or four parts of his body, give him a bear and ask him to touch the same body parts of the bear. If a child begins to play this game with a bear on his own, it means that he has mastered the necessary concepts.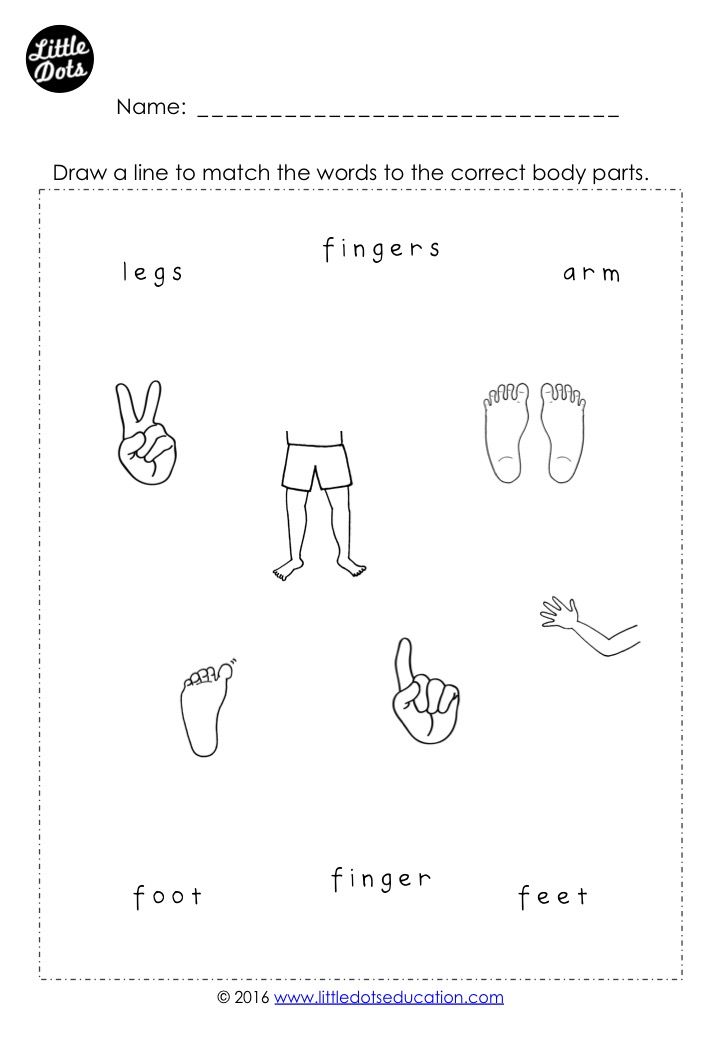
Head and shoulders
Read this rhyme to a child, first touching and naming certain parts of your own body, and then repeat all this together with the baby.
Head and shoulders, knees and fingers,
Knees and fingers.
Head and shoulders, knees and fingers,
Knees and fingers.
Eyes and ears and mouth and nose.
Head and shoulders, knees and fingers,
Knees and fingers.
Oh, how I love my baby!
After playing this game for a while, see if the baby can touch the parts of the body that you mention in the rhyme. Another option is to give him a doll and see if he can find the appropriate parts of her body from her.
"I have..."
The more your child knows about his body, the more he will understand what he can do. Together with the baby, touch different parts of the body, saying:
I have eyes to see.
(Touch your eyes.)
I have ears to hear.
(Touch your ears.)
I have legs to run.
(Run in place.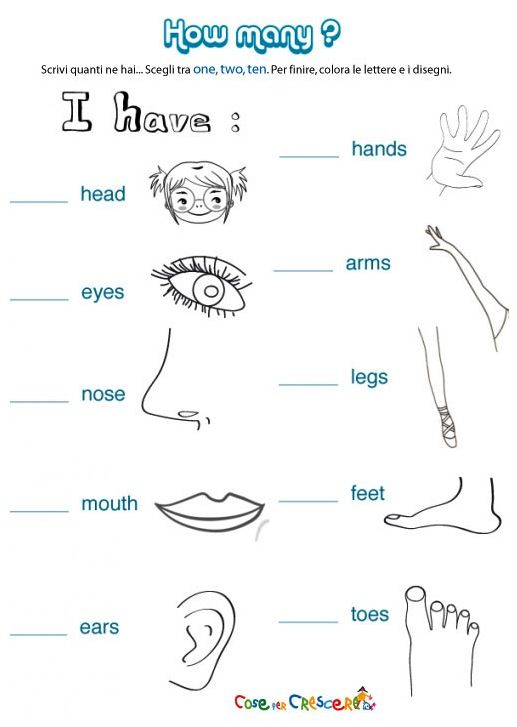 )
)
I have pens to swing.
(Wave your hands.)
And I have only one nose.
(Touch your nose.)
I have a tongue to say hello,
(Point your tongue.)
And ruddy cheeks to tickle,
(Touch the baby's cheeks.)
Now it's time to go for a walk.
(Walk around the room.)
"Move fingers"
Sit on the floor with the child facing him. While reading the poem, wiggle your toes; stop when reading the last line.
I sat with all my strength
I moved my fingers.
And when you are completely tired,
"Enough!" - strictly told them.
They do not want to calm down,
They move faster and faster.
Then we will do this -
We will drive the shag!
When you say the word "let's go," wag your index finger. Repeat the rhyme, naming other parts of the body instead of fingers: elbows, nose, ears and tongue.
Wake up fingers
Play this game with your child in the morning. Take his toes in your hand, gently shake them and sing to some pleasant tune.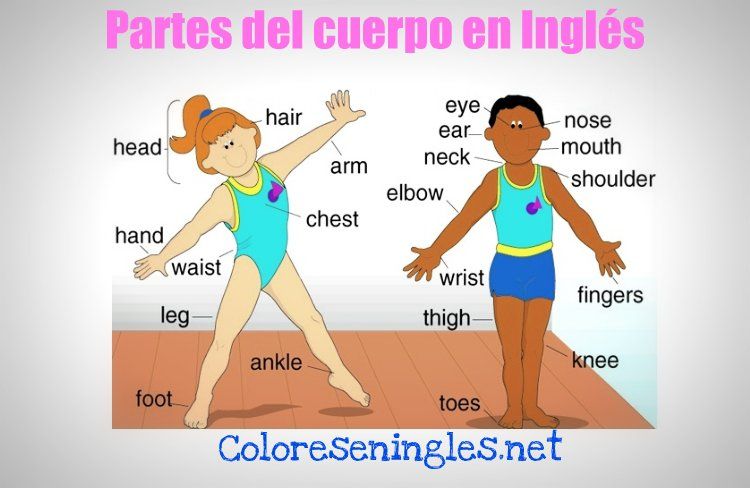
Toes, wake up, wake up,
I love you so much!
Tell me: "Good morning,
Good morning, good morning."
Keep singing while trying to "wake up" other parts of the baby's body and touch them.
Fingers, wake up, wake up...
Shoulders, wake up, wake up...
Elbows, wake up, wake up...
Spout, wake up, wake up...
Soon your baby will begin to stir and move these parts your body before you even touch them.
"Little man"
Read the rhyme, accompanying it with appropriate actions.
A little man was running, hurrying up the hill,
(Walk your fingers over the child's head.)
Swallowed a piece of cake on the go.
(Touch his mouth.)
The fat belly bothered him greatly,
(Knock the baby on the tummy.)
He held the hat with his big hand.
(Raise his arm above your head.)
And behind him - well, what a trouble!
The pancake stuck, no one knows when.
(Lightly pat the baby on the bottom. )
)
"Look at the spider"
This finger game is fun for both you and your child Let your fingers "walk" over his hands and feet like a spider.
Look, the spider climbs the wall.
(Slowly move your fingers up the child's hand.)
Look, he's going down the web.
(Move your fingers quickly down the child's arm.)
Look, the spider is running down the hill.
(Move your fingers down the child's leg.)
Look, the spider is sitting at the legs.
(Stop at the child's feet.)
"Look at my fingers"
Place the child on your lap and say the rhyme.
Look at my hands -
My fingers play, they dance.
Look at my feet -
My fingers play, they dance.
Touch the child's fingers when you mention them; when you talk about your toes, touch them. Show your baby how you can move your fingers and toes in different ways: move them, shake them. Show how to interlace your fingers.
Based on materials from the site supermama.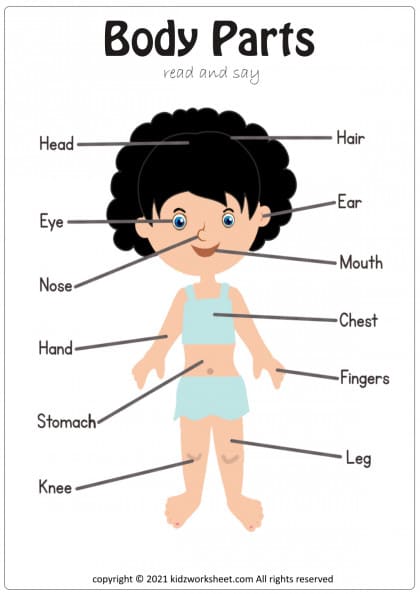 nm.ru
nm.ru
How to teach a child with autism body parts?
Psychologist's advice on how to teach body parts to kids with autism.
Teaching a child how to show and name his body parts is one of the very important skills to be taught. Knowledge of body parts is important for both the smallest non-verbal children and older children who have certain language skills. Experts with many years of experience working with these children identify the three most successful tactics in teaching children this important skill.
For example, we can recall the following story. A mother and her little son underwent psychological testing to participate in a program to help children with speech delays in development. The test contained questions about whether the child was able to identify and show parts of his body according to the instructions. Mom answered in the affirmative, but during the testing process it turned out that the child could not do this. It turned out that the baby showed body parts only when the mother sang the corresponding song, which was a clue.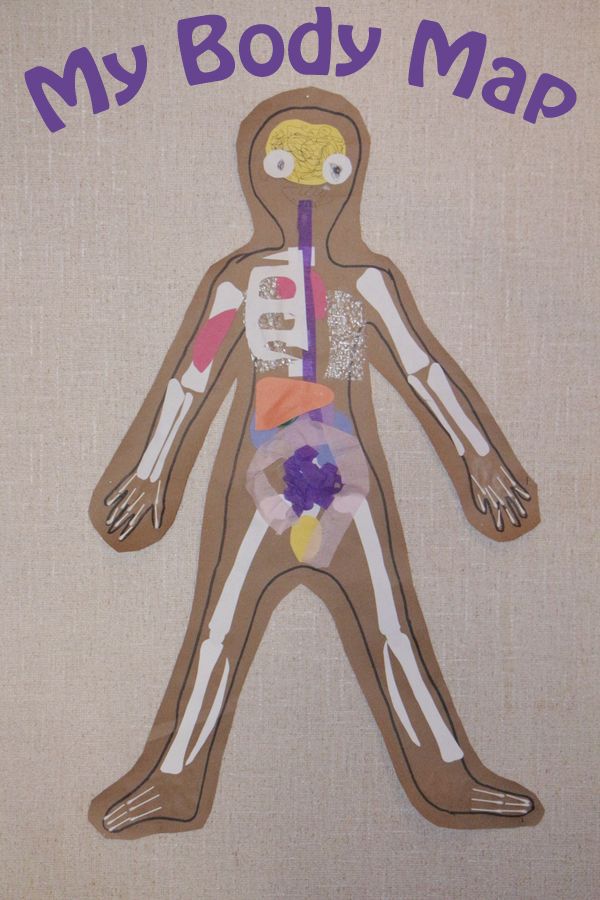 The child did not understand that “show your nose” is different from “show your hand”, these words did not make sense to him, and the mother simply did not know how to evaluate it correctly. You are probably thinking, so what?
Psychologists who work with numerous children with autism have concluded that it is the teaching of body parts for a child that should be in the forefront. The names of body parts are easy to pronounce, as they consist of 1 or 2 syllables, for this reason, they are perfect for teaching a child new words for pronunciation. In addition, you can teach a speechless child these gestures as an alternative communication, because the name of a part of speech with a gesture is often just a hand pointing at the corresponding part of the body. These gestures are easier to teach than more complex gestures, and will make it easier for the baby to move from gestures to spoken words later on.
There is another very good reason for teaching a child about body parts - this is necessary so that your child can communicate his pain to you.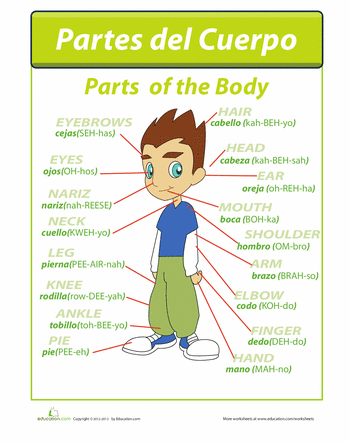 We will tell you about three techniques with which you can start teaching body parts to a child if he does not show, does not name or cannot make requests related to them.
Option one: magnetic whiteboard
If you don't have one in your home, plain paper can be used. Draw your own body parts on a board or piece of paper and comment on these drawings. Some children are very fond of drawing and will be able not only to learn how to draw them, but also to call them at the same time.
Draw some circles and then tell your child how to ask you to draw eyes. For example, you can give a child a physical prompt, say "eyes" and help him point to his eyes, then draw an eye. Do the same manipulation with the nose, say "nose" and touch your nose, then draw the nose. In such a situation, the child will not face high demands. At the very beginning, he may not say or do anything, just sit and watch. Next, draw the mouth, it is also important to draw the teeth, as "teeth" is a very important word for requests and naming.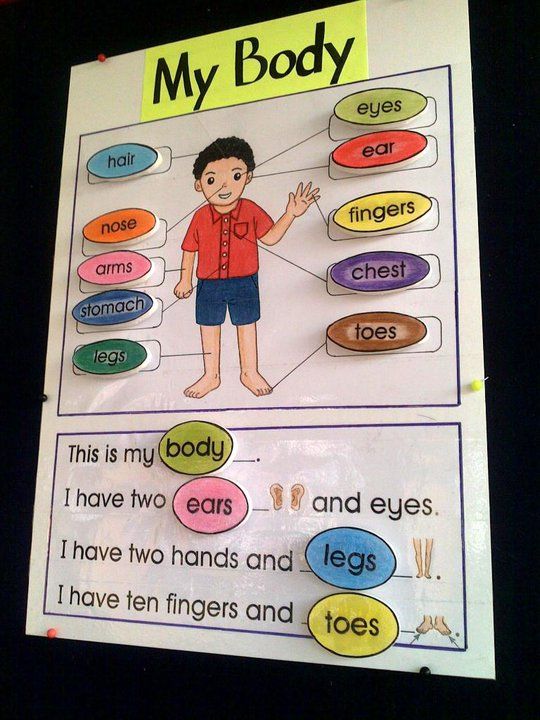 Moreover, you still have to work on brushing your teeth. Don't forget your ears. You can also draw a hat. If the mother or child wears glasses, you can add them too. Use different markers or crayons, because your main task is to interest the child in the process.
Option Two: Mr. Potato Head toys
Even if your child is 12-14 years old, but he still cannot show his nose without prompting, then you should not assume that he is already too big for a toy " Mr Potato Head. When a child's speech skills are at the level of 2 or 3 years, toys are needed that can be disassembled into separate parts. We completely disassemble the toy into its component parts.
Pass the parts of the toy to the child and help him assemble the figure. Bring each part to the face and lips and name this part of the body. It is important that the child looks at your face and, if possible, can repeat the words after you in the future. Thus, you work out and model on a toy the naming of all parts of the body, on a piece of paper or a magnetic board.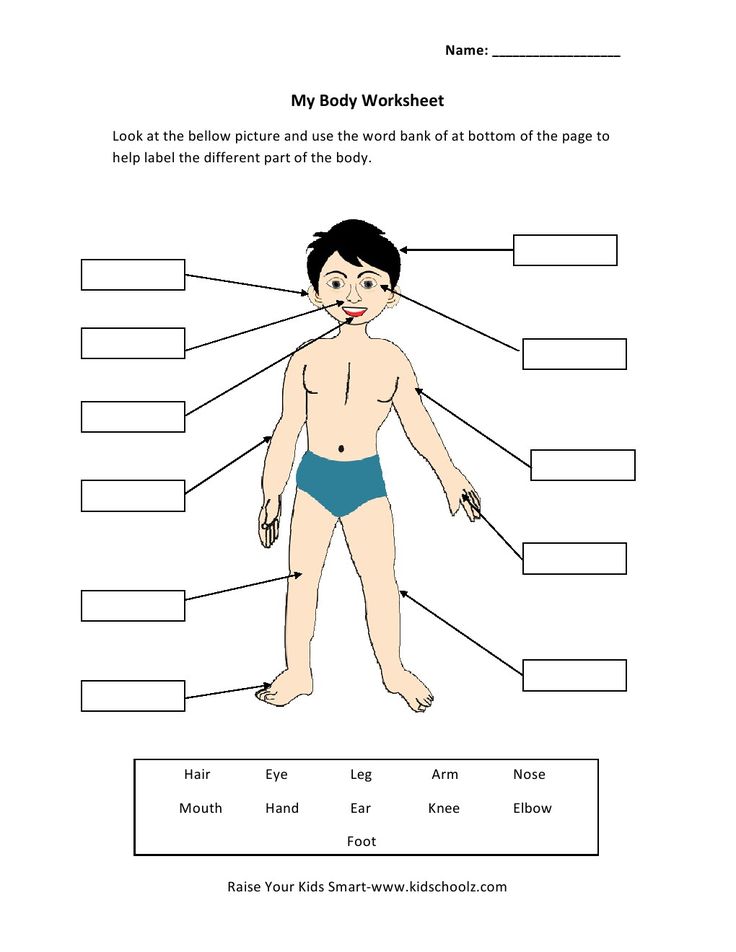 If your child has some vocal responses, then ideally you will be able to achieve an echo response (repeating after you). In this case, it will not be difficult for you to get the child to start asking you to draw or give him any part of the body.
Third option: Video modeling
In addition to the already listed options, there is one more option - video modeling. In this case, you can use children's songs, in the words of which various parts of the body are mentioned. In such a video, you can shoot yourself, or even shoot a video of the child himself, so that he shows different parts of the body. It is important that when practicing with a magnetic board or toys that you randomly select different parts of the body. But with songs, you can achieve this, during which you need to show body parts.
The success of this strategy is evidenced by the case of a boy who could say about ten words in a two-hour session, and more often these were the words "nose", "ears" and "eyes", so two modeling videos were shot for him.