How to remove child seat from car
How to remove Isofix car seat and base from a car
Isofix makes it quick and easy to install your child's car seat and ensure your little one is as safe as can be on every journey. However, many parents find it difficult to remove Isofix seats when they're ready to replace them or they need to use them in a different vehicle. We're going to show you how to remove Isofix car seat connectors and give you a few tips on why the connectors might appear to be stuck.
How to remove Isofix car seat
Here's how to remove Isofix seat from your car. First, extend the car seat's fixing points to take the pressure off it. When they're installed, child and baby seats should be adjusted so that they're pushed right up flush to the back of the seat of the car. This ensures the seat remains securely in place and won't move around, but it does mean that the seat can be difficult to remove unless it is first pulled away from the back of the seat of the car. By extending the fixing points out, you can release the pressure and it's easier to detach the Isofix connectors. If your car seat has a top tether point - not all of them do - make sure this is also released.
You'll notice the fixing points on each side of the car seat have a green indicator to show they are firmly and correctly attached to the vehicle's Isofix points. There are buttons on the front of these points and sliding levers above the green indicator. On each side, first, press the button and then squeeze the lever. The connection will be released. The indicator will turn red to show that the seat is no longer connected to the Isofix points.
It's usually easy once you know how to remove Isofix car seat connectors but if you are still having trouble getting the seat out, check to see if it has shifted over to one side. This could bend the Isofix points and make the release lever stick. Simply shift the seat so that it is positioned centrally on the Isofix fixing and try to release it again.
How to remove Isofix base
Isofix car seats are often used with bases that clip into the Isofix points in the car so that the seat itself can easily be moved in and out of the vehicle.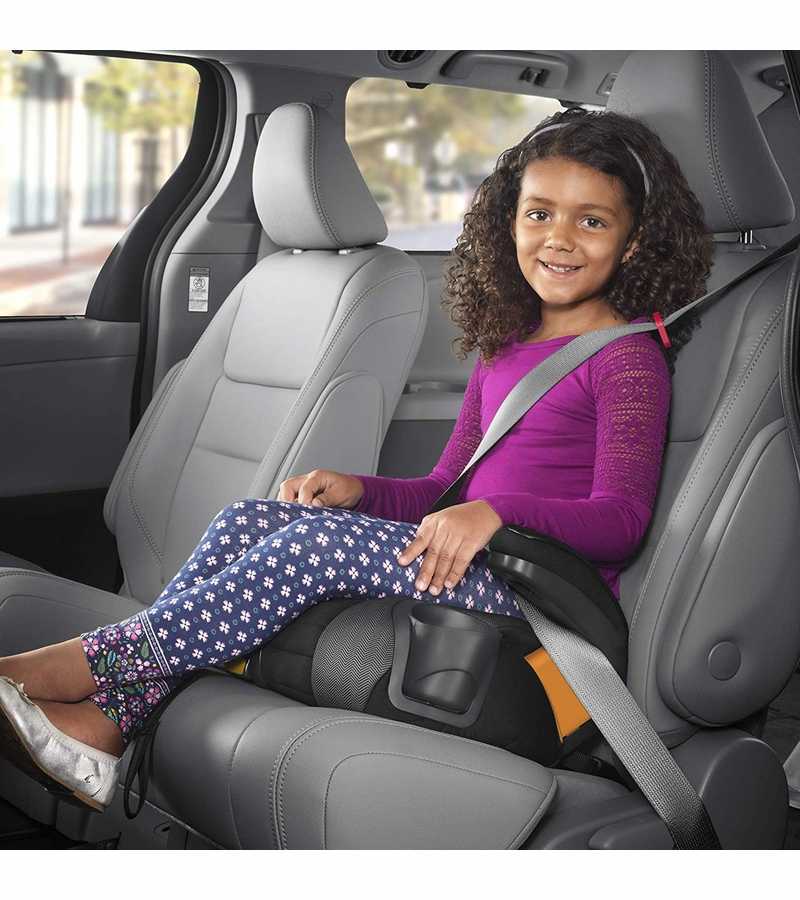 These are removed in much the same way as car seats which clip directly into the Isofix points. Simply extend the fixing points of the base, usually via a button at the front of the base. Then press the buttons and squeeze the levers on each side of the fixing points and the base should release.
Is Isofix better than using seatbelts?
Isofix is deemed to be the safest method of securing a car seat in a vehicle. In the event of an accident, there should be minimal movement of the car seat when it is fixed via Isofix. However, with a seatbelt, there is room for the car seat to slide around which could put the child at greater risk of injury.
Since 2014 it has been a requirement that all four-seater cars sold in Europe are fitted with at least two Isofix points. Many older cars, particularly those manufactured from 2006 onward, have Isofix fittings. It stands to reason that most family cars driven in the UK today have Isofix, so it shouldn't be difficult to choose the safer Isofix option rather than using seatbelts.
How often should you replace your child's car seat?
Children should use car seats right up until the age of 12 or until they reach 135cm tall (4ft5), whichever comes first. However, you'll require several different car seats throughout those 12 years to ensure your child is safe as they grow. Furthermore, all car seats have expiration dates which should be stipulated on the label or in the instruction manual, so be sure to check for this and do not use a seat that is past its expiration date.
When it comes to selecting the right size car seat, bear in mind that there are two sizing systems used in the UK - weight-based and height-based, with the latter commonly known as i-Size. You must choose a seat that is suitable for your child's height or weight, and that you monitor their size carefully to ensure you don't use a seat that is too small. While a child could continue to physically fit into a seat that is technically too small for them, the seat may not be strong enough to protect them properly should your car be involved in an accident.
If your car is in an accident - even a minor one - it is always recommended to replace your child car seats. Sometimes seats look perfectly fine after a bump, but they could have sustained invisible damage that leaves them unsafe should they be involved in another accident. It is always safer to replace the seat, and some car insurance providers will cover the cost of a new seat if your vehicle has been in an accident.
Finally, if you ever get a new car you might need to replace your child seats so that they fit correctly. Car seats are not universal in size and some are bulkier than others. If your new car's seats aren't deep or wide enough to adequately fit your child's car seat, you must replace it.
Shop our range of high quality car seats
Here at For Your Little One we have a wide variety of car seats available in a range of sizes, including those suitable for newborns and those big enough for 12-year-olds. We also have a collection of i-Size seats available, and a collection of car seat accessories to ensure your little one has a safe and comfortable journey.
How to Remove Graco Car Seat from Base
Your Graco car seat comes with a removable base that enables you to get your baby in and out quickly. Removing this car seat only takes a few seconds and can be done with a few steps.
First of all, you need to raise the carrier’s handle. Push the handle in and pull it into an upright position. Then squeeze the base release handle from the back of the car seat. Once you’ve done this, lift the car seat out of the base.
You may also need to remove the latch on your infant’s car seat. Well, that can be easily done with a few steps. Read on to find out how to go about it!
Quick Navigation
- How to Remove Graco Car Seat from Base
- How To Install An Infant Car Seat Base Using The Latch
- How To Install A Rear-Facing Convertible Car Seat Using The Latch
- How to install a front-facing convertible car seat using the latch
- How To Install A Car Seat Using A Seat Belt
- Conclusion
To remove the base from a Graco car seat, you need to raise the carrier’s handle.
Reattaching your Graco baby seat to its base can be easy. You only need to follow the steps below.
- Set the front locking bar to align with the car seat’s base locks.
- Put your Graco seat on the base.
- Apply pressure to the car seat’s front until it clicks into place. It confirms that it’s locked.
- Jerk the seat’s front upward to make sure it is locked
If you need to remove the latch, you can do it with the steps below.
Step 1: Press the gray button in a while, pulling on the latch strap to loosen.
Step 2: Press and hold down the latch release hinge.
Step 3: Push the hook in, lift the hook and pull it out away from the anchor point.
How To Install An Infant Car Seat Base Using The LatchTo install a baby car seat base using a latch, you should follow the steps below.
Step 1: Get the bucket seat out of the base to check if the base has any defects. Now, look out for loose parts, cracks, and defects in the clips and belts.
Step 2: Ensure that the car seat base is placed flat on your car’s seat. The vehicle seat’s latch clips should face the back of your Graco seat where the lower anchors are located.
Step 3: Check your Graco seat’s belt and latch clips thoroughly to make sure there are no twists or tangles.
Step 4: Now, you need to fasten the latch clip to the corresponding lower anchor on one side of the vehicle’s seat base. After doing that, you should also attach the other latch clip to its corresponding lower anchor on the other side of the base.
Step 5: Pull in the belt in your rear-facing car seat base. This will tighten the base. You may kneel on top of the base or press your knee into it while pulling the belt tight as possible.
This way, you will compress the air from the seat cushion and making it fit snugly.
Step 6: Now, you must check that your car seat’s angle is appropriate. For instance, back-facing car seats are expected to relax at a particular angle. But sometimes, you may face troubles while trying to get this angle.
In this case, you can use a rolled-up towel or a pool noodle to adjust your car seats angle by placing it against the bottom of the vehicle’s back seat.
Step 7: Shake the base rigorously in all directions. But while doing this ensures that it does not move more than an inch in any given direction. If this happens, it means that the base is not tight enough.
Nonetheless, you should know that this test does not apply to up-and-down motion. It is not advisable to use a tether in a rear-facing car seat. So if you find out that the base moves up and down, do not worry about that.
It becomes a problem when it moves back and forth or to the sides.
How To Install A Rear-Facing Convertible Car Seat Using The LatchStep 1: First of all, you must inspect the adjustable car seats.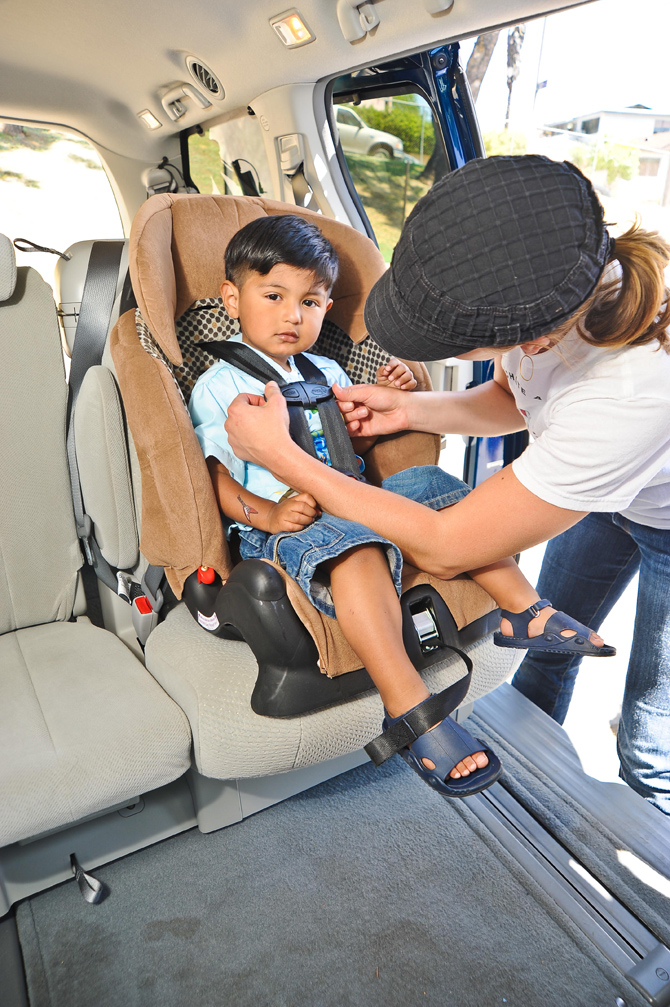 Thoroughly check for any loose parts, cracks, and defects in clips and belts.
Step 2: Since adjustable car seats can be either back-facing or front-facing, they come with two different belt paths for the latch clips. Ensure that the latch clips and your Graco safety belt are placed in the back-facing seat belt hole.
If they are not in this position, go through your car seat manual to find out how you can adequately thread the attachments through the rear-facing belt path.
Step 3: Now, look closely at the latch clips and belt to ensure it is not tangled.
Step 4: Now, you need to fasten the latch clip to the corresponding lower anchor on one side of the vehicle’s seat base. After doing that, you should also attach the other latch clip to its corresponding lower anchor on the other side of the base.
Step 5: Tightly fasten the seat as much as you can by pulling the strap on the latch fixture.
Step 6: Now, you must check that your car seat’s angle is appropriate.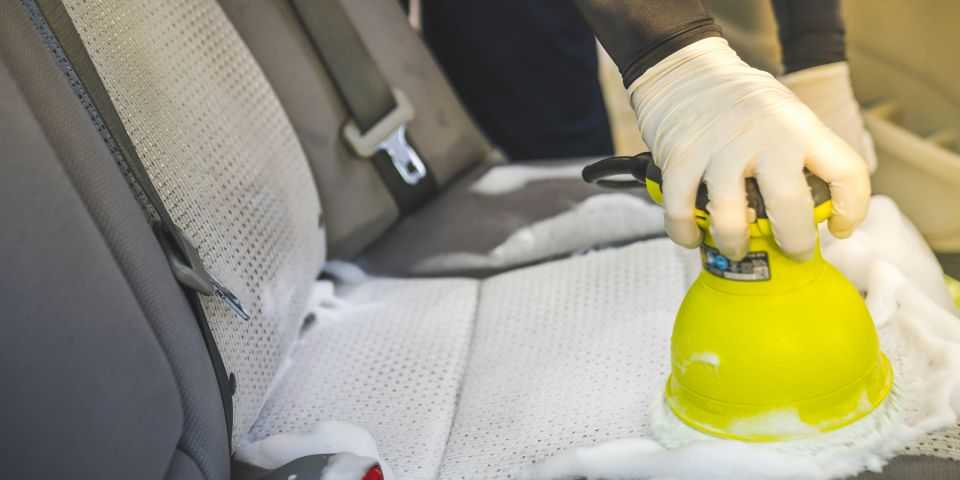 For instance, back-facing car seats are expected to position at a degree range of 30° to 45°. But sometimes, you may face troubles while trying to get this angle.
In this case, you can use a rolled-up towel or a pool noodle to adjust your car seats angle by placing it against the bottom of the vehicle’s back seat.
Step 7: Carry out the inch test. Shake the base in all directions. But while doing this, ensure that it does not change positions of more than an inch. If this happens, it means that the base is not tight enough.
Still, you should be aware that this test does not apply to up-and-down motion. It is not advisable to use a tether in a rear-facing car seat. So if you find out that the base moves up and down, do not worry about that.
It becomes a burden when it moves back and forth or to the side.
How to install a front-facing convertible car seat using the latchThe following guidelines will help you install a forward-facing car seat with the latch system:
Step 1: Firstly, withdraw the latch accessories from the back-facing belt hook and put them through the front-facing belt hook.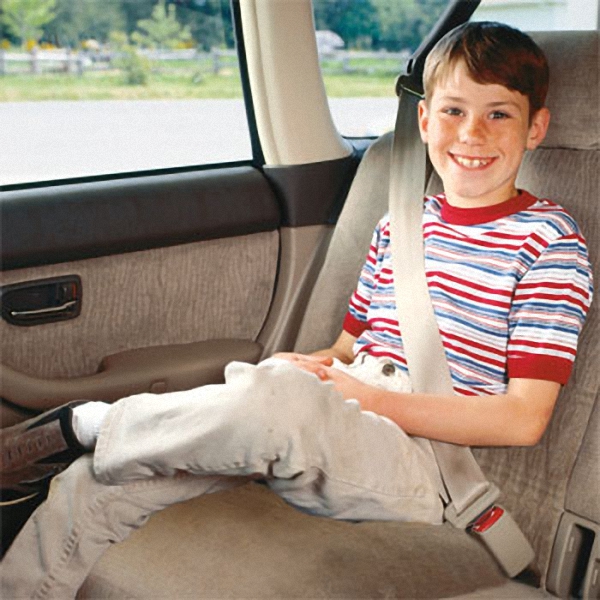 You will find it behind the part where the baby’s back rests, and not beneath him.
Step 2: Examine both the car safety harness and it’s latch fasteners thoroughly to make sure they are not twisted.
Step 3: Fasten the latch fastener to the corresponding lower anchor on the right side of the vehicle’s seat base. After doing that, you should also connect the other latch fastener to its corresponding lower anchor on the left side of the base.
Step 4: Pull in the latch attachment to tighten the seat belt.
Step 5: Locate the tether strap on the top of your Graco seat and clip it into the vehicle’s tether anchor.
Step 6: Now carry out the inch test.
How To Install A Car Seat Using A Seat BeltIf you want to install your Graco seat using a seat belt, you’ve come to the right place. With the steps below, you will able to do it in no time. Just follow every step carefully.
Step 1: Firstly, you must fasten or stow any latch attachments since you won’t use them.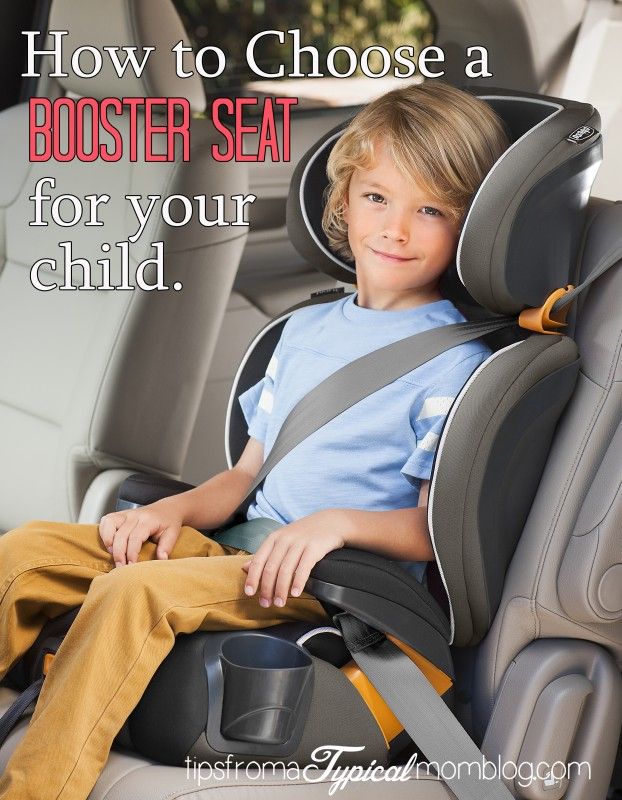 You will find space for this in most cars.
Step 2: Examine your automobile’s safety belt to discover where it latches. Check the retractor (where your seat belt retracts into the car after being released) and the latch plate (a plastic part that allows you to buckle the belt). If you notice that the seat belt does not lock, you will have to buy a locking clip.
Step 3: Place your Graco seat flat on your vehicle’s seat, and thread the seat belt through the right belt path.
Step 4: Buckle the seat belt and hold down. You may also kneel on the seat to ensure that the seat cushion is compressed as much as possible.
Step 5: Ensure that the seat belt is locked correctly and that the car seat’s angle is within the right range.
ConclusionRemoving your Graco car seat from its base only takes a few seconds and can be done with a few steps. If you encounter any issues while doing it, you should consult your Graco owner’s manual. But I believe that with the steps above, you’ll be able to remove your car seat from its base without any hassle.
How to remove an isofix child seat: simple instructions
Any car owner knows that children can only be transported with special restraints. One of the main parameters on which their safety depends is the reliability of fixation. The Isofix mounting system, developed back in the 90s, is considered the most optimal. In addition, it is also easy to operate. However, if there has not yet been any experience of use, then questions may arise about fixing and removing the chair with such a mounting system. To begin with, it is worth understanding its device.
What is the Isofix car seat mount
The mechanism that modern cars are equipped with consists of two rigid brackets with latches. The distance between them is 280 mm. The latches are located in the place between the base of the rear seats and their back. Reliability of connection of the system with the car body is ensured by steel brackets. On most new cars, the locking mechanism is a part of the body that is mounted to the power frame during the assembly process.
Car seat fastening is carried out automatically, removal - by pressing the button located at the base of the bracket. The fact of installation is accompanied by a characteristic click. In addition, at the moment of fixing, the color in the indicator window changes from red to green.
Help. All cars of foreign and domestic brands that left the assembly line after 2011 should be equipped with this type of fixation.
In car seats, the fastening elements with the system in question can be located on different sides. Before buying, you need to find out how it will be located in the cabin.
@Autoclub174.ru
Features of using Isofix: how to remove the car seat
It has already been mentioned that the operation of such a system is not difficult. Attaching and removing the retaining structure does not take much time. In order to understand how to remove the car seat, you need to remember the fixing process. If the design is with a removable base, then the mounting procedure is as follows:
- release the locking mechanism in the car from the plugs;
- guide the fold-out legs of the base to the Isofix loops;
- press until it clicks;
- fix the support leg;
- put the chair on the base;
- after the latch is released, turn the lever, which also serves to transfer the cradle - the moment of fixation will be confirmed by the green indicator.
Removal of such a holding device begins by turning the handle and releasing the latch. The crib can then be easily removed. The base is detached by pressing a button on the auto Isofix mechanism.
@Topsto-crimea.ru
Help. Isofix brackets are popularly called "crocodiles". Each of them has a lock-latch, which prevents spontaneous jumping out of the mount.
After pressing the release button, the guides easily come out of the grooves.
Armchair without base, usually fitted with a Top tether. This is an additional installation item. When a car seat with such a structural detail is located in the car, the belt is fixed after the guides are attached to the brackets. When removing, the Top tether is first unfastened, and then pressing the levers releases the Isofix locks. If the seat is retractable, then the alligators should be closed with special caps and folded. The grooves, in order to avoid clogging, are plugged.
Like this article Share with friends:Similar articles
Peg-Perego Viaggio 1-2-3 Via Car Seat Manual
Thank you for choosing Peg-Perego!
Content
1 The main warnings
2 Chair components
3 Installation with ISOFIX and Top Tether
4 options for TOP TETHER
5 Facing the child
60086 7 Transformation of group 1 in group 2-3
8 Installation (group 2-3)
9 Faste the child
10 Adjustment of the seat and headrest
11 Removal of the case
12 Undem
13
14 Accessories store them in a special compartment for future use. If the car seat installation instructions are not followed carefully, your child's safety may be compromised.
Peg-Perego Viaggio 1-2-3 Via Car Seat Manual
The Viaggio 1-2-3 Via Car Seat must be assembled and installed by an adult. During assembly and installation operations, the child should not be in the seat.
- When traveling by car, never hold a child in your arms or put him anywhere other than a car seat. In the event of sudden braking, even at low speed, the child can easily be thrown forward
- Do not insert your fingers into the mechanisms
- Pay special attention to the placement of luggage and other items in the passenger compartment that, in the event of an accident, could harm the child in the car seat
- Do not use installation methods other than those described here, otherwise there is a risk of the car seat becoming detached
- Never leave your child unattended in a car seat: watch him even when he is sleeping
- Never take your child out of the car seat while the car is in motion
- Make sure that the car seat is not blocked by moving parts of the seat or the car door
- Adjust the height and tension of the straps so that they are close to the child's body, but not too tight; make sure that the seat belt is not twisted and that the child cannot unfasten it by himself
- This car seat is not designed for a child to sleep in it for long periods of time
- Do not leave the child seat in a car in the sun: some parts of the seat may become hot and damage your child's sensitive skin.
 Before seating the child, check the chair for heating
 - Do not use the car seat without a fabric cover; use only covers recommended by the manufacturer, as they are part of the car seat and safety system
- Do not use the car seat without the shoulder straps (shoulder pads) because they are part of the car seat and safety system
- Do not remove or replace the white polystyrene elements under the head restraint and under the side panels as they are part of the safety system
- Do not remove stickers and patches: without them, the device will be considered non-compliant
- Do not use a child car seat if it is broken or missing parts, if it has been previously used, if it has been subjected to severe impact in an accident, because in these cases the seat may have extremely dangerous structural damage
- Do not modify car seat
- This product has its serial number indicated on the certification label, which is placed on the back of the back (Fig.
 51)
51)
- If in doubt, contact the manufacturer or retailer of this car seat
- For repairs, replacement parts and information about the device, please contact the after-sales service department. Contact information can be found on the last page of this manual
- The car seat in the car must always be fixed, even if there is no child in it. Otherwise, in case of sudden braking, it may harm people in the car
- Do not use the car seat if more than 12 years have passed since the date of manufacture (indicated on the body, fig. 50): due to the natural aging of materials, the device no longer meets safety standards
- Do not use attachments unless they have been approved by the manufacturer or competent authorities
"Universal" isofix and Top Tether Group 1
ECE R44/04 certified for children weighing 9up to 18 kg (age approx. 1 to 4 years)
- Compatible with most car seats, but not all
- The car seat can be properly installed if the car's Owner's and Maintenance Manual states compatibility with "Universal" anchorage systems group 1 isofix class B1 with Top Tether.
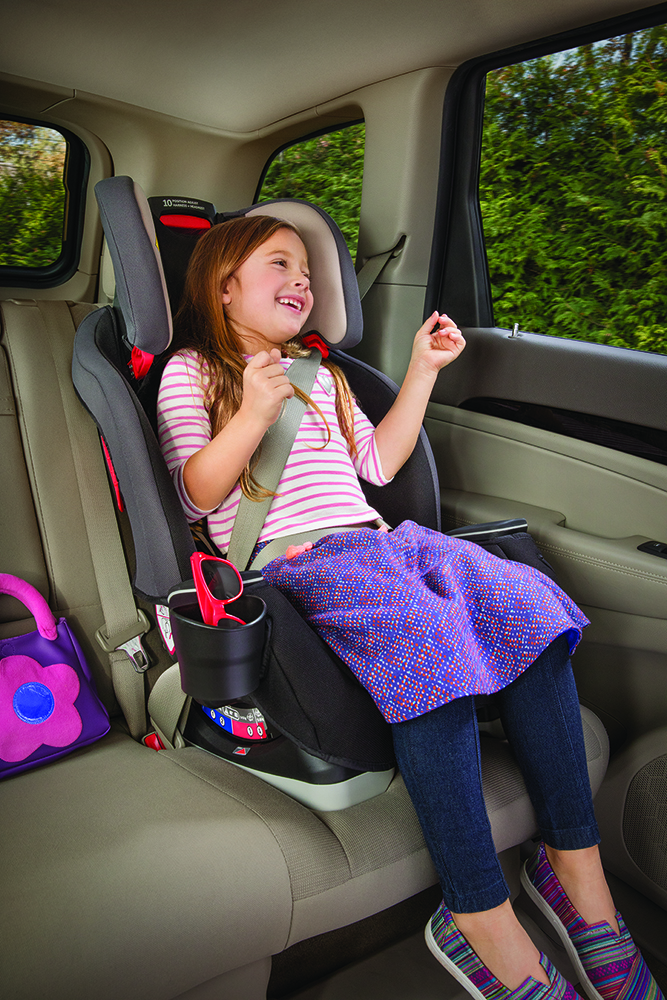 For a more detailed description of the use of the Top Tether, see the following section
 - Compared to previous models without a certification label, this child car seat is certified as "universal" according to the most stringent criteria
Important
The Viaggio 1-2-3 Via seat must always be installed in the direction of travel and only on seats equipped with isofix and Top Tether anchorages.
- Do not use the seat without the Top Tether. The Top Tether is essential to guarantee complete safety.
- The Viaggio 1-2-3 Via seat must not be installed on seats that are turned against or perpendicular to the normal direction of the vehicle.
- It is recommended to install a child seat in the rear seat, on the side opposite the driver's seat.
- If the car seat is installed on the front seat, we advise you to move it as far as possible from the dashboard.
- The product is produced with continuous sequential numbering.

- If it is difficult to install the Viaggio 1 2 3 Via into the car, raise or remove the headrest of the car.
Important: Top Tether
For the correct use of the new Peg-Perego car seat, you must carefully read the following section: Viaggio 1-2-3 Via.
Viaggio 1-2-3 Via is Peg-Perego's new car seat for children weighing between 9 and 18 kg, certified to European standard R44/04. Viaggio 1-2-3 Via uses the isofix anchorage system with Top Tether in accordance with the latest update of European standards, which guarantees maximum safety and reliability. of the vehicle and the Top Tether anchor strap. Usually it is located on the trunk shelf behind the rear seats in sedan-type cars (photo A)
either behind the back seat in vans (photo B),
or in the trunk of minivans or SUVs (photo C).
To avoid the use of a tie that is not intended for this purpose or other than the Top Tether (TT), the TT anchor is usually marked on the vehicle with a label with the following logo:
and maintenance of your vehicle. Make sure the seat is securely fastened with the Top Tether. This guarantees not only maximum safety in the event of an impact or collision, but also maximum stability for the child during normal use.
i isofix release lever
l seat tilt lever
m manual instruction compartment door
Car seat ready to use: no assembly required.
Installation with isofix and top tether
Pull the yellow lever located on the front of the seat base 1 to fully extend the isofix 2
Open the rear door and unhook the Top Tether hook.
Extend the Top Tether to suit your vehicle.
Insert the isofix fasteners into the slots until they click into place; a red/green signal light located on the sides of the base will show if the mount is properly connected.
Pull the yellow lever 1 and at the same time press the car seat 2 firmly against the vehicle seat.
Top tether mounting options
Important: There are three main types of Top Tether fastening.
Type A Raise the head restraint and pass the belts through the center. Hook the hook of the TT belts to the hook of the vehicle in a prominent position, as shown in the illustration. Tension the belt and check for correct tension.
Type B: Raise the headrest and pass the belts through the center. Hook the hook of the TT belts to the hook of the vehicle located on the back of the seat at the rear as shown in the illustration. Tension the belt and check the correct tension of the device (indicated in green).
Type C: Raise the head restraint and pass the belts through the center. Hook the hook of the TT belts to the hook of the car located in the trunk. It is usually denoted by the Top Tether symbol, as shown in the picture. Lift the cover and engage
Important: To ensure a good fit, the belts must be tensioned with force .
The different types of fastening are described in the owner's manual for your vehicle.
To remove the car seat from the car seat, unhook the Top Tether 1; then move the car seat away from the seat by pulling the lever 2 and at the same time the seat 3 until the yellow side levers appear.
When the side arms appear, unhook the seat as shown in the illustration and remove it.
Fastening the child
Before putting the child in the seat, unhook the seat belts by pressing the red button on the buckle of the belt that goes between the legs.
Raise the seat belts to make room for the child.
Seat your child and place the seat belts around their shoulders and waist as shown.
Fasten the seat belts by overlapping the tongues 1 and inserting them into the buckle of the belt between the legs 2 until it clicks.
The child is seated correctly, the seat belts are properly fastened.
Finally tighten the child's seat belts by pulling the center adjustment belt towards you as shown in the illustration. Be careful not to overtighten the straps on your child.
Important: leave a small gap (thickness of a finger) between the belt and the child's chest.
To loosen the seat belts, press the button located in the center of the car seat 1 , under the fabric cover, and at the same time loosen the belt tension 2
as shown, under the shoulder belt pads figure.
The seat is equipped with an inlay cushion, which is only used for small children (up to 12 kg) and when the seat belts are located at the lower levels. To remove the pillow insert, you need to unfasten the buttons located on its sides 1 and then remove it from the side belts 2 .
Seat and headrest adjustment
As the child grows, the headrest should be adjusted to match the height of the child. There are several provisions.
To move from a lower to a higher position, pull up on the lever located at the top center of the head restraint 1 ; the head restraint will raise with it 2 . To move from a high position to a lower position, pull up the lever located at the top center of the head restraint and at the same time press the head restraint to the desired position. After the operation is completed, try moving the head restraint to see if it is fixed
Correct harness position: child's shoulders slightly below the point where the straps come out of the backrest.
Important: The exit point of the belts must not be too high or too low in relation to the child's shoulders.
The Viaggio 1-2-3 Via car seat can be adjusted to several positions with different angles of inclination. To tilt the chair, pull the lever located under the seat 1 and move the chair to the desired position 2 .
Converting group 1 to group 2-3
Raise the headrest 1 and remove the shoulder pad fasteners 2 located at the back of the backrest under the belt as shown in the illustration.
Open the Velcro and, at the front, remove the shoulder pads from the straps.
Save shoulder pads for later use.
Lift up the headrest cover and pull the straps through the slots in the plastic structure.
Remove the extra cushion; then unfasten the buttons on the seat, lift the fabric and open the panel underneath.
Pull the crotch strap out of the seat fabric, then fasten the straps and close the panel, making sure the straps slide freely through the side slots.
Raise the backrest one position to make it easier to pull the car seat belt.
The vehicle seat belt must pass freely under the side of the seat.
The chair has been correctly converted to a group 2-3 device.
"Semi-universal" harness with isofix, group 2-3
- Certified to European standard ECE R44/04 for children weighing 15 to 36 kg (approximately 3 to 102 years) 9028
- This seat is certified for use in the "semi-universal" category and is designed to be mounted on the seats of vehicles listed in the list attached to this information sheet
- The car seat may only be used on approved vehicles equipped with a three-point static belt or rewinder certified to ECE R16 or equivalent. In addition, the car seat must be equipped with isofix mounts.
Important: Do not use a two-point harness or lap belt.
- Viaggio seat 1-2-3 Via must always be installed in the direction of travel and only on seats equipped with isofix 9 connectors0028
- The seat Viaggio 1-2-3 Via cannot be installed on the seats turned against the direction or perpendicular to the normal direction of the vehicle
- It is recommended to install a child seat in the rear seat, on the side opposite the driver's seat
- If the car seat is installed on the front seat, we advise you to move it as far as possible from the dashboard
- The product is issued with continuous serial numbering
- If it is difficult to install the Viaggio 1 2 3 Via into the car, raise or remove the car's headrest
Installation (Group 2-3)
Pull the yellow lever located on the front of the seat base 1 to fully extend the isofix 2 .
Insert the isofix fasteners into the slots until they click into place; a red/green signal light located on the sides of the base will show if the mount is properly connected.
Pull the yellow lever 1 and at the same time press down firmly on the car seat 2 to the car seat.
Fastening the child
Sit the child comfortably a and position the car's three-point seat belt as shown in the illustration b .
Fasten the vehicle seat belt until it clicks. Position the two branches of the belt as shown in the illustration.
To complete the fastening in the car, pass the belt through the shoulder loops located on the headrest: to do this, insert the belt between the loop and the headrest 1 and it will easily slip into the pass loop 2 .
Important: if the belt is loose, pull it over the loop (3). Attention: the belt must always be tensioned without twisting
To remove the belt, remove it from the loop 1 and move it between the loop and the headrest 2 until it is completely removed.
Seat and headrest adjustment
Important: correct position of the belts: the child's shoulders are slightly below the exit point of the belts from the backrest, as shown in the illustration.
For the correct size, adjust the head restraint to the desired position using the rear lever.
Adjust the seat belt to fit your child as they get older to ensure proper fit. To further increase the height, raise the backrest to the desired position using the side buttons.
Further adjustment is possible by spreading the side inserts as shown.
The Viaggio 1-2-3 Via armchair is adjustable. Make sure the belt is routed correctly throughout. If the car is equipped with an adjustable backrest, you can tilt it to reach the maximum seat angle Viaggio 1-2-3 Via a . If the backrest cannot be adjusted because the headrest of the car seat interferes with the headrest of the car seat, remove the seat headrest b .
To remove the car seat from the car seat, move the car seat away from the seat by pulling the lever 1 and simultaneously the car seat 2 until the yellow side levers appear. If a Top Tether is used, unhook it.
When the side arms appear, unhook the seat as shown in the illustration and remove it.
How to remove the fabric cover
The fabric upholstery of the Viaggio 1-2-3 Via can be removed for cleaning.
Follow the washing instructions on the seat packaging.
Remove the headrest cover.
Remove the headrest cover first from the bottom and then from the top
Remove the backrest cover
0297 b . To facilitate this operation, raise the head restraint.
Remove the seat cover:
Unhook the two rings from the buttons located on the sides of the seat. Remove the cover towards the front
Care and cleaning
Brush the fabric parts to remove dust.
- Follow the washing instructions on the label sewn into the upholstery of the chair (Fig. 45)
- Do not use chlorine bleach
- Do not iron
- Do not dry clean
- Do not remove stains with solvents
- Do not tumble dry
Accessories
Practical travel bag helps keep the car seat clean and protected
Serial numbers
Under the seat of the Viaggio 1-2-3 Via is the following information: device name, date of manufacture and serial number .
Viaggio 1-2-3 Via has a certification plate behind the backrest.
Cleaning the product
- This product requires minimal maintenance
- Only adults should clean and maintain the product
- It is recommended to keep all moving parts clean
- Periodically clean the plastic parts with a damp cloth. Do not use solvents or similar substances
- Clean the fabric parts with a brush to remove dust, or clean according to the instructions in the appropriate section
- Do not clean polystyrene parts with solvents or similar products
- Protect the product from exposure to the elements such as moisture, rain or snow.
 Prolonged exposure to sunlight may cause discolouration of many materials
 - Store the product in a dry place
Certification
- This paragraph explains how to interpret the certification information label (orange label)
- The plate is double because this car seat is approved for two types of installation in the car:
- SUREFIX attachment system (SEMIUNIVERSAL mark (semi-universal) indicates that the car seat is isofix compatible)
- 3-point static seat belt anchorage system or retractor (UNIVERSAL marking indicates that the car seat is suitable for vehicles with this type of seat belt)
- At the top of the label is the manufacturer's trademark and product name
- The letter E in a circle indicates that the product is certified in Europe, and the number indicates the country that granted the standard product certification (1: Germany, 2: France, 3: Italy, 4: Netherlands, 11: UK, 24: Ireland)
- Standard Certification Number: If the number begins with 04, this indicates compliance with the fourth amendment (currently in force) of R44
- Reference standard: ECE R44/04
- Manufacturer's serial number: according to the conditions of standard certification, each car seat has an individual number
PEG-PEREGO S.
