How to make child bow tie
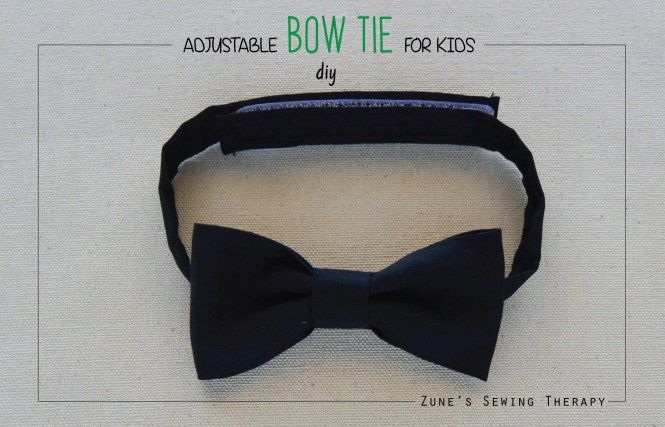
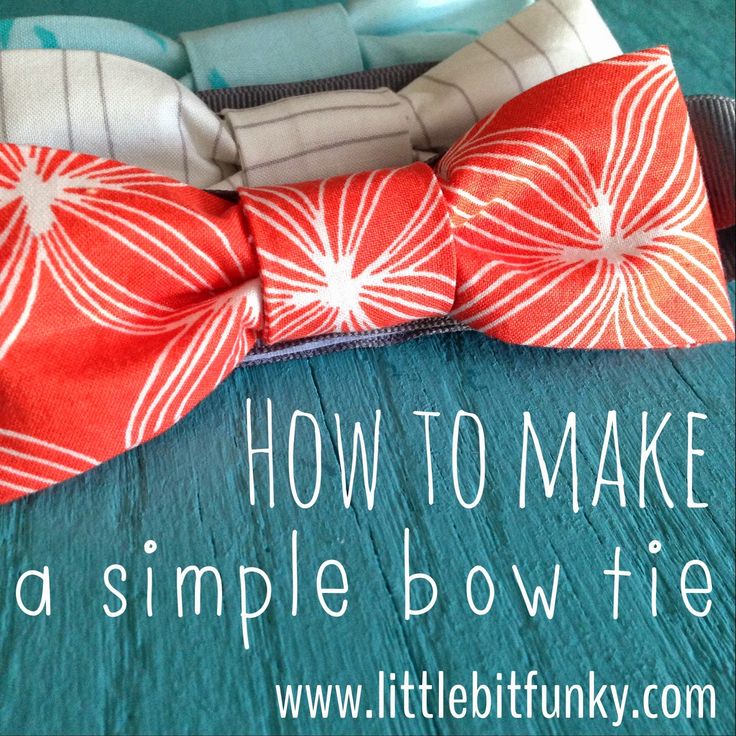
How to Make a DIY Patterned Bow Tie for Kids
April 18, 2014 - By Ashley Johnston 32 Comments
I mentioned earlier this week that I completely ran out of time to make the kiddos’ Easter outfits this year. Bummer. I really enjoy making their holiday outfits because, hmmmmm, I don’t know why. Maybe it’s a good excuse to make them something new? And justifies the purchase of new fabric? However, this year I found some really cute things at the store last minute while shopping for something else…..and just went with it.
However, I couldn’t find Connor a tie to wear with his shirt and vest. Well, I couldn’t find one that matched while out shopping that day. Yeah, we could have skipped it altogether but there are only so many years before he actually cares what he’s wearing. So for now, he lets me decide. :)
So, I made him a bowtie. And the little man loves it!
And it’s not a real bowtie that you tie……. .it’s totally the cheater version. With a velcro closure. But most important…….it’s SPEEDY QUICK to make!
Have I ever told you that Connor is kinda nutty? And has this bubbly giggle that is completely contagious? All I wanted him to do was stand here and let me photograph his little bowtie…..but the kid couldn’t keep a straight face. Soon after, we were all laughing. Ahhhhh….this kid. I hope he never loses that sweet laugh!
However, he thinks the bowtie is super cool because it’s, hmmmmm, I’m not sure why he thought it was so cool. Probably because it was something different than the normal straight tie that he wears to church. And you know, bowties on a little boys are kind of darling!
Yeah, this simple little bowtie came to the rescue for Easter this year. In under an hour.
And gosh, I love that little face!
Would you like to make one too?
Okay, let’s tackle this little bowtie…
Supplies:
- 1/4 yard fabric (I used regular quilter’s cotton but you could also use satin or suiting fabric or anything you’d like, really.
 )
) - Velcro
- Matching thread
**The measurements below were created for my 5 year old. However, the same measurements would probably fit 2T-8. Or maybe even up to a size 10.
Cut three pieces of fabric. Your main bow piece at 8 1/2 x 6 1/2 inches, the neck strap at 2 x 18 inches, and the middle cinch at 2 x 3 inches.
Fold each piece in half lengthwise (with right sides together) and stitch along the raw edges, using a 1/4 inch seam allowance.
Turn each piece right side out and iron flat. The seam can go along the center of the back side of each piece. (Need help turning a tube right side out?)
Grab the large bowtie piece and fold it in half width-wise and sew the two raw ends together, using a 1/4 inch seam allowance.
Turn this fabric right side out and flatten. Center the seam along the middle of the back side and open up the 1/4 inch raw edges on the inside and lay them flat.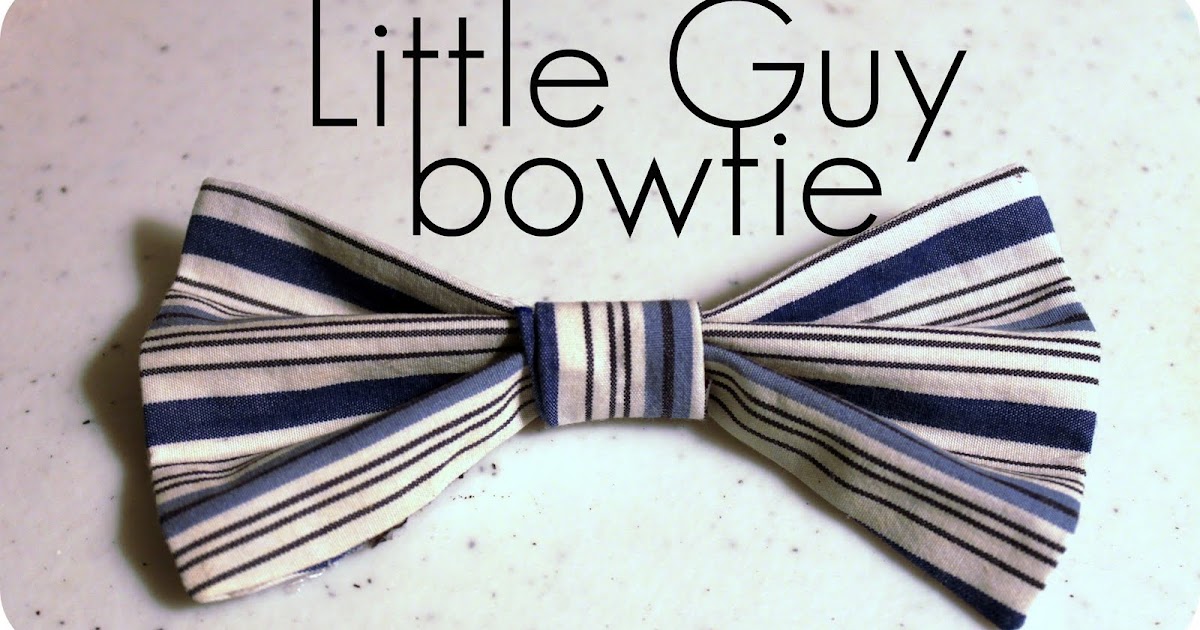
Pinch the middle of this fabric, right along that centered seam…..creating a sort of accordion fold. Thread a needle and wrap some thread around the middle to cinch it in tight and knot the thread ends with your needle, nice and snug to the center of the bow.
Place the neck strap along the back of the bow and wrap more thread around the middle, securing the neck strap in place.
Now, place one end of the center cinch piece on the back of the bowtie and hand stitch it into place.
Wrap the rest of this little strip of fabric snugly around the center of the bowtie until you reach the back again. Fold the raw edge under and hand stitch in place. (If you have way too much fabric to fold under, cut some off first.)
Fold each end of the neck strap under a 1/4 inch, then another 1/4 inch, and then sew in place.
Then sew some velcro to each end of the bowties, making sure that one piece is on the “right’ side of the neck strap and the other piece of velcro is on the “wrong” side of the neck strap.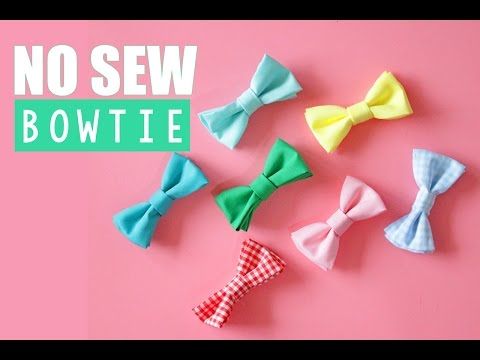 That way, the velcro will secure properly without the neck strap getting twisted.
And that’s it. Time to secure that little bowtie around someone’s neck!
Enjoy!
-Ashley
. . . . . . . . . . . . . . . .
Featured Sponsor:
Author Bio
Article Info
Popular Posts
Ashley Johnston
Administrator at Make It & Love It
Ashley Johnston is a professional DIY costume maker, sewist, crafter, and owner of Make It & Love It. She is a mom of 5 and a wife to a very patient (with the craft clutter) husband. In case you’re wondering, she always chooses crafting/sewing/designing over mopping/dusting/wiping base boards……but bathrooms/laundry/full bellies are always attended to. Whew!
You are here:
Home
DIY Tutorials
Top DIY Tutorials
Little Boy Bowtie: the QUICK and EASY version
Title:
Little Boy Bowtie: the QUICK and EASY version
Authors:
Categories:
Mentions:
Not Specified
Keywords:
Not Specified
Last Updated:
December 1, 2018
3. 6K Shares
- Pinterest 3.6K
- Facebook 0
Other DIY Sewing
Hi, I'm Ashley
Hi, I’m Ashley—the DIY-enthusiast behind this crazy blog!
About Ashley
Back to TopBoy's Bow Tie Tutorial - Scattered Thoughts of a Crafty Mom by Jamie Sanders
Free PDF Sewing Patterns | Sewing | sewing for boys
HoursDisclosure: This post may contain affiliate links. As an Amazon Associate, I earn from qualifying purchases.
6000 shares
Super Easy Boy’s Bow Tie Tutorial. You can easily make 2 sizes, either with a machine or sewing by hand!
Easy Boy’s Bow Tie Pattern and Tutorial
Last week, I made my daughter a knot dress for Valentine’s Day.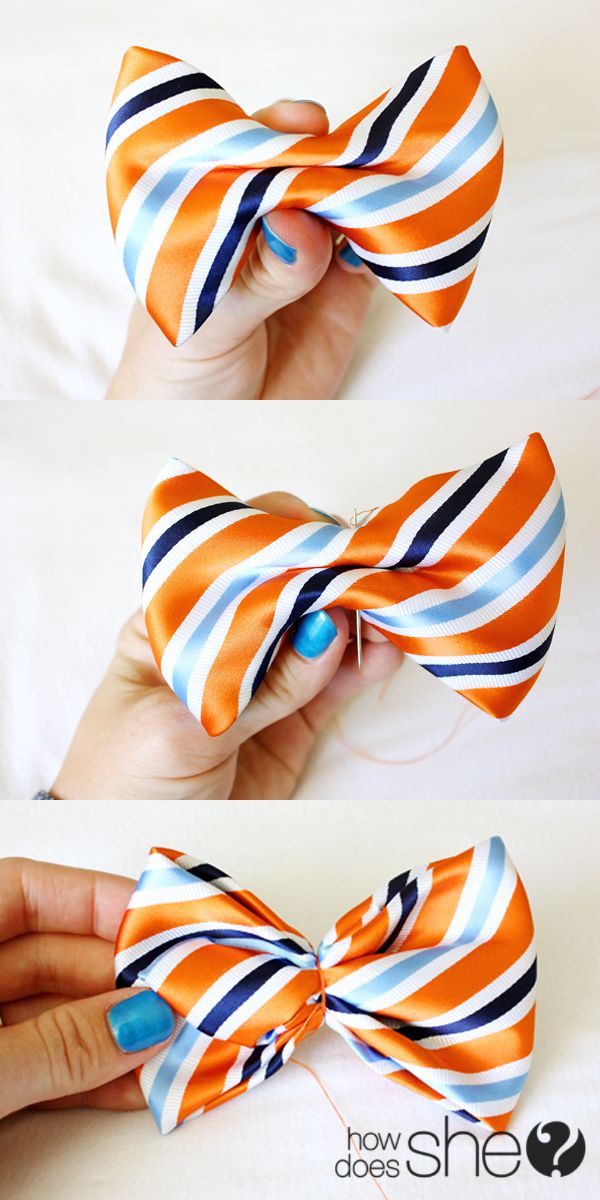 I also wanted to make my son something to wear for his Valentine’s party. (He likes to dress in a “preppy” style- he’s only in 2nd grade, but he already knows what the little girls like!)
I asked him if he wanted to wear a bow tie to school on Valentine’s Day. I told him it would have Velcro on the back so it could be easily removed. He liked the idea, so I got to work…
The original version I made, was a little small in my opinion, so I remade it in a slightly larger version better suited for a 6 to 13 year old. (The smaller version is the one he wore in our Valentine’s day pictures, the main photo above is the larger version.)
I have included the measurements for both sizes for those who want to make a bow tie for a smaller child.
The great thing about this project is that it is simple enough to hand sew if you don’t have a sewing machine.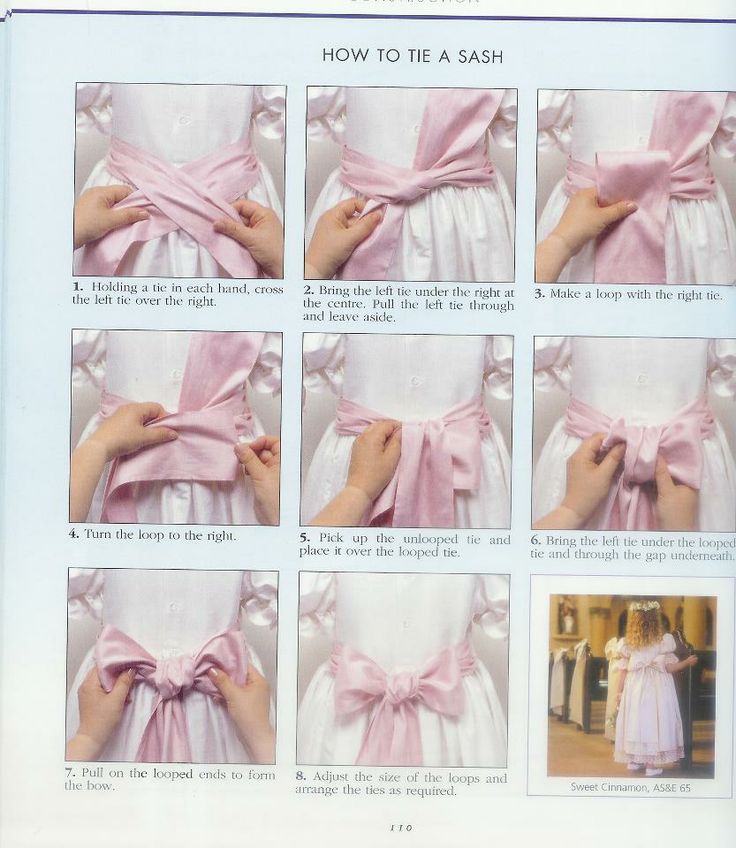
The instructions are exactly the same no matter how you make it, but a sewing machine will take this 40 minute project down to about 10 or
15 minutes…
Our Valentine’s Day Pictures really turned out cute!
If you are interested in making the knot dress in the pictures below, you can find the tutorial and a free printable pattern here: Knot Dress Tutorial.
How to Make an Easy Boy’s Bow Tie:
Materials:
- Scrap fabric (a fat quarter would be great)
- Ruler
- Scissors
- needle and thread (I also used a bit of glue, but glue is optional)
- Velcro
Instructions to sew the bow tie:
Step 1: Cut fabric for size needed according to list below:
Toddler size:
- Bow tie: 8.
 5 inches wide by 5.5 inches tall
 - Center loop: 2 inches wide by 2.75 inches tall
- Neck band: 16 inches wide by 2 inches tall
Elementary age:
- Bow tie: 10.5 inches wide by 7.5 inches tall
- Center loop: 2 inches wide by 2.75 inches tall
- Neck Band: 18 inches wide by 2 inches tall
(Photo below includes cut dimensions for the larger size)
Step 2: Make the bow.
Fold the bow fabric in half, longways, right sides together and sew a seam along the edge:
Flip the fabric right side out, and move the seam to the middle, as shown. Use your fingers to “finger press” the sides flat.
Fold the bow fabric in half again, seam side out, and sew another seam along the edge:
Flip the bow fabric around again, so the seam is on the inside, and finger press the edges flat.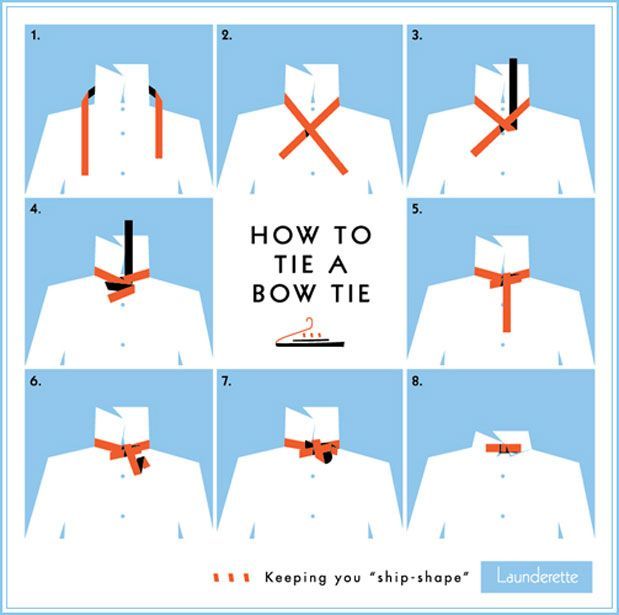
Find the middle of the bow fabric and scrunch it into a bow shape. Add a few stitches to the middle to hold the bow’s shape in place.
Step 3: Make the center loop.
Grab the loop fabric, fold in half longways, right sides together and sew a seam along the edge.
Flip the loop fabric right side out, moving the seam to the center and finger press the edges flat.
Fold in half again, seam side out, and sew along the edge. Flip the loop right side out, so the seam is on the inside.
Slip the bow through the loop, so the loop covers the center stitches.
Step 4: Make the strap.
Grab the neck tie strap, fold in half longways, right sides together and sew the seams marked in red below:
Flip the strap right side out and press flat with an iron.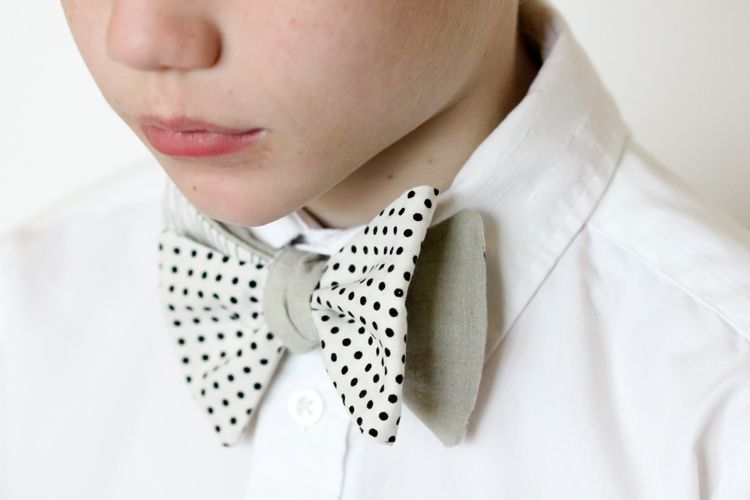
Step 5: Put the bow tie all together.
Use a safety pin and thread the strap through the loop on the back of the bow. (It should be snug.)
Cut a your Velcro into about 3/4 to 1 inch pieces. You will want the scratchy side of the Velcro to face out.
Attach the scratchy Velcro piece to the strap on the side with the finished edge. You can hand or machine sew the Velcro in place. (I got lazy and used hot glue, it adheres very well if you don’t let it cool too much before attaching it to the fabric.)
Hold the bow tie in place and mark where to put the second piece of Velcro.
Fold the unfinished edge in where you marked it and sew along the edge to close the opening.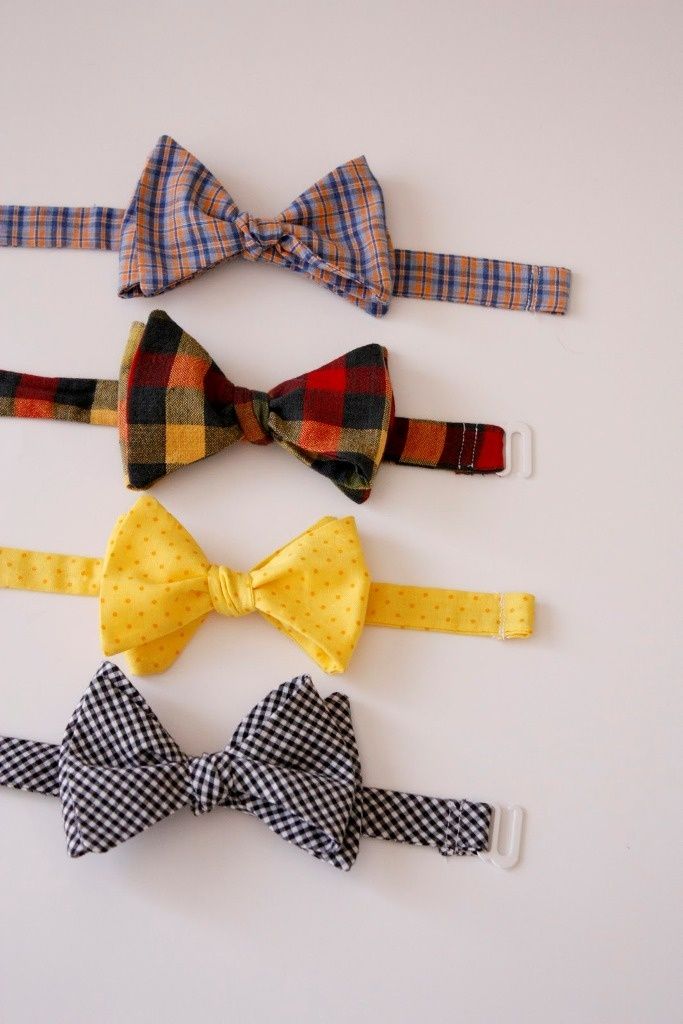
Attach the second piece of Velcro and you are done! Isn’t it cute?
Elementary-age-sized bow tie. (my son is an average sized 8 year old in this photo.)
Don't miss any more posts!
Follow along on:
Feedly, Bloglovin', your favorite feed reader, or signing up via email and have new posts delivered to your email box each week!
6000 shares
DIY bow tie? how to sew for a boy and a man
A popular detail - a butterfly - is actively used as a finishing touch to a beautiful and fashionable look. Making a bow tie with your own hands is quite easy. The whole work process will take a minimum of time, and you will receive original jewelry for your clothes.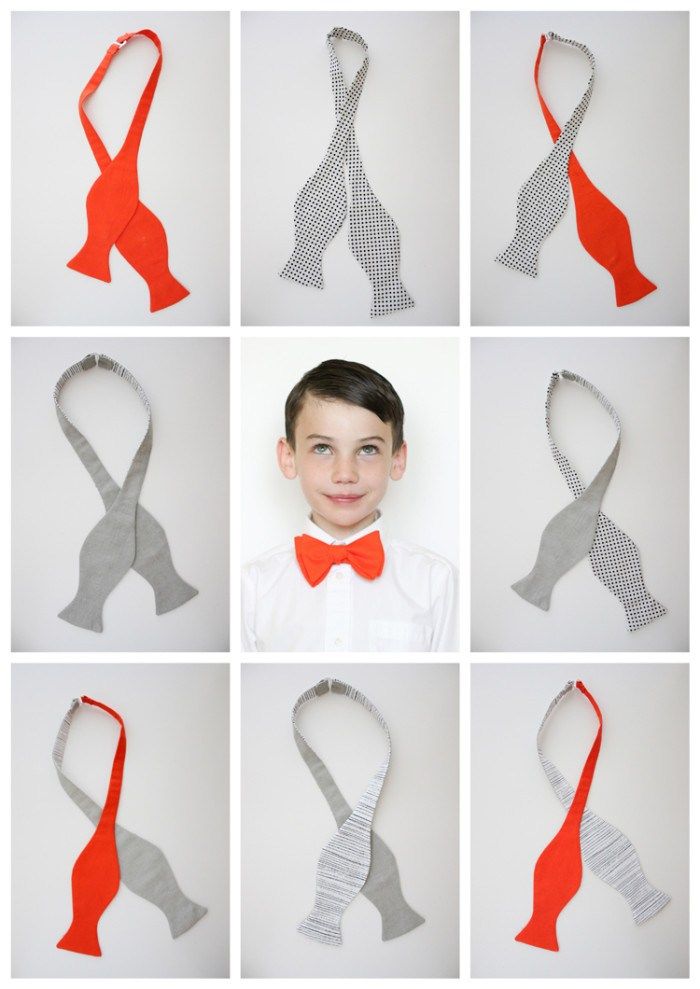 Any woman can buy a tie for her man in a special men's accessories store. However, it is much more pleasant for any person to receive gifts that are made with their own hands.
It is not so difficult to sew a children's bow tie for a formal shirt, even a double one, especially if you are going to make not self-tie, but the so-called "lazy" - a bow with an elastic band, or a braid of the same material with a tie. On the Internet, it is easy to find a life-size pattern. Mk. will help you make this tie. And remember - girls also love such ties, as well as girls and women. For them, this fashion accessory can be made of fabric, leather, felt, knitted or crocheted.
Material content
- 1 How to make a bow tie out of fabric
- 2 How to make a bow tie out of paper
- 3 How to sew a tie with an elastic band
- 4 Butterfly pattern
- 4.1 Other sewing
- 9002 2
How to make a bow tie out of fabric
The bow tie is created in different ways and falls into two main categories:
- Traditional style a la tie to be tied around the neck;
- A beautiful accessory that is attached with the special fastener .
According to the shape, our product is divided into four types:
- Traditional products not exceeding 6 cm wide.
- Large bow ties only 8 cm wide.
- Butterflies-diamonds, made in the form of a rhombus;
- Ties with round ends.
If you want to sew a bow tie yourself and give it to your man, follow the step by step instructions. First you need to decide which material is best suited for the future product. If you use silk or velveteen, then the bow tie will have a decent and businesslike look.
A more inexpensive option is polyester , which is similar to satin models. Another economical option is paper. The first product must be sewn from inexpensive material, so as not to worry too much if everything turned out badly. If you want the product to hold its shape, take a thick fabric to work with.
How to make a bow tie out of paper
If you don't have fabric, you can make a butterfly out of paper.
 You can use the origami technique, because then you don’t need to glue or stitch anything. To create a butterfly, it is better to use color paper , then your accessory will look brighter and more beautiful. To create your plan, you need to take a sheet with a size of 15x15 cm. The sides of the material should be different from each other.
 Master class on how to sew a bow tie for a boy:
First turn the sheet inside out, fold it horizontally, and then turn it over again. In the center, bend each corner in turn. Bend the top and bottom edges towards the center too. Fold the material in half, starting from left to right. Corners that are on the right, bend to the center and unbend. Flatten material .
On the folds made, fold the center in half to make it inside. Bend the top part of the left corner to the right, bending down from the top right corner. Bend the left side back so that the corners on the right and left begin to match.
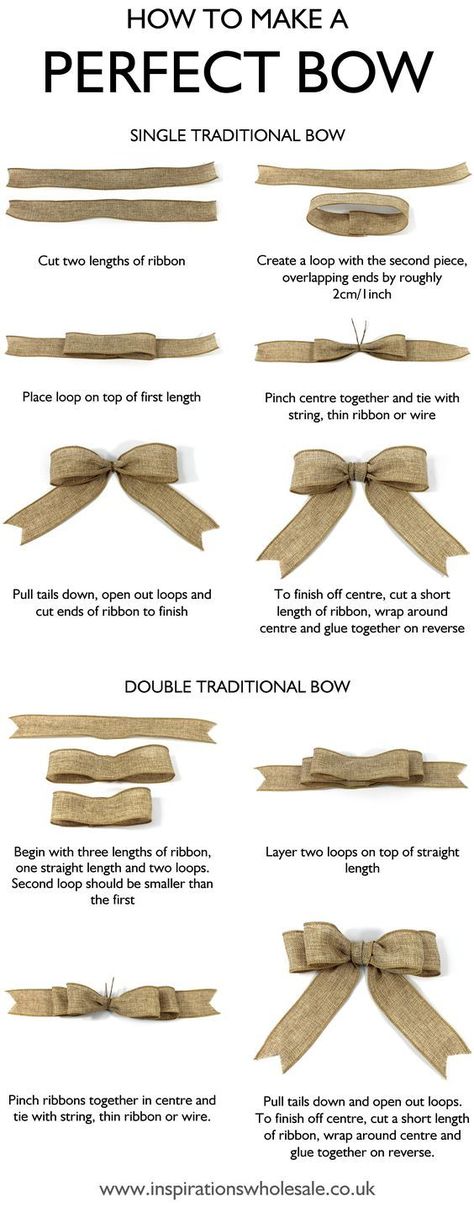 Bend the upper part of the left corners to the center. Fold the left corners towards the center. Slowly straighten the material, gently straighten the center.
 How to create a bow tie from fabric , master class.
The main part of the official style, called a tie, does not have to be ordered for a lot of money. You can sew the product yourself, using pieces of unnecessary material. This decoration is suitable for adults and children. Perhaps, after the first creation of a butterfly with your own hands, you will want to replenish your wardrobe with a whole collection of these products for each outfit for your child or husband.
How to sew a tie with an elastic band
There are many options for tailoring a stylish product. There are difficult and easy ways that require very little time. You can make a product without a machine, but if you have sewing equipment, would be simpler than . For work you will need:
- A simple piece of thick fabric.
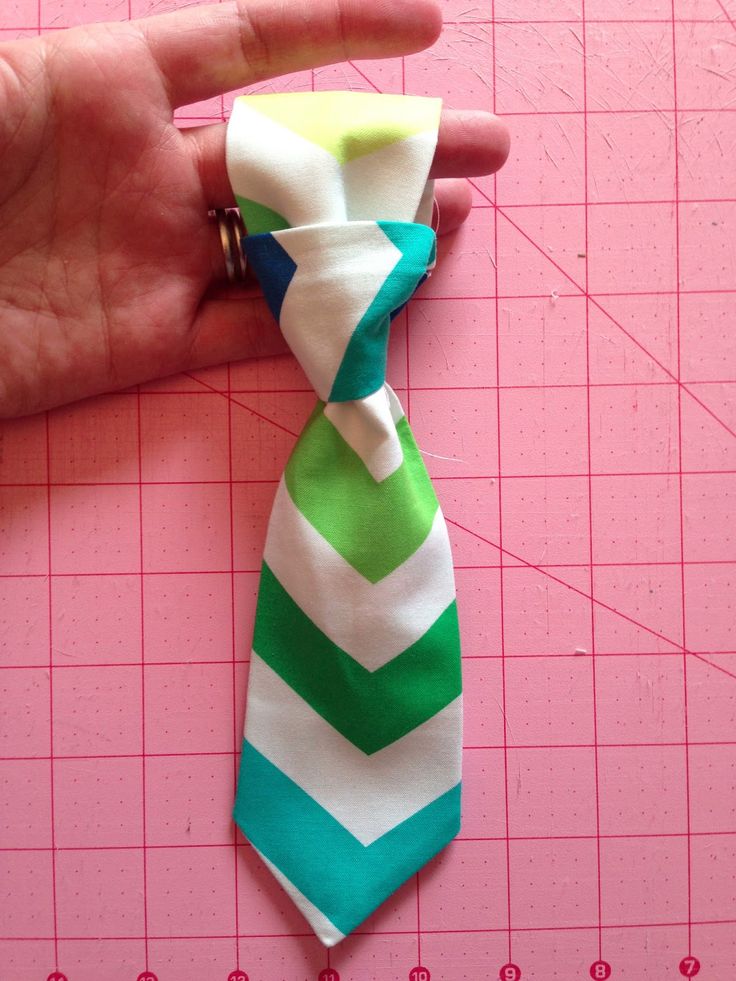
- Sewing machine for work or just a needle and thread;
- Special measuring ruler.
- Sharp scissors.
- Buttons.
- Rubber band.
How to sew a bow tie around your neck with your own hands.
We cut out a square of suitable size from the necessary materials, then fold it in half, stitch along three edges.
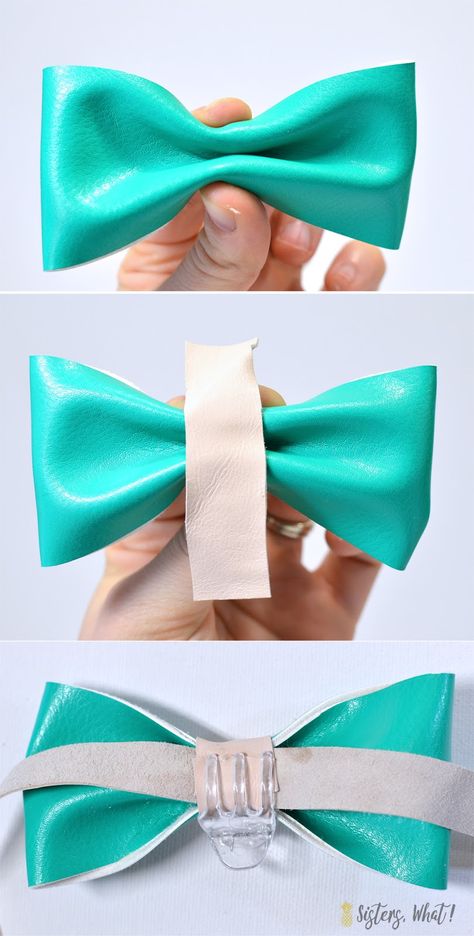
We turn the product inside out, creating a butterfly with our fingers, fix the middle with a thread and sew it with a piece of fabric.
Sew an elastic band and a button to the tie to secure the tie around the neck. We choose the length of the rubber band based on the girth of the neck.
Butterfly pattern
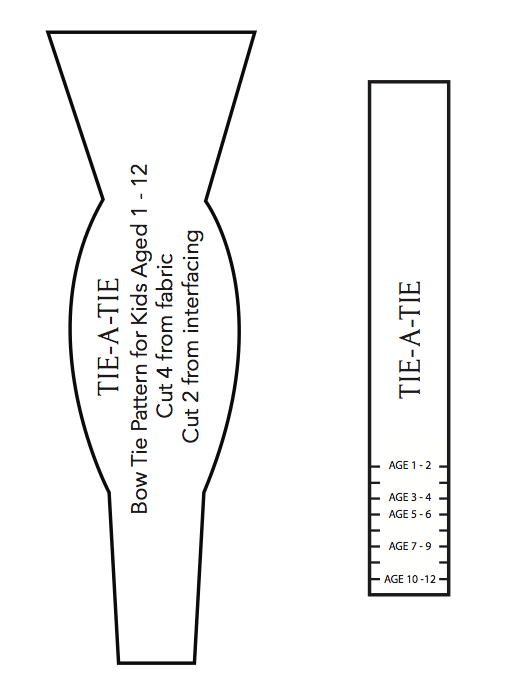
We build a pattern according to the scheme.
- First we need two pieces of fabric (main and lining), the pattern we made and the fastener.
- We attach the pattern with the help of pins to the wrong side of the base fabric, circle it and add an allowance of 7 mm.

- Cut out the first piece from the pattern.
- Put it on the second piece of fabric, circle again and cut out another piece.
- Parts made from the main fabric are attached to the lining.
- Cut out each.
- We create a line on these details. We make a hole for turning.
- We cut off the corners so that when turning inside out, pieces of fabric do not spoil the appearance of the product.
- Create cuts along the bends.
- Using a narrow stick, turn the tie inside out.
- Starting from the narrowest point. We sew the hole in the turned-out parts with a special seam.
- We receive finished parts. Although our product is homemade, we will also attach a clasp to it.
- We put a hook on the tip of one part and sew it.
- Attach the regulator to the next part.
- We pass the tip of the strap into the regulator.
- Sew on the end.
Other sewing
How to sew a bow tie with your own hands - for a man, a girl
Bow tie little gentlemen are so adorable. But did you know that this accessory is not only for men? Girls also wear it and at the same time look stylish, unusual and very personal. Have you seen how much ready-made "butterflies" cost in the store? Quite expensive. But if you know how to sew a bow tie with your own hands, then you don’t have to spend money, and you can sew them on for big and small men, for yourself, and, let’s reveal a secret, attach an elastic band and make an elegant hair clip.
We select fabric
Any fabric will do for a tie. The main condition is that it should not stretch. At the same time, it can be dense or thin, plain, polka dot, flower, striped, shiny and matte.
Among our range of sewing products you can easily find the right material.
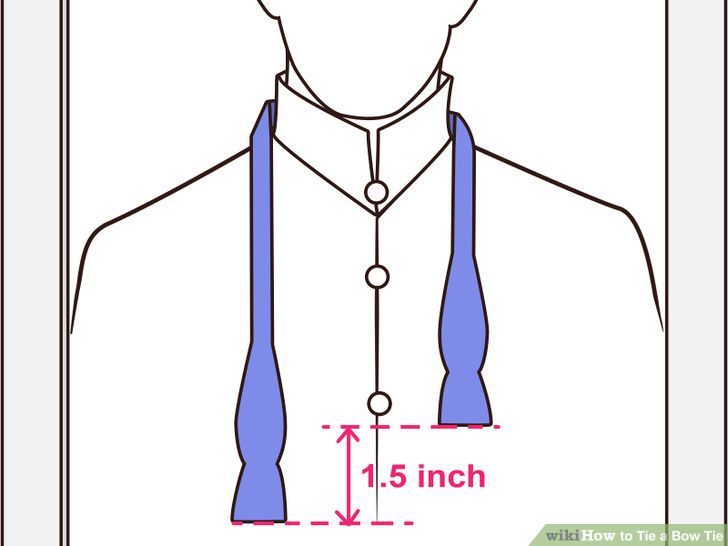
- Staple (why not) and cotton.
- Suit fabric and gabardine.
- Jeans and even leather.
- Satin, brocade and other non-stretch fabrics.
You can also take stretch material, if it suits the outfit. But in this case, when cutting, it must be thoroughly glued with interlining, doubler or beading. He will give density, and will not allow the tie to stretch. The same should be done with thin fabrics, otherwise the “wings” of the butterfly will sag and the desired effect will not be achieved.
Bow tie pattern
There are several options for sewing bow ties. You can go down the path of least construction and sew it together in minutes, or get serious and build a pattern. Let's consider both cases.
Simple butterfly
If there is no time, or, as they say, both hands are left, then the simplest method will come in handy.
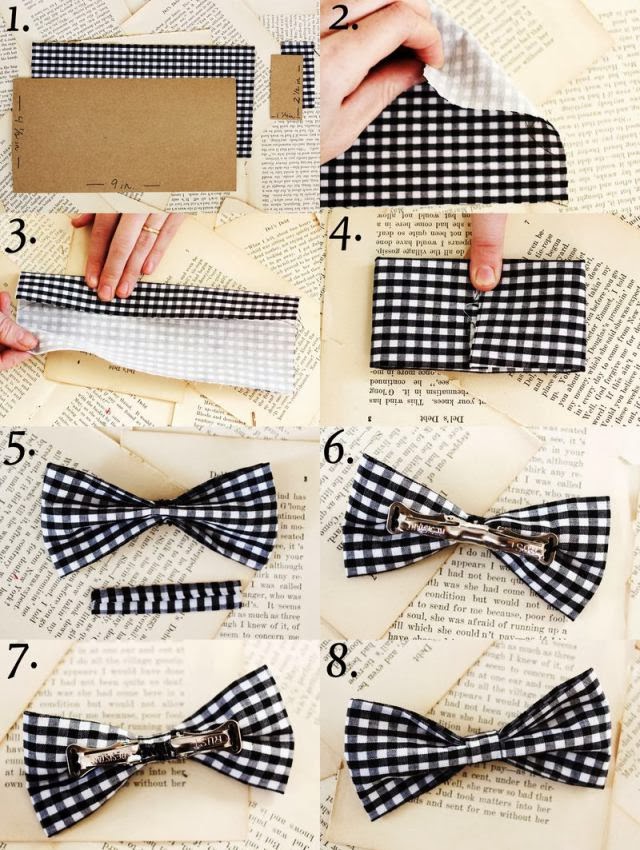
- Cut out 3 rectangles from cardboard: 8 x 13 cm, 13 x 23.
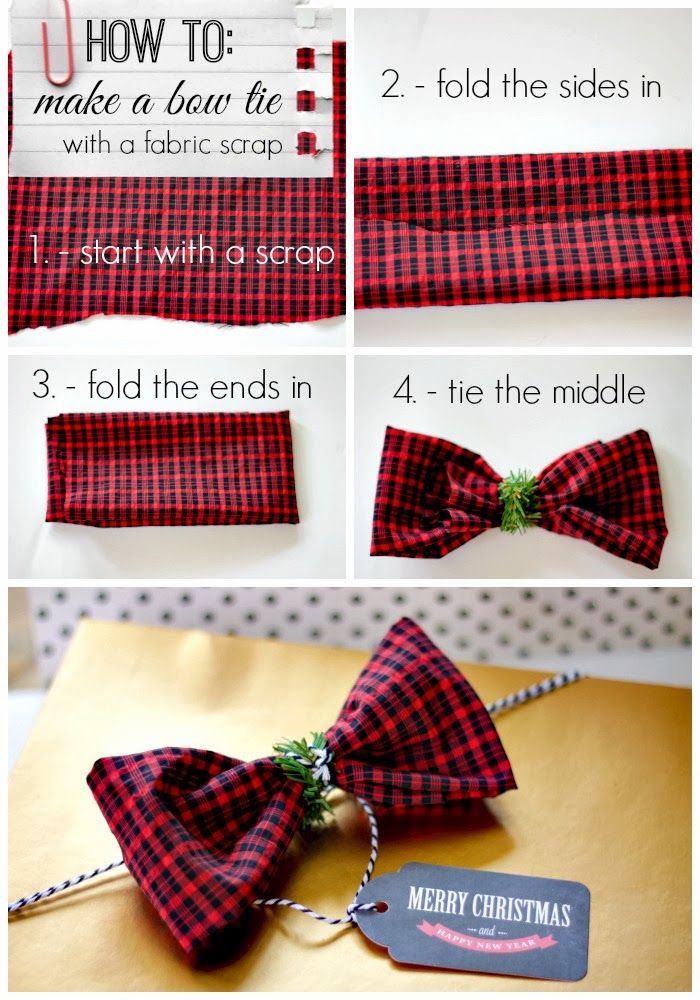 5 cm and 11.5 x 22 cm.
 - Apply to the fabric and circle around them, remove. Cut out the details.
- Piece 12 x 23.5 cm, fold in half lengthwise, iron well.
- Now straighten and fold not lengthwise, but across, and also iron.
- Straighten and fold the long ends on both sides up to the longitudinal fold line. smooth.
- Without straightening the workpiece, do the same with the short ends. But fold over a little. Iron.
- Do the same manipulations with a part 11.5 by 22 cm. You will get a double butterfly. But this step can be skipped.
- The 8 x 13 cm piece is the lintel. It needs to be folded in half lengthwise, ironed.
- Unfold and tuck the long tip up to the fold line.
- Roll up until you get a narrow strip. Iron the workpiece.
- The two main parts need to be pulled together slightly in the middle.
- Sew up the edges of a small part and make a ring out of it.
- Place two large pieces together, sew in the middle and thread through the ring.
