Best way to dry baby bottles
How To Dry Baby Bottles
Babies have delicate tummies and weak immune systems. This means that they can get sick very easily. It’s therefore very important for parents to practice proper hygiene with their baby’s feeding equipment. Here is a quick and simple guide to what you need to know.
Baby bottles need to be completely dry to prevent bacteria
It doesn’t matter if you use sterilising solution, steam sterilising or plain old soapy water and a bottle brush, you’re going to get your baby bottles wet. Where there’s water, there’s the potential for germs, which could attack your baby’s immune system as you’re bottle-feeding. This means that drying your feeding equipment is actually an essential part of the cleaning process. Although this article is about drying baby bottles, much the same comments apply to other feeding equipment such as breast pumps.
Ways to dry baby bottles
There are basically three ways to dry baby bottles. These are as follows. Use a clean towel or kitchen roll. Leave to air dry, possibly on a drying rack. Use a baby bottle dryer.
Using a clean towel or kitchen roll
Although this is listed first, it’s not the recommended approach, especially not if you have a very young baby. Even if you boil wash a towel or use kitchen roll which is just out of the packet, you may find yourself inadvertently transferring bacteria to your baby’s feeding bottle.
Having just said that, if your baby is older and for some reason, you need to dry a feeding bottle quickly, then using fresh kitchen roll, or, at a pinch, a clean towel may be a reasonable option if the alternative is your baby going hungry. It should not, however, be your first-choice option, not even if your baby is a bit older. Basically, it’s just too easy to transfer germs from the towel or kitchen roll onto the bottles as you rub them dry.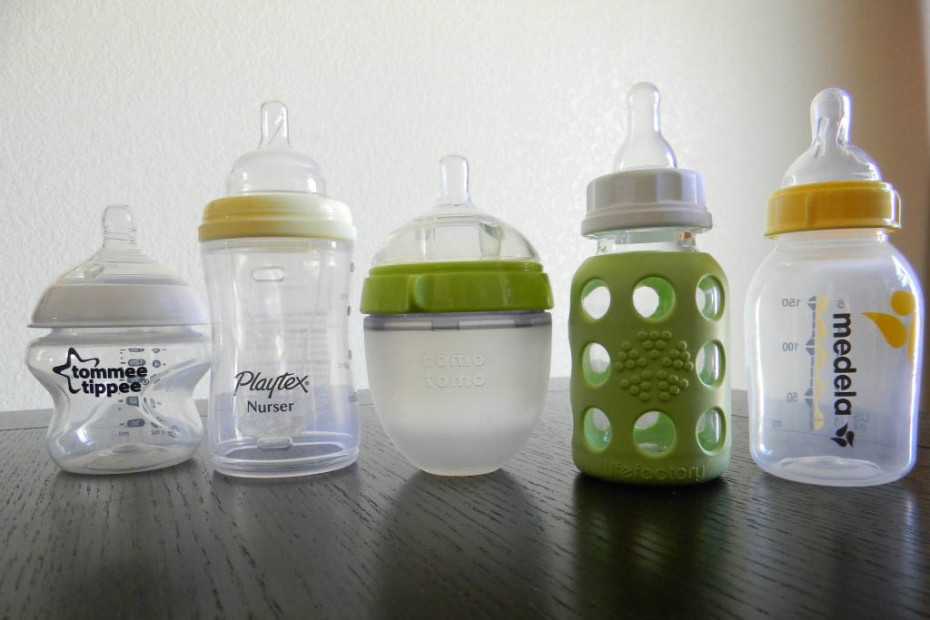
Air drying (on a drying rack)
Air drying can work very well, but there is a knack to it and it can help a lot to use a proper drying rack for your baby bottles and other feeding equipment. The first plus about proper drying racks is that they tend to make more efficient use of counter space. This may only become apparent once you start using one and have a chance to compare it to drying bottles on a drainer or on a regular dish rack.
If you have a proper baby bottle drying rack then you can corral bottles, teats and everything else into one place and keep them easily in the right position for drying. For example, instead of just turning a bottle upside down and hoping that it stays upright or having to tilt it slightly to fit on a regular draining or drying rack, you can put your bottle either onto or into a holder which is designed to hold it upside down. This helps to prevent water from being trapped in the bottle and means that your baby bottles will air dry as quickly as possible.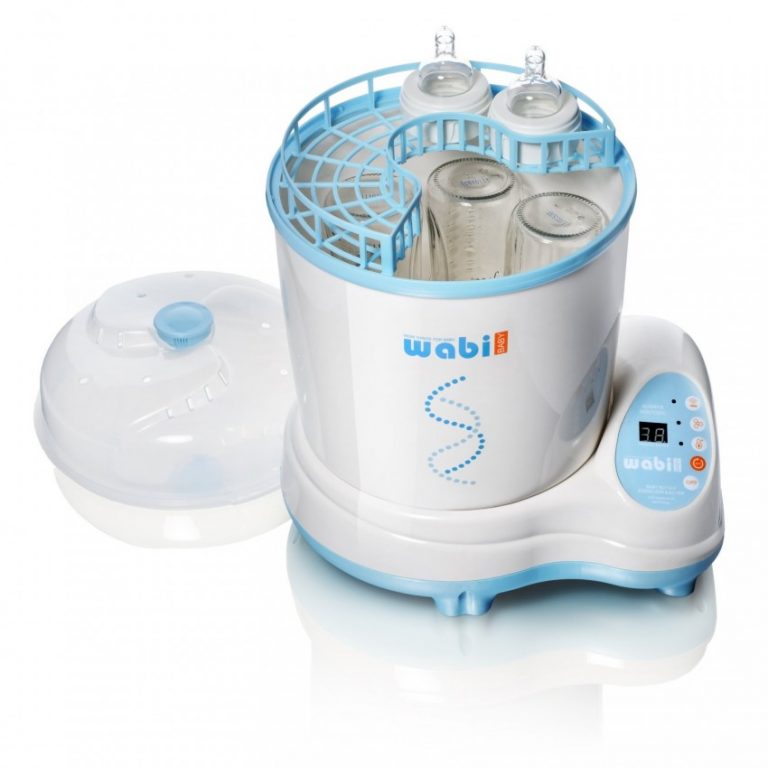
As a bonus, this helps to reduce the likelihood that your newly-cleaned feeding equipment is going to wind up being accidentally knocked off the drainer onto the floor, leaving you needing to grab the bottle brush and get stuck in to another round of cleaning.
Proper bottle dryers also tend to be designed to be easy to drain and easy to clean. This may sound like stating the obvious, but it is actually an important point. Regular draining racks are a lot bigger than drying racks for baby feeding equipment. This makes them more cumbersome to drain and much more challenging to clean. For example, they’d be difficult to fit in a dishwasher alongside other items. If you were going to put them in a dishwasher, you’d probably have to put them in on their own.
This means that if you plan to air dry your baby bottles, even if only some of the time, a proper bottle dryer is likely to be a good investment, especially since they’re so affordable. The key points to check are the size and maximum capacity (these are, of course, closely related), the ease with which it can be cleaned and the safety.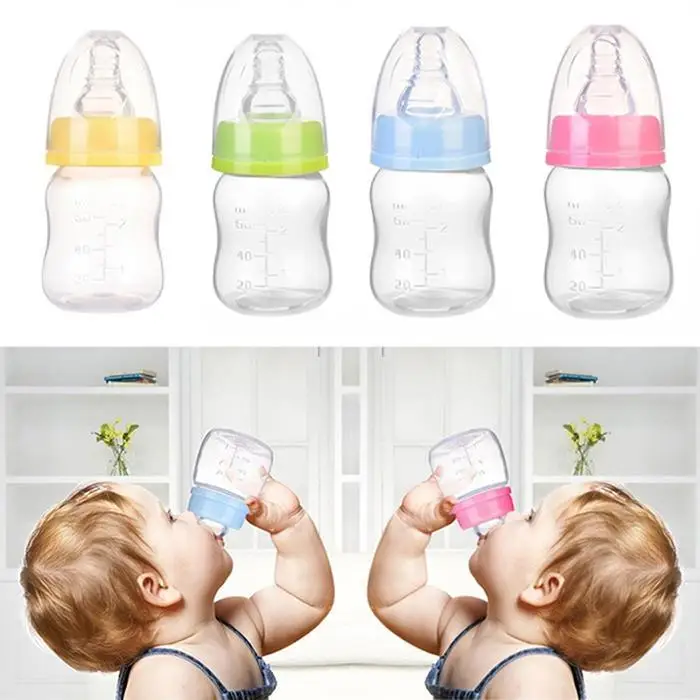 In principle, you should be able to take safety for granted if you choose a reputable brand and buy from a trustworthy retailer. It is, however, always advisable to double-check.
Using a baby bottle dryer
When people talk about baby bottle dryers, what they actually mean are sterilisers which also have a drying function. Not all sterilisers have this, so make sure that you check before you head to the checkout.
Sterilisers are certainly investment purchases, especially compared to drying racks. They’re also arguably needs rather than wants since you can use old-fashioned sterilising solution on its own or use boiling water for steam sterilising. They can, however, be massively convenient and if you’re the parent of a baby, the value of convenience should never be underestimated.
What’s more, there’s always a demand for pre-loved sterilisers so you may be able to recoup some of your up-front investment once your baby has moved on from infant formula.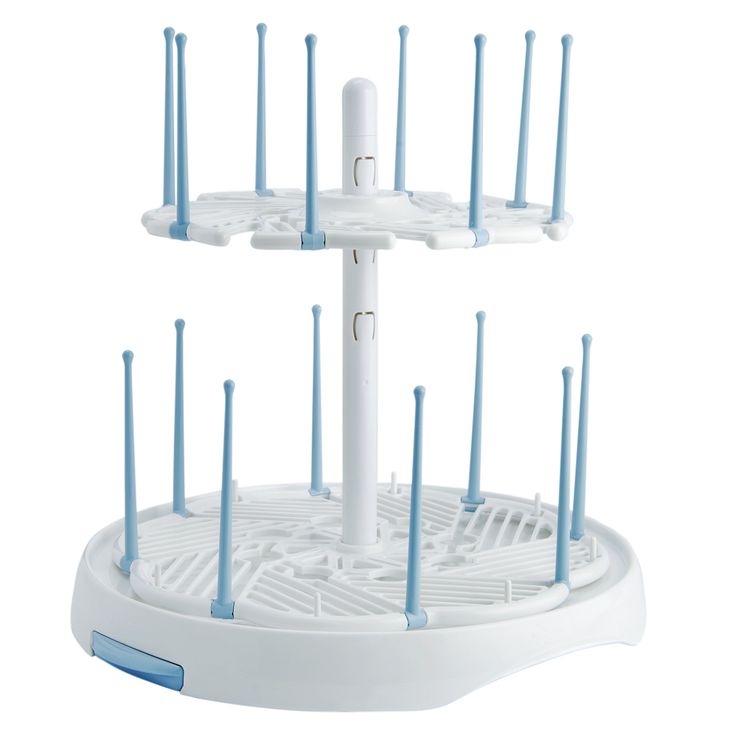
The big plus about using a sterilizer with a drying function is that it does the job quickly and effectively. Another bonus is that it can do double duty as a place to store your baby bottles, or at least some of them.
Where baby bottle dryers really come into their own is when parents are routinely short on time or on space. These days, the second point can be even more important than the first. In simple terms, if you have plenty of space, especially in your kitchen, then you can store plenty of baby bottles. You should therefore, in theory at least, never have to worry about being short of a bottle to feed your baby his or her infant formula because they’re all still in the process of drying.
If, however, you’re in a small space, then you won’t be able to store as many bottles and therefore will need to sterilise/clean and dry them as quickly as you possibly can, obviously without compromising on hygiene. A steriliser with a drying function can be a massive help here. You can even use it when you’re not actually properly sterilizing your bottles. Just give them a standard clean and pop them in the sterilizer to dry and, if necessary as a storage location.
The features to check on a steriliser are essentially the same as for a drying rack. You need to look at size and maximum capacity, ease of cleaning and safety. Additionally, you might want to think about whether or not you have a preference for any particular type of sterilisation.
Cold water sterilisers (the ones which use sterilising solution) and electric steam sterilisers are the traditional option, but these days you can also get microwave steam sterilisers and even UV sterilisers. As always, there’s no right or wrong here. All of these options will get rid of bacteria and germs. It’s just about what works best for you, your baby and your lifestyle.
Last but not least, make sure that you choose a sterilizer with a drying function. As previously mentioned, not all sterilizers also act as dryers. You need to double-check this.
What to do once your bottles are dry
Once your bottles are dry, you need to store them appropriately. Remember, if any water gets back into them then it could become a new breeding ground for bacteria and germs and essentially you’ll be back to square one.
If you’re using a steriliser then the best approach is to leave your bottles there until you need them. This may, however, not be practical, for example, if you need to clean/sterilize and dry your bottles in batches.
If you need to take your bottles out of the steriliser (or if you aren’t using a steriliser), then it’s best to reassemble the bottles as quickly as possible. There is because there is water in the air (even in summer) which can condense inside the bottles and create a home for bacteria and germs.
Ideally, you’ll assemble your dry bottles on a sterile surface using sterile tongs. Using sterile tongs can, however, be a bit of a challenge for some people. If that’s you, then wash your hands thoroughly, have the water as hot as you can stand and then dry them well before you assemble your bottles. Make sure that no water goes from your hands onto the bottles not even on the outside and certainly not on the inside.
If at all possible, you want to store your dry bottles in a sterile location, such as inside the sterilizer. If that’s not possible then make sure to store them somewhere clean and dry where there’s minimal to no chance of water getting onto them. Use them within 24 hours or sterilize and dry them again.
Best Way to Dry Baby Bottles Quickly
After you’ve scrubbed, rinsed, and sterilized your child’s baby bottles, is your work complete?
Is It Necessary to Dry Baby Bottles?
Although you do not need to dry a baby bottle if you are using it right away, it is necessary to completely dry bottles before putting them away.![]() In order to prevent bacteria growth, drying your baby bottles is an essential part of the cleaning process.
In order to prevent bacteria growth, drying your baby bottles is an essential part of the cleaning process.
Some parents plop the sparkling, dewy bottles on a drying rack and call it a wrap or use a soft towel to wipe away water.
Other parents use a baby bottle dryer to ensure that bottles are thoroughly dried and ready for the next use.
Which method is the best way to dry baby bottles?
HOW DO YOU DRY A BABY BOTTLE?The methods by which most parents dry baby bottles aren’t too complex.
There are essentially three camps, as mentioned above:
Drip dry. Many parents leave freshly sterilized baby bottles to dry on a specially designed rack, or a regular dish drying rack. Although, we’re not against this bottle drying method, the process can be time consuming and your drying rack will also have to be sterilized often.
Towel dry – Not Recommended. Though it might seem logical to finish washing baby bottles, then use a towel to dry the bottles, it is definitely not a recommended option!
Even a seemingly fresh dish towel could be harboring bacteria that may contaminate your otherwise clean and sterile bottle.
Baby Bottle Dryer – Our Favorite. For parents wanting to learn how to dry baby bottles quickly and effectively, this option is for you. For baby bottles that are dry and sterile, it’s hard to beat the convenience of an electric baby bottle dryer. This handy device will dry bottles completely and keep them sterile for up to 24 hours. It saves you time and also takes away your doubts on the cleanliness of the bottles.
Baby Bottle Dryer Vs. Air DryingSo if you’re stuck deciding between using a baby bottle dryer and just letting the bottles air dry, here’s a little more insight to help you decide which option is better.
Consider the following:
-Baby bottles that are left to dry on a rack take up valuable counterspace.
Yes, a baby bottle dryer also takes up a little room on the counter, but seeing a dish draining rack all the time can make your countertop feel cluttered.
Not to mention, the bottles can be easily knocked over onto the floor or into the sink – meaning they’ll need another round of thorough cleaning.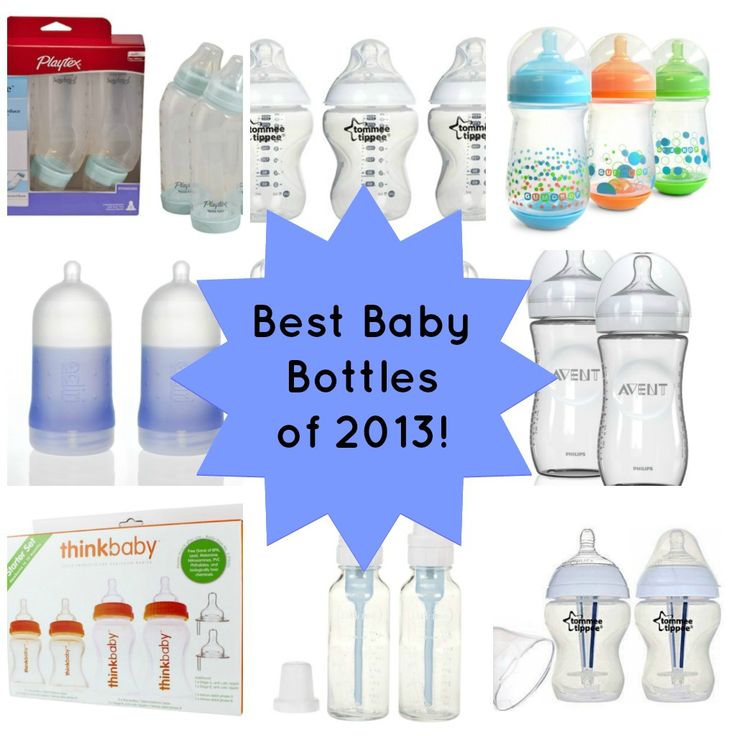
-Without adequate drainage, bacteria can build up.
Dish drainers or baby bottle racks that don’t have enough drainage or aren’t cleaned regularly can become a breeding ground for bacteria that may contaminate your baby bottles.
With an electric baby bottle dryer, the inside of the unit and the bottles will become as dry as can be in no time at all.
-Dry bottles faster to prevent mold or fungus.
The faster you dry your baby bottles, the less chance there is that mold or fungus will set in.
If left damp for too long or if water collects in the bottom of the bottle, mold and fungus can begin to grow.
How Can I Make My Baby Bottles Dry Faster?
A bottle dryer can have your baby bottles dry and ready to go in anywhere from 30-60 minutes!
-Keeps baby bottles sterile for up to 24 hours.
Once you’ve sterilized and dried your baby bottles, you can leave them inside the Baby Brezza One Step Sterilizer Bottle Dryer for up to 24 hours and rest assured they’re still sterile.
The same can’t be said for a countertop baby bottle drying rack. If someone sneezes or coughs around your baby bottles, they’re all in need of re-washing and sterilizing.
Use a Baby Bottle Dryer for Faster, Effective DryingMake your life a little easier by purchasing a baby bottle dryer.
You can eliminate the worry of bacteria, mold, and germs contaminating your baby bottles during the drying or storing process. You’ll especially love that one machine can both sterilize and dry baby bottles – saving you time and counterspace!
A baby bottle dryer may seem like a luxury, but it’ll quickly become the essential end to your bottle cleaning process.
Shop this Article
Shop Now
HOW TO STERILIZE PHILIPS AVENT BOTTLES
Teats and bottles harbor millions of microbes. They are not afraid of boiling water, soda and detergents. The only thing that kills them is hot steam, which literally dissolves bacilli with a probability of up to 99.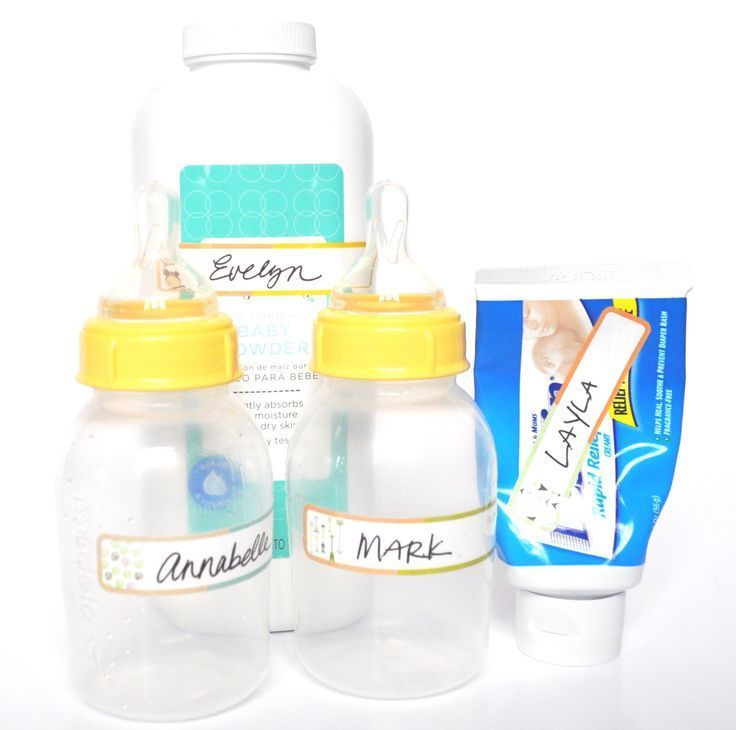 9%. Porridge and milk keep longer. A formula-fed baby is less likely to get sick.
So, mums, end your feeding with poorly washed bottles and learn how to disinfect them the way our grandmothers did. Only in a new way. nine0003
How to sterilize baby bottles
Washing with a brush or sponge is a must after every feeding. And it is better to sterilize in the evening or in the morning, in order to get rid of all pathogenic bacteria and not worry about the cleanliness of children's accessories.
When doing this, you must follow the safety rules: otherwise you can inadvertently scald or deform plastic dishes.
Below are three general guidelines for sterilizing baby bottles. nine0003
- The utensil must not be immersed in boiling water, otherwise it will soften and melt.
- Glasses and bottles are placed with their neck down: so that the steam cleans the inside, and the condensate flows down the walls into a bowl.
- Bottles must not touch the sides of the pan as they may melt and stick to them.

After sterilization, it is better not to remove the dishes from the container for about ten minutes. It should cool down to a comfortable temperature. And if you really need it, you should use tongs, oven mitts or a kitchen towel folded in several layers. nine0003
By the way: Baby utensils: how to choose - 4 key parameters to help
How to sterilize pacifiers for children?
Teats are sterilized in the same way as bottles, but with the base down - to steam not only the outer, but also the inner walls. And let the moisture drain.
Types of sterilization
Two types of sterilization are used for the treatment of children's utensils - steam and dry heat.
- In the first case, the vessel is steamed. nine0020
- In the second - washed and still wet bottles are heated in the oven, sterilizer, microwave, multicooker and even in the dishwasher, which supports steam treatment at 80+ ° C.
Life hack: how to steam bottles and other things with sterilization bags (such as Nuvita NV1087)
- Put dishes in food bags.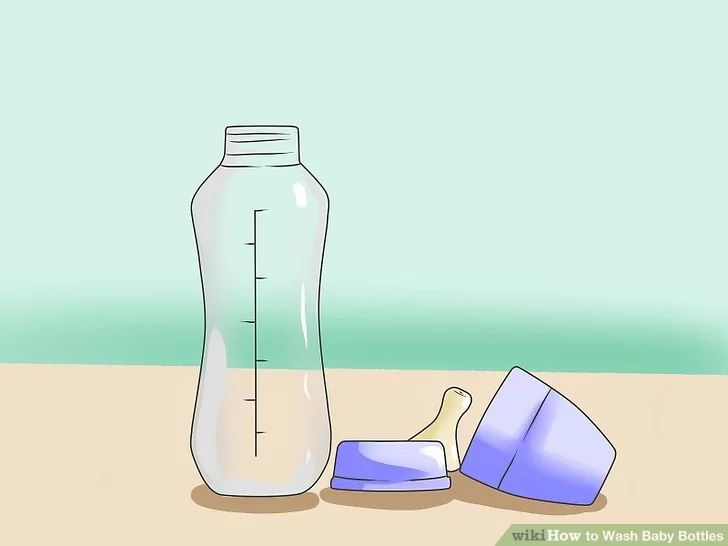
- Pour 60-70 ml of water into them.
- Microwave for 2-3 minutes.
The sterilization process is as simple as a copper penny. Evaporating moisture destroys pathogenic (and not only) microbes from various surfaces. Materials exposed to hot air and steam do not creak from cleanliness, but are sterile and safe for health.
In this way, not only nipples and bottles are disinfected, but also brushes, bowls, thermoses and cups like Avent SCF796/01 and so on.
Interesting article: When did the first baby stroller appear: 10 facts from history
Microwaveable
The microwave oven offers 3 sterilization options. Not all of them are suitable for processing nipples.
- Place the bottles in a glass or ceramic dish → fill it with water → cover with a lid → put the microwave on maximum power for 5-7 minutes.
- Pour water into the bottle 1-1.5 cm from the bottom → microwave for 3-5 minutes. The nipples will have to be washed separately.
- In the Nuvita type microwave sterilizer (NV1085), it is enough to put the container → pour water → click on the valve → set the device to work for 5-8 minutes. nine0020
Picking up a hot dish is easier with tongs or oven mitts.
Sterilization in the microwave gives its advantages and disadvantages, described in the table: the inner bowl of the multicooker. So that the saucepan does not smell like food, otherwise bottles or children's dishes will take over this smell. nine0003
The subsequent sterilization process in the multicooker is similar to microwave.
- Pour ≈ 1-1.5 liters of water into the bowl.
- Place the steam rack and place the bottles upside down.
- Seal the steam device hermetically.
- Set "Steam" mode to 15 minutes or "Sterilize" mode.
- Remove the dishes and cover with a towel to cool completely.
This method also has its pros and cons. nine0003
Sterilizer
Children's sterilizer is an electrical device for processing utensils.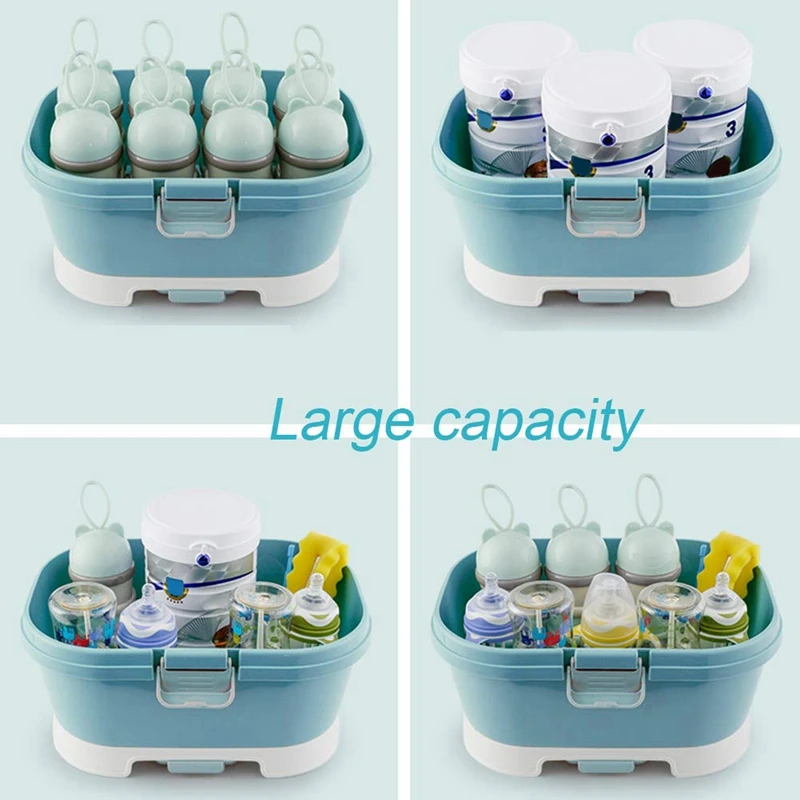 Works carefully, the bottle will not crack due to overheating.
Everything is calculated with medical precision in the method of steaming with a sterilizer. The device holds up to 6-8 bottles and the same number of nipples. A great example of such a device is the Philips Avent 3-in-1 steam sterilizer. It is ideal for a family with several kids.
How the device works is as simple as it gets. It consists of step by step actions. nine0003
- Pour cold water into the tank (how much is indicated in the instructions).
- Place pre-cleaned bottles in special niches. This should be done upside down.
- Close cover.
- Switch on the sterilizer for 7-15 minutes.
- Let the device “cool down” for 5-7 minutes. This is necessary so that you do not accidentally burn yourself with steam.
If the use of the bottles "does not burn", then they can be left under a closed lid - so they will be sterile for another 4-5 hours.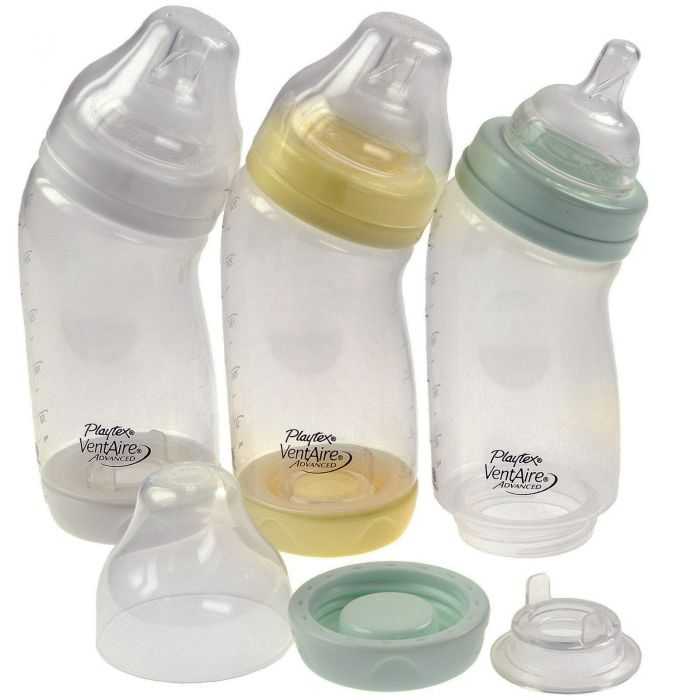 If you need to get one of the bottles, take only it, and close the rest of the clean bottles with lids. nine0003
Before putting the dishes into the sterilizer, make sure they are clean. The device removes germs and odor, but does not cope with pollution.
Read: Top 5 Best Convertible Strollers
Avoid Sterilization Mistakes: 4 Common
Many parents make basic mistakes that are best addressed in advance.
1. Unwashed or poorly washed utensils
Leftover food provokes the reproduction of microflora and can cause stomach problems in a child. And sterilization does not wash out food residues - only cleaning can do this. nine0003
2. Pot boiling
You can't boil! The maximum allowable temperature for children's utensils is 110 ° C. And often it is even less. Otherwise, the bottles may melt.
3. Installation in a steamer and microwave without water is contraindicated
The device will burn, and the dishes will melt.
4. Sterilization of dishes with visible chips and cracks
Microbes accumulate and multiply in them, which can cause diseases of the gastrointestinal tract and not only. nine0003
Note: TOP-10 strollers with inflatable wheels
Pros and cons of sterilization
Each parent has his own opinion about sterilization, but there are definitely no indifferent to this issue.
Arguments "For" and "Against" are summarized in the final table:
So when choosing "to sterilize or not", everyone decides for himself. However, if the child is often fed in public places where it is impossible to verify the cleanliness of the surfaces, it is advisable to at least wash the dishes thoroughly in very hot water. nine0003
Read: Top 5 tricycle baby strollers
How to sterilize baby bottles? Advice and guidance for young parents.
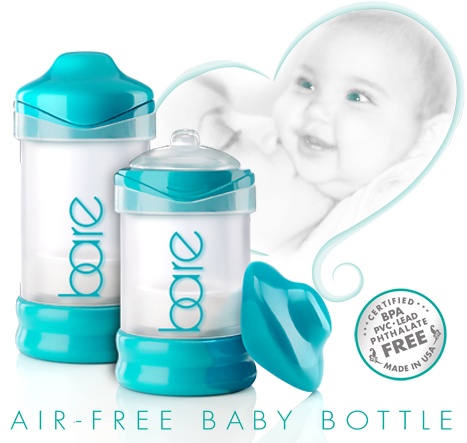
At some point, even mothers who happily breastfeed their babies need a feeding bottle. It can be the beginning of complementary foods, a long distance trip when you need to supplement the baby with milk, or even just a very hot summer, because of which the newborn begins to drink water. All children's dishes must be sterilized. You can use various devices or improvised means for this. Before sterilizing baby bottles, parents can choose a cleaning method and aids based on what is easier, more affordable, and more reliable for them. nine0003
Is it necessary to sterilize dishes?
Sometimes the question arises whether there is any point in sterilization. Or is this procedure a meaningless relic of the past? The answer is simple - any dishes that a child will come into contact with require special cleaning.
What sterilization gives:
- complete destruction of microbes and pathogenic bacteria;
- excludes the entry of viruses into the baby's esophagus from the surfaces of the bottles; nine0019 reduces the risk of transmission of foodborne infections.

Primary treatment is required for new teats and bottles, as there is no guarantee that these items were in sterile conditions before being sold. Packaging particles and dust may remain on silicone and plastic. Feeding bottles also need to be sterilized regularly. Food debris that accumulates in hard-to-reach places can provoke the growth of bacteria, which will lead to indigestion.
Important! Do not strive for absolutely sterile conditions. A newborn, receiving a small "dose" of bacteria from the outside world, gradually adapts to it. The main thing is that these doses are minimal, available for absorption. nine0003
Methods for sterilizing baby bottles and cleaners
When deciding how to sterilize baby bottles, parents can choose to sterilize baby bottles or use handy tools. Effectively eliminates pollution invisible to the eye - boiling, steaming, ultraviolet. Before processing, it is worth preparing the dishes: remove old dirt, wash the walls with a sponge with detergent for baby bottles, clean hard-to-reach places with a brush, rinse with running water. What can be used for sterilization:
Boiling water
Bottles, teats and pacifiers can be boiled in water. Beforehand, all the dishes are disassembled into elements. Water is drawn into the pan, completely covering the dishes, so that nothing touches the bottom or walls. Everything is boiled for 3-7 minutes, after which it is laid out on a clean, ironed cotton towel.
Rules to be observed:
- use filtered water;
- set aside a separate pot or ladle for sterilization; nine0020
- do not leave the dishes to boil unattended - something may burn;
- only boil bottles that can withstand high temperatures;
- do not add soda, salt or other products to the water.
Boiling is the simplest and most affordable method that does not require additional costs. The effectiveness of this method has been proven; at high temperatures, all microbes, bacteria, and viruses die. But the method also has disadvantages: it is not always possible to control the long boiling process, there are no conditions for organizing boiling, dishes under the influence of boiling water can deteriorate faster. nine0003
Microwave
Microwaves inside the oven sterilize items in a relatively short period of time. But for the processing of children's dishes, water will still be required, although it does not have to be brought to a boil at all. Cleaned bottles are placed in a microwave container filled with water. Cleaning is performed for 6-8 minutes at maximum power (if any, the Boiling mode is used).
After switching off, do not immediately remove the container from the microwave - delayed boiling is possible. It is necessary to wait for the water to cool, and then take out the nipples and drying bottles on a towel. For greater safety, it is better to use a microwave sterilizer. Such devices are equipped with notches for monitoring the water level, convenient nests for dishes and a lid that prevents splashing. In modern models, tweezers are immediately included in the package, which is convenient and safe to get bottles. nine0003
The advantage of the microwave oven is the prevalence of the device, they are installed in children's hospitals and mother and child rooms at railway stations.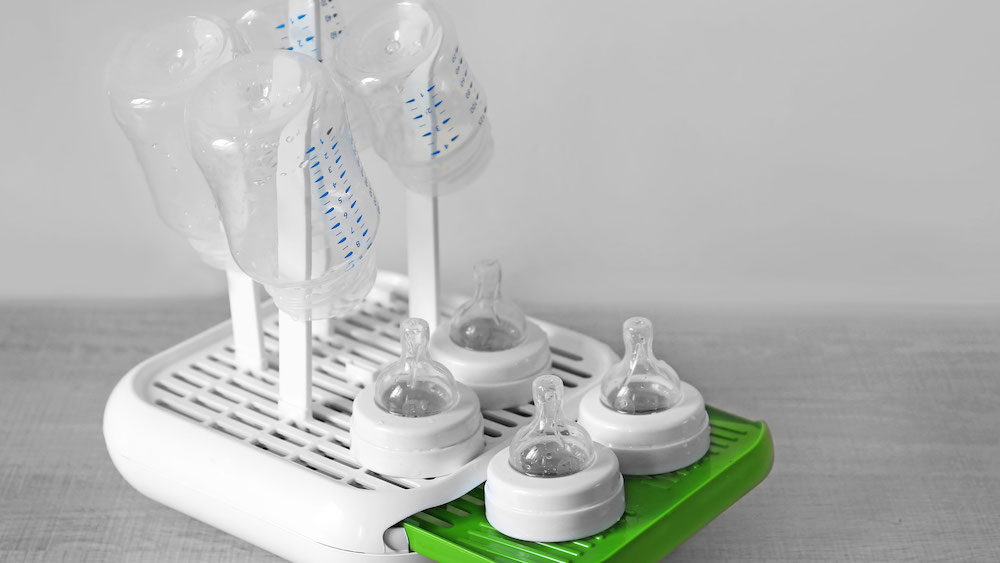 In a microwave oven, you can sterilize the elements of breast pumps, as the interior space can accommodate quite bulky items. Cons - can not be used to clean dishes with metal elements and metallized decorations.
Multicooker
If you don't know how to sterilize silicone pacifiers in the microwave or boiling water, you can use the multicooker bowl. Processing of children's dishes in it can be of two types: in boiling water or steam. It is better to boil bottles and nipples in a bag of water, preventing them from sticking to the walls of the bowl. This method is only suitable as an urgent one, if there is no special plastic grill. If there is a grill, it is better to steam the pacifiers. The sequence of actions is as follows:
- bottles, liners, teats and pacifiers are placed on a special plastic grid with round holes so that objects do not touch each other;
- water is poured into the multicooker bowl - one liter;
- a grate with objects is installed, the lid is closed;
- the program "Steam", "Cooking" is suitable for sterilization, processing time is 5-10 minutes;
- after turning off the multicooker, leave it closed until the liquid cools down; nine0020
- open carefully so as not to burn yourself with steam.
You can also use a steamer instead of a multicooker. The main thing is that the grid for objects should not be metal, but plastic. In this case, you do not have to worry that the rubber nipples will stick to the surface.
The advantages of the method are autonomy and simplicity. Cons - it is not always convenient to sterilize a couple of bottles, a massive multicooker is not installed everywhere.
dishwasher
A number of modern bottles, pacifiers and teats have models that can be sterilized in the dishwasher. Machines with high temperature, the possibility of steaming dishes, drying are suitable for cleaning. This processing method is the simplest, since it excludes preliminary cleaning, it is enough to remove food residues from the containers, place them inside the dishwasher and start the necessary cycle.
But parents also note some disadvantages: they don't want to drive the dishwasher for a small amount of dishes, special detergents for children's plates are not always available.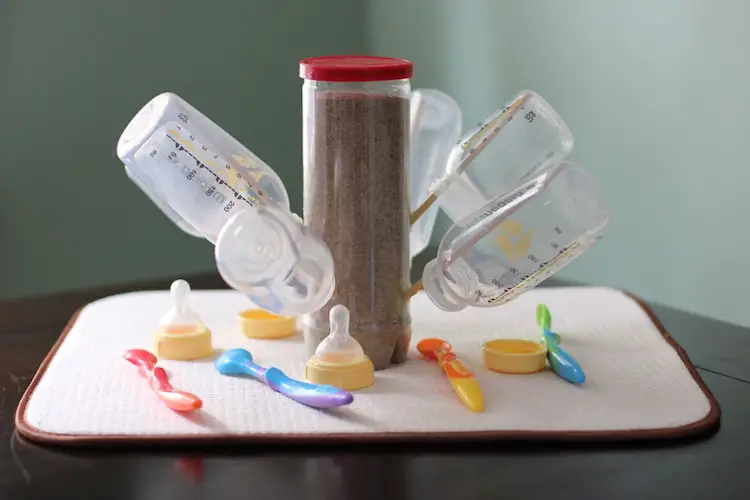 Moreover, not every family can afford a dishwasher. nine0003
Electric Steam Sterilizer
Special sterilizers are best suited for processing baby bottles, as they are all prepared for this procedure. Especially convenient for young families who do not know how to sterilize children's dishes in a saucepan of boiling water. Although the principle of operation is also based on boiling and supplying steam to the dishes. Water is poured into the lower container, and objects to be processed are laid out on the grate from above. In sterilizers, it is possible to clean not only bottles and pacifiers from pathogenic bacteria, but also rubber toys, breast pumps, teethers, rattles without batteries. nine0003
Advantages of the steam sterilizer:
- several compartments for different types of dishes;
- quick offline cleaning;
- no need to look for a place to dry dishes safely;
- automatic shutdown at the end of work.

Parents can purchase models that already come with bottles and nipples. This completeness is convenient for mothers who practice breastfeeding and do not plan to buy a lot of bottles. For large families, devices designed for the simultaneous cleaning of several bottles are suitable. nine0003
The disadvantage of the electrosterilizer is the short period of its use. But such devices are quite in demand, if necessary, they can be transferred to relatives or sold.
Special tablets
Antiseptic tablets can be used for urgent sterilization of teats, bottles, pacifiers. They are convenient to use on vacation, on the road, in other conditions when it is not possible to boil the dishes. The tablet is dissolved in water, bottles are filled with liquid. The downside is the very high cost of tablets and their non-proliferation. nine0003
Bags
Special ziplock bags can be used for microwave sterilization. Pacifiers are placed in them, water is poured.