How to create a child nintendo account
How to Create a Nintendo Account For Your Kids
Learn how to create Nintendo Accounts for kids so the whole family can participate in the My Nintendo Rewards Program and earn their own My Nintendo points.
The My Nintendo Rewards Program gives you a chance to earn points that can be used to obtain discounts, digital content, and other rewards.
A Nintendo Account is required to receive and redeem My Nintendo points. Parents and guardians can create and manage individual Nintendo Accounts for children ages 12 and younger. This lets everyone in the family have fun earning and redeeming My Nintendo points on their own accounts, while letting you stay in control of the family group.
Parents, here’s how you can get your child set up:
Step 1:
Log in to your Nintendo Account at http://accounts.nintendo.com. If you don’t yet have one, you need to create an account for yourself first.
Step 2:
Select “Family group” from the menu on the left. Select “Add member,” then “Create an account for a child” to add a child under 12 to your family group.
Step 3:
Enter the child’s date of birth.
Step 4:
When you create the first Nintendo Account for a child age 12 or younger, it will require you to provide verifiable parental consent. This is done by processing a one-time $.50 charge using your credit card. Once this charge is processed, you may add accounts for additional children to the family group with no additional verification required. (There can be up to 8 members total in a Nintendo Account family group.)
Step 5:
After the consent process has been completed, you can create additional accounts at any time.
Your child’s Nintendo Account will appear in the “Family group” area of your account settings. You can adjust settings such as purchase restrictions for Nintendo eShop and Nintendo.com for each account.
Note: Gamer handles, or online names, shouldn't include any identifying information, such as their age or actual name. Remember to share the User ID and password with your child so they can use the account.
Step 6:
You’ll receive an email notification any time a purchase is made on a Nintendo gaming system, the Nintendo Game Store, or via a Nintendo smartphone app using the child's account.
A note about family groups:
Keep in mind that you’ll only see the “Add member” option on your Nintendo Account settings page if you are the admin of your family group.
If this option isn’t appearing and you are part of a family group already, check to see who the admin of the group is. The admin will need to either add the new member or transfer the admin rights to you before you can continue. To be an admin, you must be at least 18 years old.
To learn more about different roles within family groups, visit Support.
Related resources:
How to Link a Nintendo Network ID to a Nintendo Account
Where to create a Nintendo Account
My Nintendo Rewards Program
Nintendo Account Family Group
Note that you can also create accounts for children between the ages of 13 and 17 without the one-time verified parental consent fee. Visit your Nintendo Account page to get started.
How to create and supervise your child's Nintendo Account
Nintendo Switch (Image credit: iMore)Nintendo has always prided itself on being a family-friendly gaming company, and in today's connected world of gaming that can be hard. Our very own Russell Holly was impressed by how kid-friendly and how in-depth the parental controls on the Nintendo Switch — Nintendo's newest console.
While systems like the Switch and the Nintendo 3DS have parentals controls you can set up on each device, Nintendo also offers you the ability to create and supervise a child's Nintendo account. If you're looking for even more security for your child, and capacity to supervise the activity on their Nintendo Account, I'll show you how to set it all up.
How to create a Nintendo Account for your child
- Go to accounts.nintendo.com in your web browser of choice.
- Enter your login information for your Nintendo Account.
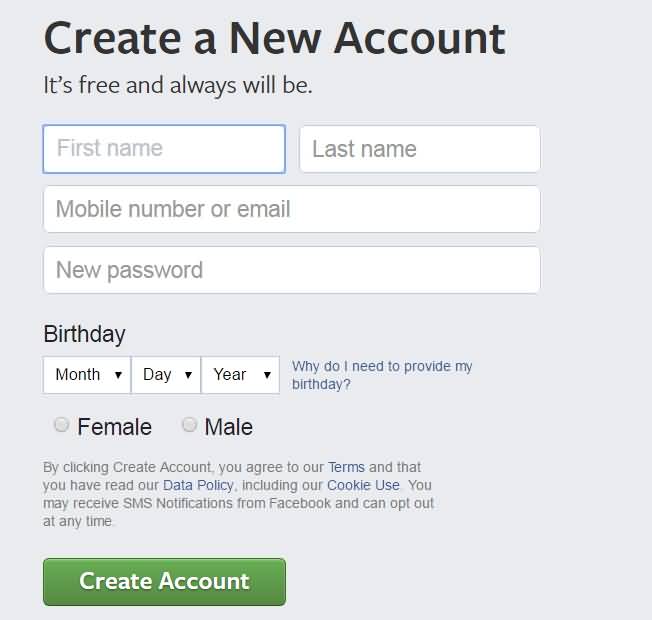
- Click Sign-In
- Click Parental Controls from the sidebar.
- Click Create an account for a child.
- Select your region from the list provided and click OK.
- Fill in the appropriate information to create an account.
- Click the option box to agree to the Nintendo Account User Agreement.
- Click Submit.
- Click OK.
How to supervise your child's Nintendo Account
- Go to accounts.nintendo.com in your web browser of choice.
- Enter your login information for your Nintendo Account.
- Click Sign-In
- Click Parental Controls from the sidebar.
- Click on the account you want to supervise.

From here you can change various settings for your child's account such as, the ability to make purchases in the Nintendo eShop online and turn off Nintendo's friend suggestions.
Note: When you choose to restrict the access to the Nintendo eShop, that only work for the online store, not the store located on the Wii U, 3DS, or Switch consoles. You'll have to activate the parental controls on those devices to restrict access to them.
Any Questions?
Do you have any questions about how to create and monitor a child's Nintendo Account? Let us know in the comments and we'll help you out.
Get More Switch
Nintendo Switch
Get the best of iMore in in your inbox, every day!
Contact me with news and offers from other Future brandsReceive email from us on behalf of our trusted partners or sponsorsLuke Filipowicz has been a writer at iMore, covering Apple for nearly a decade now. He writes a lot about Apple Watch and iPad but covers the iPhone and Mac as well. He often describes himself as an "Apple user on a budget" and firmly believes that great technology can be affordable if you know where to look. Luke also heads up the iMore Show — a weekly podcast focusing on Apple news, rumors, and products but likes to have some fun along the way.
Luke knows he spends more time on Twitter than he probably should, so feel free to follow him or give him a shout on social media @LukeFilipowicz.
How to add a new user account | Support
Technical Support for Nintendo Consoles, Games, Apps and Services
Instructions on how to create a new user account on Nintendo Switch and link it to your Nintendo Account.
Additional information:
- If you already have an account on another console, you can transfer your existing account and save data instead of creating a new account.
- User accounts are used to manage save data and player preferences.

- A maximum of 8 user accounts can be created on a single Nintendo Switch console.
- A user account can also be linked to a Nintendo Account at any time after it has been created.
- Link your user account to your Nintendo Account to access the console's online features.
Do the following.
- Select system settings from the HOME menu.
- Scroll down the menu on the left and highlight User, then select Add New User.
- Click Next.
- Select an icon for your account.
- Click the More Options button to see more characters or backgrounds.
- You can also add a picture of your Mii instead. To do this, press Mii to create a character.
- After choosing a character, enter your nickname. Select OK.
- Other players will be able to see your nickname, so don't include personal information in it.
- Nickname can be changed at any time after creating an account.
- Select "OK" again to confirm.
- You can then link your Nintendo Account to your user account.
What would you like to do with the new user account?
Link to an existing Nintendo Account. Create a new Nintendo Account and link to it. Do not link a user account.
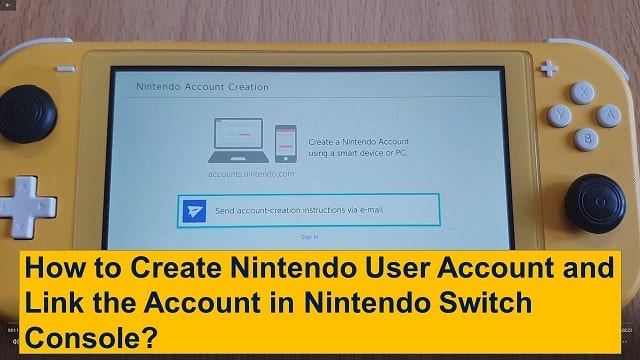
- Select "Create Account" to create a new Nintendo Account.
- Optional . On the next screen, you can request an email with instructions to link your Nintendo Account using a verification code.
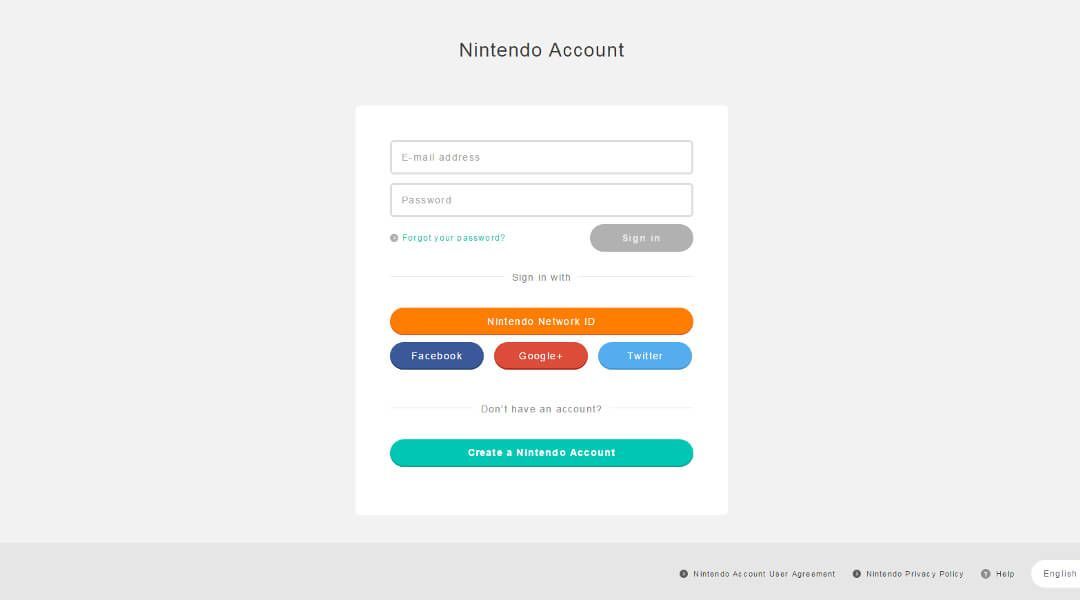
- Go to http://accounts.nintendo.com on your PC or smart device and create a Nintendo Account.
- After creating a Nintendo Account, click Sign In on your Nintendo Switch.
- Select the option to sign in to your Nintendo Account.
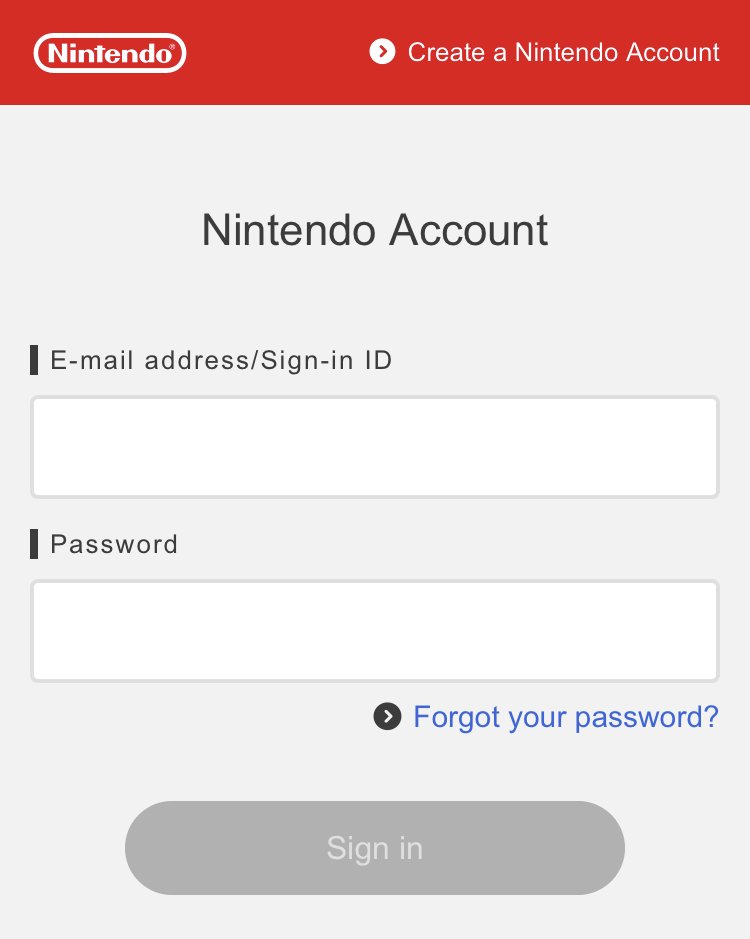
- Sign in with your email address or sign-in code : Enter your email address or sign-in code and password for your account, and then click Sign In.
- Smartphone Quick Login : Use your smart device to sign in to your Nintendo Account with your Nintendo Account password or another account's login information (Apple or Google) and get a code to sign in to your Nintendo Switch.
 For a complete guide, see How to Sign in to a Nintendo Account on Nintendo Switch Using a Smart Device.
 - If you have forgotten your Nintendo Account login information, please click here.
- You will receive a confirmation message that the Nintendo Account has been linked to the user account. Click OK to return to system settings.
- Select "Add New User" if you want to add additional accounts, or press the B button to return to the HOME menu.
- Select "Later" if you do not wish to create or link a Nintendo Account at this time.
- Please note that many online features will not be available until a Nintendo Account is linked.
- After creating an account, you will be returned to the system settings. Select "Add New User" if you want to add additional accounts, or press the B button to return to the HOME menu.
How to assign roles to Nintendo Accounts in a family group | Support
Technical support for Nintendo 9 consoles, games, apps and services0003
Description.

Instructions on how to assign or change specific roles for Nintendo Accounts (Administrator, Parent/Guardian or Guardian).
Additional information.
- Find out about the functions of each role in a family group here.
- Only a family group administrator can transfer administrator rights and create parent accounts.
- Nintendo Accounts for children under the age of 15 are automatically classified as Guardian Accounts. To learn how to add a Nintendo Account for a child, click here.
What do you want to do?
Transfer administrator rights Create a parent account Create a guardian account Remove parental status from the account
Follow these steps:
- Sign in to the Nintendo administrator account in the family group.
- The administrator role can only be transferred by the current administrator and only for an adult Nintendo Account in a family group.
- Select "Nintendo Account" in the upper left corner of the screen to access your account settings.
- Select Family Group.
- Select Family Group Management.
- Select Change Family Group Administrator.
- If this option is not available, you are not logged on with an administrator account. View other members of the family group to select the desired entry.
- If there are no available options in the list, then none of the accounts can be an administrator account. The administrator role can only be assigned to an adult user account over 18 years of age.
- Click Submit.
- A confirmation email will be sent to the email address on your Nintendo Account. After receiving the letter, enter the six-digit verification code and click "Submit".
- Click "Select This Person" next to the family member you want to transfer admin rights to.
- Review the information on the screen and select "Confirm Changes".
Do the following:
- Sign in to the family group's Nintendo administrator account.

- Only an administrator over the age of 18 can create parent accounts.
- If an admin is under 18, they must first transfer admin rights to a family member who is 18 or older. (Parent/Guardian status is automatically assigned to any administrator over the age of 18.)
- Select "Nintendo Account" in the upper left corner of the screen to access Account Settings.
- Select Family Group.
- Select the Nintendo Account you wish to assign parental rights to.
- Parent/Guardian status can only be obtained by an adult user account over 18 years of age.
- Select Set as Parent/Guardian to complete the process. A parent/guardian can change the Nintendo eShop restrictions for any parent account in a family group.
Do the following:
- Sign in to your family group's Nintendo administrator or parent account.
- Select "Nintendo Account" in the upper left corner of the screen to access your account settings.
:no_upscale()/cdn.vox-cdn.com/uploads/chorus_asset/file/19717658/pokemonhome1.jpg)
- Select Family Group.
- Select the Nintendo Account you want to make a guardian.
- Select Create a Guardian Account, then click OK.
- A confirmation email will be sent to the email address you provided.
- The owner of the other Nintendo Account will need to do the following:
- Open the email and click on the verification link.
- Sign in to your Nintendo Account.
- Click "Accept" to make the account a guardian.
- Once the owner of a Nintendo Account has given consent, the account will appear in the family group under Trusted.
Do the following:
- Sign in to your family group's Nintendo administrator or parent account.
- Select "Nintendo Account" in the upper left corner of the screen to access your account settings.
- Select Family Group.
- Select a Nintendo Account that will no longer be a Guardian Account.
- Select Remove Parental Control Restrictions.




:no_upscale()/cdn.vox-cdn.com/uploads/chorus_asset/file/3419302/Screen_Shot_2015-02-17_at_2.45.02_PM.0.png)
