How to make hooded towel for child
A DIY Hooded Towel that Your Kiddo Won't Immediately Outgrow
It’s a sad day the day you pull your little toddler from the bathtub, slip on her favorite towel and realize the hood is clinging on for dear life half past her hairline and the corners no longer make it all the way around her belly! Outgrowing the infant towel hoodie is a bittersweet day indeed, but I’m here to tell you it doesn’t have to be this way. You can sew your own hooded bath towels for all the kids in your life! Read on for the full tutorial.
Materials: 1 regular sized bath towel, 1 coordinating hand towel, matching thread, sewing machine, scissors, ruler, sewing pins
We found our towels at Target in their affordable “Room Essentials” collection (bath towel: 30″ x 54″, hand towel: 16″ x 28″). Your towels don’t have to be this exact size, but I’ve included the measurements for reference.
1. We start by creating the hood. Fold your hand towel in half, matching up the short sides.
2. Measure 11.5″ down from the folded edge and cut off the bottom edges.
3. Open the hand towel and fold 1.5″ up on one long side. Use your coordinating thread to sew a straight stitch right below the finished edge along your fold.
4. Then go back and sew right on top of the finished edge. This will give the hood a professional-looking finish.
5. Fold the hand towel in half again, matching up the short sides. But this time, make sure the long finished edge you just sewed is inside. That will become the front of the hood.
6. Measuring from the hood front, mark 8″ along the top folded edge and 12″ along the bottom edge. Align a ruler on the two marks and cut diagonally. Save the piece you removed to make hand pockets later!
7. Pin your diagonal edges together. Use a zig-zag or overlock stitch to sew them together with a 1/4″ seam allowance. Then turn the hood right-side out.
8. Find the top inside center of your bath towel.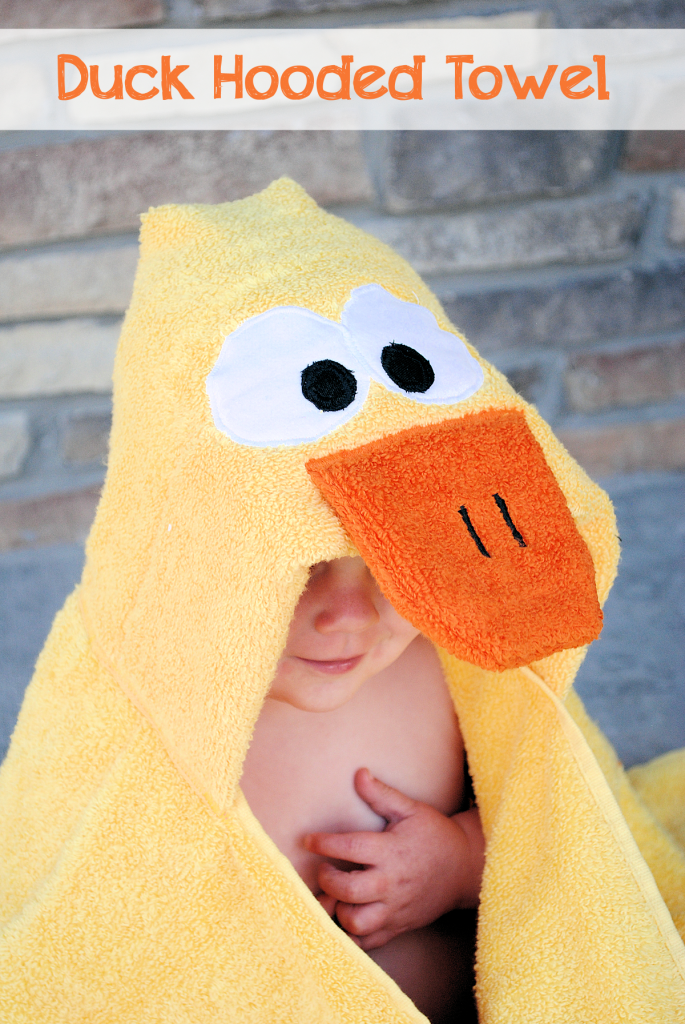 Pin the bottom center of the hood to the top center of your bath towel, with the hood piece overlapping the bath towel by 1/2″.
9. With the hood piece still overlapping the bath towel by 1/2″, pin the remaining bottom edges of the hood along the top edge of the towel. You will have to fold the hood a bit in order to get the straight edges to align.
10. Use your zig-zag/overlock stitch to sew the hood on with a 1/4″ seam allowance.
Below you see how the zig-zig/overlock stitch right along the edge makes a lovely flat seam.
11. On the back side of the hood, you’ll notice the top edge of the bath towel has made a flap. Use a straight stitch to sew this down along the hood.
Instructions for Optional Hand Pockets
12. Cut along the fold of the discarded triangle from the hand towel. Measure down 8″ from the top and cut off the bottoms.
13. You should now have two trapezoids like below. Run a zig-zag/overlock stitch along the diagonal edge to keep it from fraying.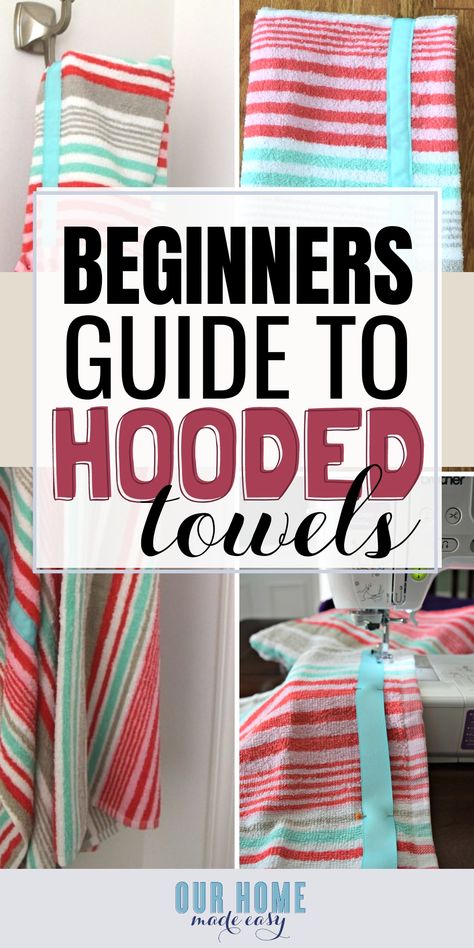
14. On the inside of the towel, align the pocket just inside the top corner. Pin in place.
15. Sew a zig-zag/overlock stitch along three sides, leaving the diagonal side open. Repeat with the other trapezoid on the other top corner.
That’s a wrap! But seriously, it’s going to be the most coveted bath towel in the house.
Which is why I sewed two—one for each of my kids, of course. After you understand the steps, you can easily whip one of these together in thirty minutes or less.
This size hooded towel fits most kids ages 4 – 10. But bath towels aren’t the only ones longing for the hood treatment. My kids are now begging me to sew hoods onto their beach towels too! I can’t blame them though; it is the coziest way to dry off and get warm. Long live babies of all ages in hooded towels!
How To Make A Kid's Hooded Towel Tutorial
Do you need a cute way to distinguish your kid’s towels apart? Or a fun present for your niece or nephew? Perhaps you are going on a fun family vacation or planning a staycation and want your own kids to have a fun new towel to use for the beach or pool. This Kid’s Hooded Towel Tutorial will have you making all the kids in your life their new favorite towel! With this simple tutorial and a couple of towels, you are well on your way to making towel dreams come true!
This tutorial is pretty straightforward and easy to follow. I’ve even included a helpful diagram to help you visualize some of the steps. If you always wanted to get one of these hooded towels for your kids, but did’t want to pay the price, this tutorial is just for you. Let’s check out what you need.
What You’ll Need for the Hooded Towel:- Hand Towel (not smaller than a washcloth)
- Bath Towel
- Hem gauge
- Iron/ironing board
- Sewing machine
- Thread
- Ribbon or Trim
- Scissors
- Rotary cutter and mat
- Sewing Pins or clips
To start on the kid’s hooded towel, you will want to wash and dry both towels.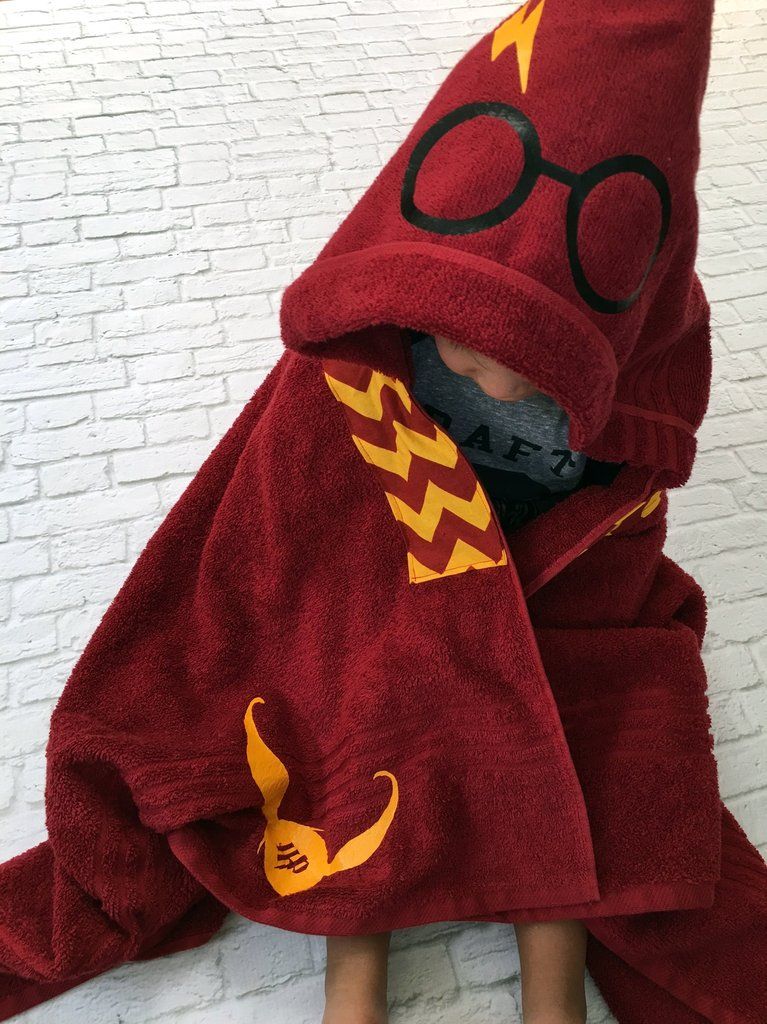 I always begin with this step. This will help prep your towels for sewing and keep them from shrinking and messing up your stitches later. Once you have done that and the towels are ready, fold one long side of the hand towel down about 4”-5”. Pin or clip along the edges to hold in place.
Take your hem gauge and make sure that the fold is between 4″ – 5″ down the length of the long side of the hand towel.
Now on to the sewing part of this tutorial. Stitch just beside the finished edge of the hand towel. Use the finished edge to keep the stitch as straight as possible.
If desired, stitch again on top of the finished edge to hold down the “flap” that’s created if you don’t secure it down. This will be like a double stitch along this edge. I do this so I don’t get the “flap” and to make the edge more durable.
If you want, you can add some ribbon or trim (totally optional) to your towel to add some flair. Just flip the hand towel over and place the ribbon where you’d like it to go and pin it a few times to hold it in place.
The next step in this kid’s hooded towel tutorial is to stitch directly on top of your trim (or on each side of the ribbon should you choose to use it). This adds a nice decorative touch.
Once you’re done with that, flip the hand towel back to the non-trim side. Fold your hand towel so that one short side touches the other short side (the ribbon should be on the inside at this point). Clip a few times on the edge of the towel opposite of the folded edge you created earlier.
If you wish to have a rounded corner on top of your kiddo’s head instead of an “elf point”, simply trace a bowl around the top corner (pencil should mark just fine on the towel and will come out in the wash). This will help your kid’s hooded towel to sit closer to the hair all the way around.
Stitch just beside the finished towel edge. Don’t forget to reinforce your stitches by backstitching at the beginning and end of your stitches. You don’t want your stitches coming undone.
If you did the rounded corner, be sure to follow the mark you made, then trim the corner off (just don’t trim your stitches!).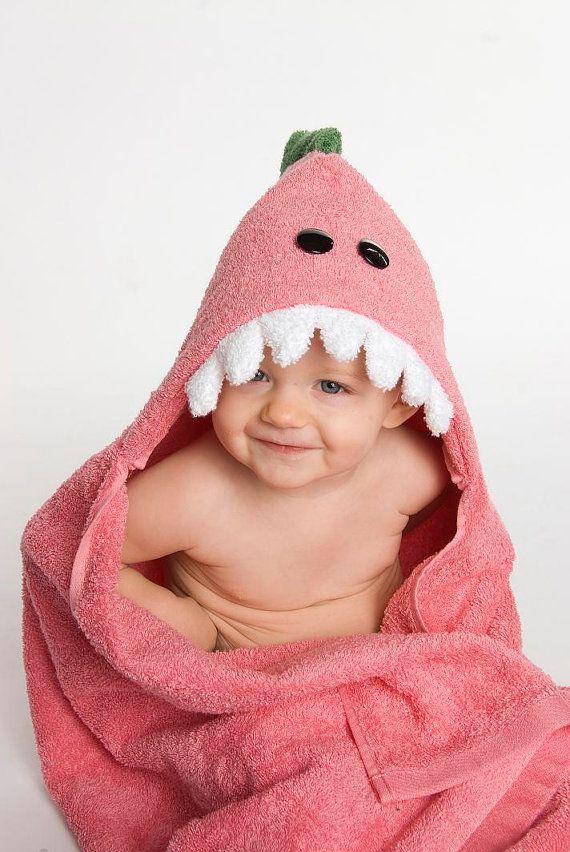 That would be a real bummer.
And with that, the hood to your kid’s hooded towel is complete. You are about halfway through this tutorial! Turn and re-fold the hand towel where the seam you just made is in the center. Fold the top down into the triangle shape.
For the next step, find the middle of the bath towel (HINT – if you fold your bath towel so that the short side touches the short side, you can insert a pin on the edge where the fold is…this is the middle!).
You might be a little confused, so this diagram should help you to see how to align your hood on the bath towel. It’s really quite simple once you can visualize it.
Lay the hood on top of the bath towel, overlapping by about 1”. Pin the hood onto the bath towel.
Stitch along the bottom edge of the hood finished seams (bottom of the hood) with ¼” seam allowance on the LEFT edge of the seams (the hood should be to the right of your needle).
Flip towel over and pin the bath towel flap to the hood.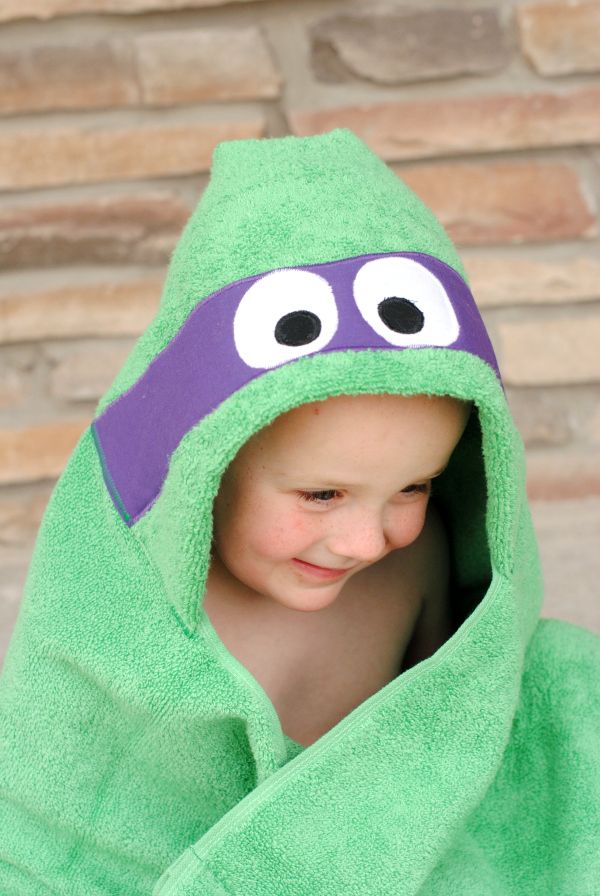 Stitch along the edge to secure this flap down onto the hood. Backstitch several times on each end to reinforce the seam.
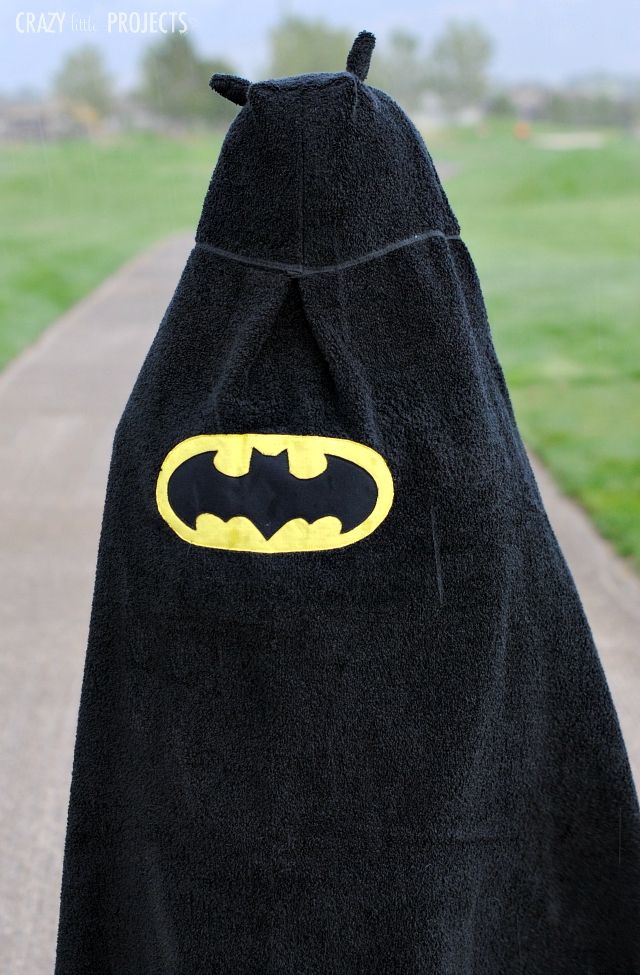
Your hooded towel is complete! These make great gifts! You can even personalize the towels for each child. The towels can also be tailored as beach or pool towels. You can be that this will quickly become one of the only towels they use!
Every kid in your life will be begging you to make them one! And because you found this how to make a kid’s hooded towel tutorial, you’ll be able to do it no problem! You can make some to give away as gifts or just make a few different sets for your own kids.
If you liked this how to make a kid’s hooded towel tutorial, make sure to pin it to your favorite Pinterest board or share it with friends on social media. If you decide to make it take a picture afterward and tag us on social media as we love seeing the fabrics and color choices others make.
Active Time 30 minutes
Total Time 30 minutes
Difficulty Easy
Estimated Cost $9
Materials
- Hand Towel ( Not smaller than a washcloth )
- Bath Towel
- Ribbon or trim of choice (Optional)
- Thread
Tools
- Rotary cutter and mat
- Sewing Pins
- Or Sewing Clips
- Scissors
- Hem Gauge
Instructions
- Wash and dry both towels.

- Fold one long side of the hand towel down about 4"-5".
- Pin or clip along edges.
- Stitch just beside the finished edge of the hand towel.
- If desired, stitch again on top of the finished edge to hold down the "flap".
- If you wish to add ribbon or trip (Optional), flip the hand towel over, place the ribbon and pin in place in the place you want.
- Stitch directly on top of your trim.
- Flip the hand towel back to the non-trim side. Fold your hand towel so that one short side touches the other short side.
- Clip a few times on the edge of the towel opposite of the folded edge.
- For rounded top on hood, simply trace a bowl around the top corner.
- Stitch just beside the finished towel edge.
- Backstitch (optional)
- Turn and re-fold the hand towel where the seam you just made is in the center.
- Fold the top down into the triangle shape.
- Find the middle of the bath towel
- Lay the hood on top of the bath towel, overlapping by about 1".
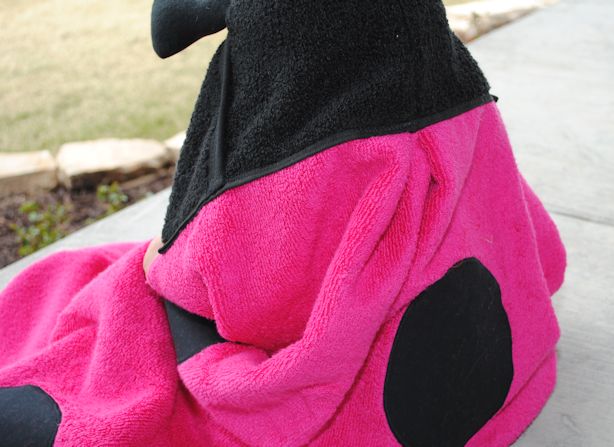
- Pin the hood onto the bath towel.
- Stitch the bottom edge of the hood finished seams with 1/4" seam allowance on the LEFT edge of the seams.
- Flip the towel over and pin the bath towel flap to the hood.
- Stitch along the edge to reinforce the seam.
- Enjoy your hooded towel!
Notes
When stitching, be sure to backstitch at the beginning and end to ensure stitching will not unravel.
Choose a matching or coordinating towels and ribbon.
Recommended Products
As an Amazon Associate and member of other affiliate programs, I earn from qualifying purchases.
-
AmazonBasics Multipurpose Office Scissors - 3-Pack
-
Dritz 620 Gauge, Sewing
-
4-Pack Turquoise All Purpose Sewing Thread
-
LIVINGO Premium Tailor Scissors Heavy Duty Multi-Purpose Titanium Coating Forged Stainless Steel Sewing Fabric Leather Dressmaking Softgrip Shears Professional Crafting (9.
 5 INCH)
 -
Best Beginner Sewing Machines
-
Fiskars Crafts 95237097J Rotary Sewing Cutting Set (3 Piece), Grey
- How To Sew A Diaper Clutch
- How to Sew Sleep Shorts
- Sew a Reading Pillow
- How To Make A Baby Bib with Free Pattern
- No-Sew Braided Headband
- Sew Baby Burp Cloth
Sharing is caring!
2249 shares
DIY model for newborns
Tags: #Coarse calico #Satin #Cotton
1083 Article author:
Elena Evdokimova Reading time: 2 min.
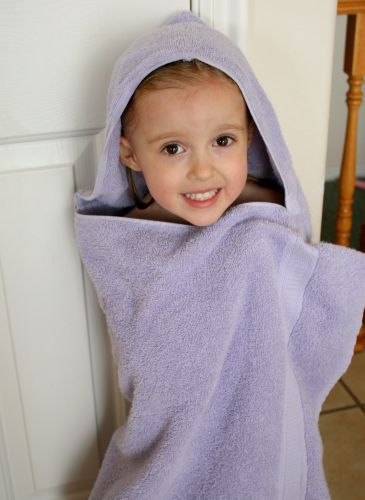
Baby towel with hood is an indispensable thing in baby care. You can use it from birth, because soft fluffy breathable cotton perfectly absorbs moisture.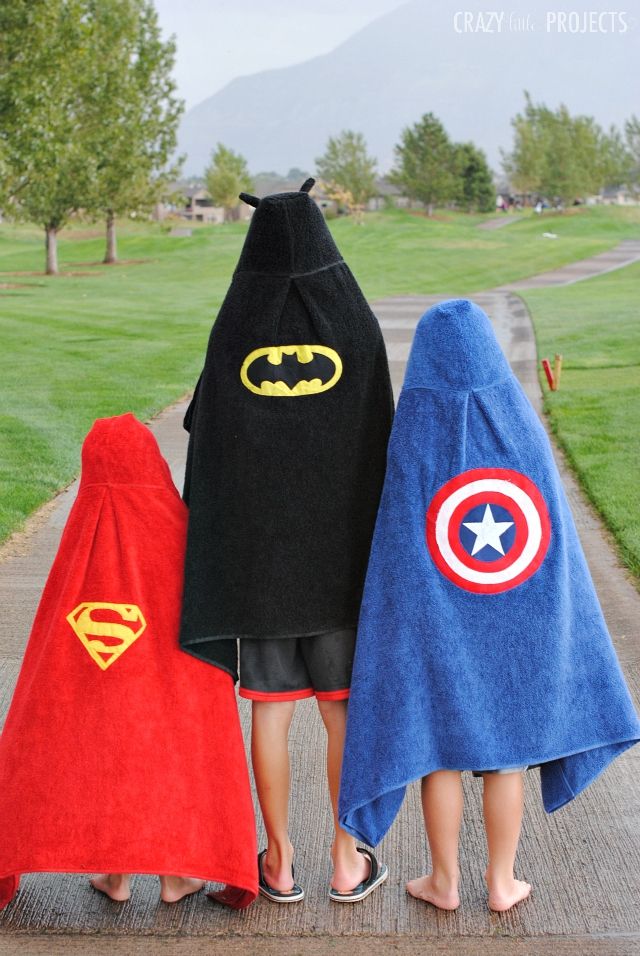 A voluminous hood gently wraps the child's head, protecting him from temperature changes. nine0003
We will tell you how to sew an accessory necessary for children with your own hands.
Materials and tools for sewing
Every mother can sew such a cozy towel for her child. To do this, you will need the following.
- Soft absorbent terry cloth or regular terry towel .
IMPORTANT! For baby towels, it is better to use fabrics without bright colors, as dyes can cause allergies in the baby. Preference should be given to natural white or beige shades. nine0003
- Small piece of fabric for trimming edges. It can be satin, calico, cotton or cambric.
- To decorate the hood, you can choose ready-made appliqué embroidery .
- Fabric-colored thread, scissors, measuring tape, iron, sewing pins and of course a sewing machine.
Sewing a newborn hooded towel
Step by step instructions
- First, prepare a square of fabric from which you will sew a towel. To do this spread the terry cloth on the table and measure the required dimensions . In the classic version, this is 75 * 75 or 100 * 100 cm . But it is not necessary to be attached to the standards, be guided by the growth of your child.
- For the hood you will need two triangular pieces of fabric (one made of terry cloth, the other made of thin cotton) with sides 31*31*50 cm . For convenience, you can first draw a triangle with the desired dimensions on paper and only then transfer the blank to the fabric. nine0023
- Place the two parts of the hood together right sides out, pin them together and sew on all sides with the sewing machine. The blank for the hood is ready.
IMPORTANT! Be sure to remove the pins in time while sewing, otherwise the sewing machine may break.
- From the fabric prepared for piping, cut strips 5 cm wide and a length equal to the perimeter of the towel + one long side of the triangle for the hood (50 cm) + safety stock 10-20 cm.
- First, make the border of the long side of the triangle . We apply a strip of fabric with the right side to the edge of the triangle and lay a line to the width of the foot. We unfold the sewn edging with the right side up and iron it with an iron. Flip the triangle over and fold the border 2 times . First, in half to the cut line of the triangle, then overlap on the triangle itself, and iron well again. Now you can fix the edging on the sewing machine by laying the line in the same way as last time - the width of the foot. nine0023
INFORMATION! If you decide to decorate the hood with an applique, it is better to do it at this stage of work. In the future, the triangle will be sewn to the towel and it will be inconvenient to deal with the design.

- Position the hood blank on any corner of the prepared fabric square. Make sure all slices are aligned when doing this . To prevent the triangle from rolling away while sewing, fix it to the fabric with sewing pins. nine0023
- You can start edging the large square of the towel. This is done according to the principle we have already described.
Hooded bath towel is ready!
How to make a necklace with your own hands
Knitted hoodie
Do you like it?
Loading...
Like this article? Share with friends:
Subscribe to our channel in Yandex Zen
Article author:
Elena Evdokimova
I willingly take on non-standard tasks, I love unusual topics that the reader sometimes does not even think about. It is important for me that my work is understandable to a person, and most importantly, useful.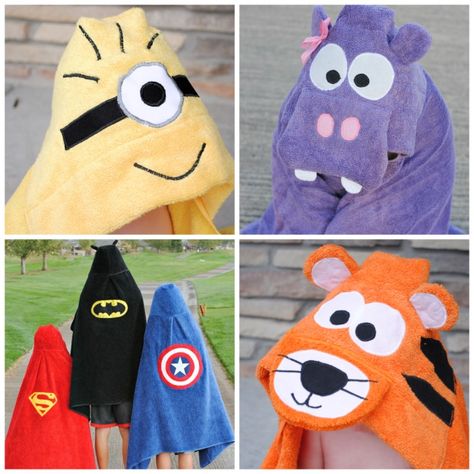 I am ready to devote all my time to authorship, because I treat it with great responsibility and interest. The main goal for me is to make your life a little easier and easier, so I'm always ready to answer your questions
Ask the author a question
How to sew a corner towel? - ServiceYard - the comfort of your home is in your hands.
- How do children's towels differ from adults?
- Features of choosing baby towels
- Which fabric to choose?
- How to sew a baby towel yourself?
- How to care for a baby towel?
- Footage
Many mothers consider a terry towel for babies to be simply an indispensable thing, because it is convenient to wrap the baby in it after a bath, it absorbs moisture well and keeps warm. A mandatory element of this product is the hood. Unfortunately, today they are quite expensive, almost like dressing gowns for adults. Inexpensive models have a lot of drawbacks - they are not soft enough, absorb poorly, embroidery often pricks, and in size they do not always meet the expectations of mothers.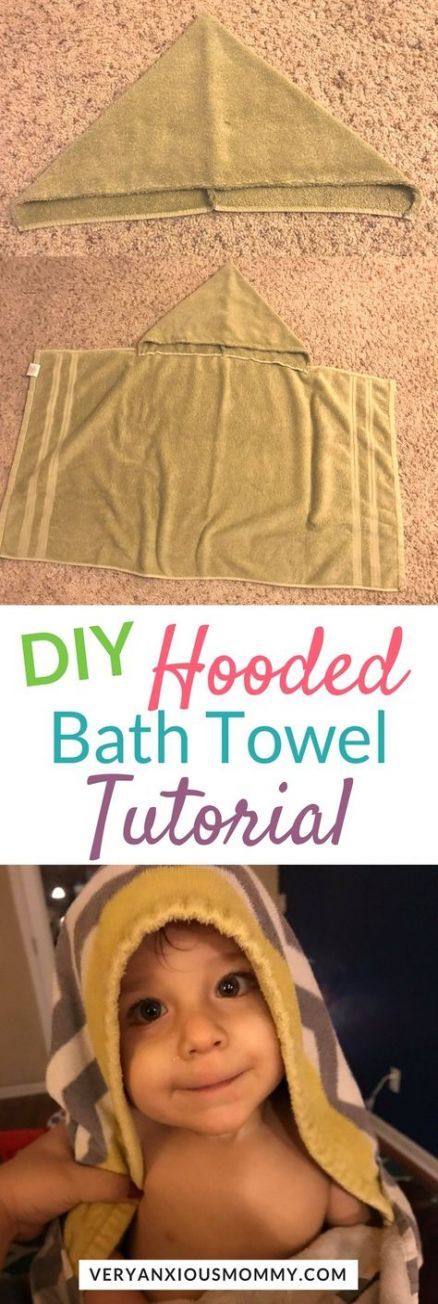 If you want to get a really high-quality thing, then today we will tell you how to sew a towel corner yourself. nine0003
back to contents ↑
How do children's towels differ from adults?
As a rule, before the birth of a baby, we stock up on many necessary things - this list can be endless, and it is important not to forget anything. The child should be provided with everything - from diapers, undershirts, bonnets, sliders, hats to towels. He must have his own personal belongings, in particular towels.
Important! In no case should parents use children's hygiene items, as this violates all the rules and can result in serious problems. nine0003
Children's models differ from adults not only in color, they are more gentle, soft, incredibly pleasant to the touch, which is very important for the baby. Thick terry cloth will certainly please him, it does not dry the skin and does not cause irritation.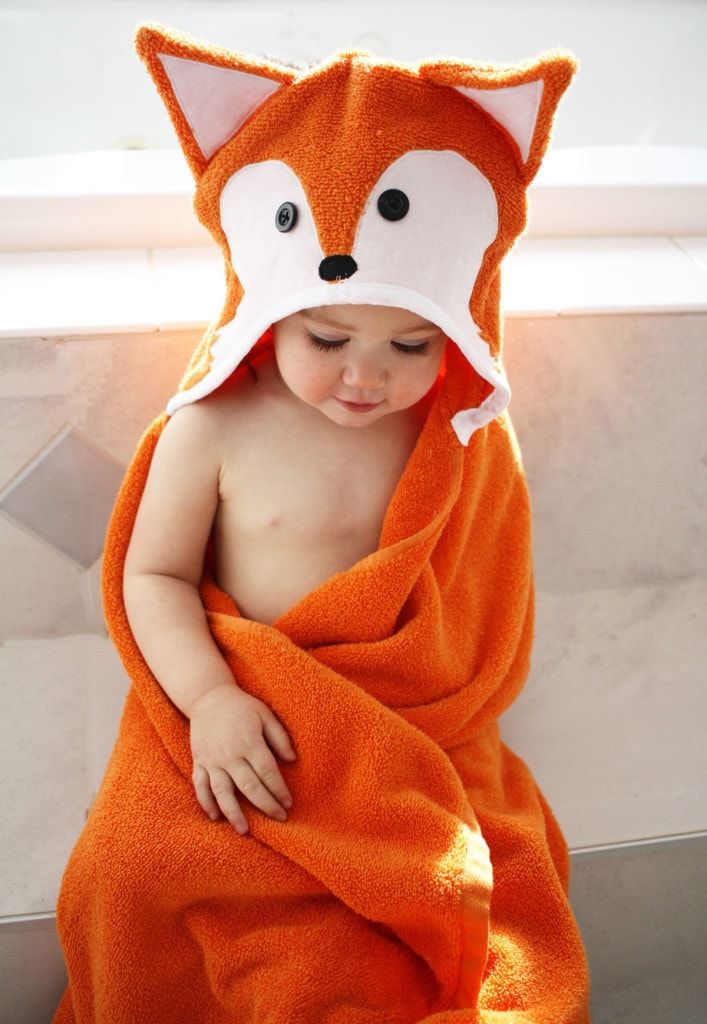
back to contents ↑
Peculiarities of choosing baby towels
Modern manufacturers offer a huge selection of such accessories, different sizes and colors, of course, each mother decides for herself what to choose. If you buy the first thing that comes across without considering it enough, then the risk that a low-quality product will fall into your hands increases. nine0003
Therefore, the following factors should be taken into account when choosing:
- Check the towel on the cheek or back of the hand. It should be pleasant to the touch and soft, without extraneous inclusions and splinters.
- Really high-quality fabrics do not crumble, they do not leave lint on the hands.
- Good products have an even color, a uniform color, a clear pattern.
- You can even smell it. If the smell seems natural, fresh, without fragrances, oil or synthetic impurities, then you can take the item without hesitation.
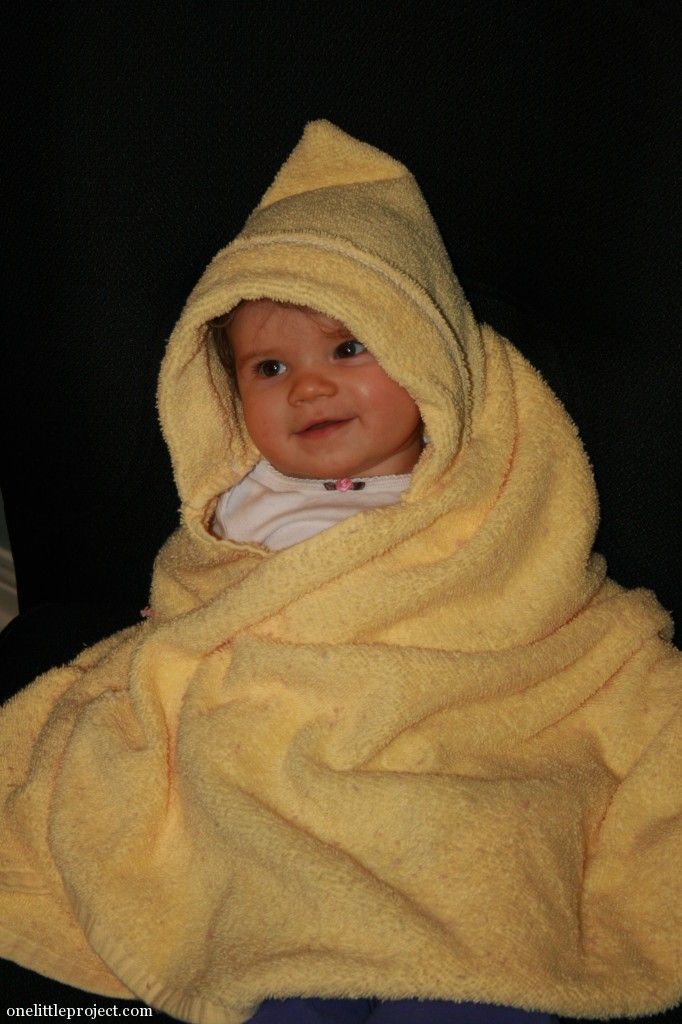 nine0023
back to contents ↑
Which fabric to choose?
When buying a ready-made product or choosing a fabric to sew a hooded newborn towel with your own hands, you need to make sure that it is really of high quality and suitable for this. Let's take a closer look at the best fabric options that you can safely buy.
Cotton
This material is considered the best for sewing baby towels. The fabric should be double-sided terry, natural, hygroscopic, not harmful to delicate children's skin. nine0003
Egypt and Pakistan supply the highest quality long-staple cotton for bath accessories. Their products are several times more expensive than their domestic counterparts, but at the same time they fully satisfy the requirements of caring parents, in particular due to their excellent absorbent qualities and a pile length of 5 mm.
Important! The ideal option is 100% organic cotton.
Bamboo
The counters of modern stores are littered with goods made from this material, they are positioned as natural.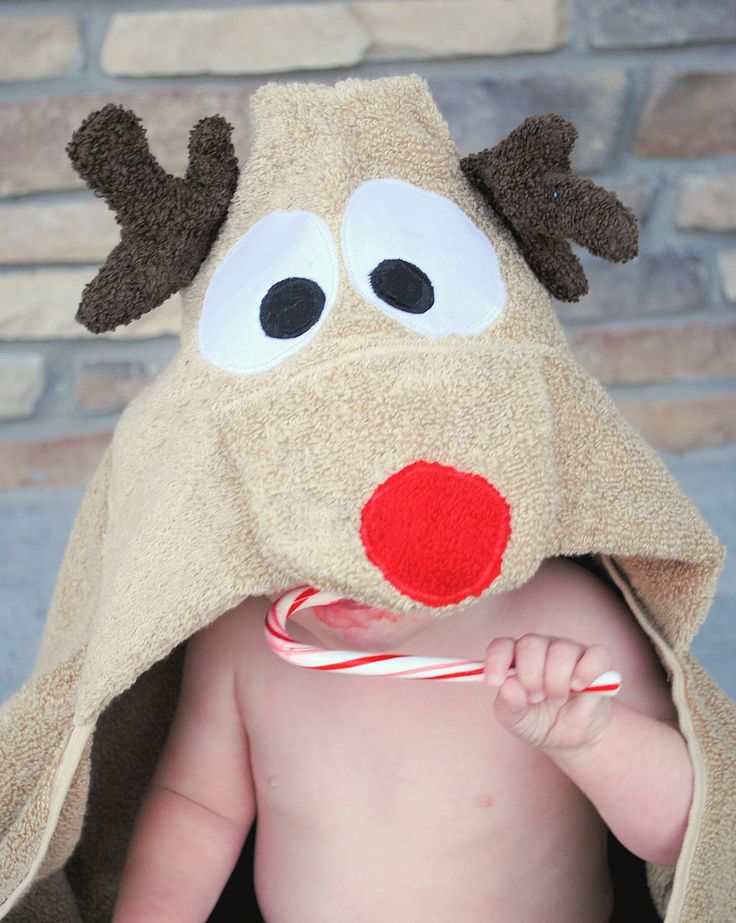 But in fact, this is a hoax, because this fiber is artificial, extracted from cellulose. Yes, the fabric is soft, it does not electrify, but in comparison with cotton it is less hygroscopic. In addition, such products dry for a very long time. nine0003
Eucalyptus
Eucalyptus fibers are often added to cotton to give it a silky feel. The fabric is pleasant to the touch, soft, does not absorb dust, is hygroscopic, but, unfortunately, it is short-lived and wears out quickly.
Microfiber
This is a modern, innovative material that absorbs moisture like a sponge. In the air, it dries quickly, is considered quite wear-resistant. In addition, it is hypoallergenic, easy to wash, any dirt is well removed from it. nine0003
Important! Such micro-fabrics can be folded compactly, they last longer than natural ones and are characterized by high strength.
back to contents ↑
How to sew a baby towel yourself?
Even if you have never done sewing before, you can easily cope with the task, you will be able to figure out how to sew a towel with a corner for a newborn.
Prepare in advance:
- sewing machine; nine0023
- scissors;
- thread;
- fabric;
- pins.
How to choose the material - you already know, well, or you can use a thin terry sheet.
Important! It is also necessary to decide on the size, keep in mind that even for the smallest child, the cut should be taken at least 100 by 100 cm. If you take a larger piece, then the product will last much longer.
Basic steps for making a towel:
- Consider how you will finish the edges. You can do this with bias tape, ready-made tape, or overlock stitching if your machine has this feature. You will need braids or inlays from 5 to 8 m - it all depends on the size of the product itself.
Important! You can do it easier, cut strips 5 cm wide from colored cotton fabric, then sew them into one strip, and then process the edges of the hood and towel with it.
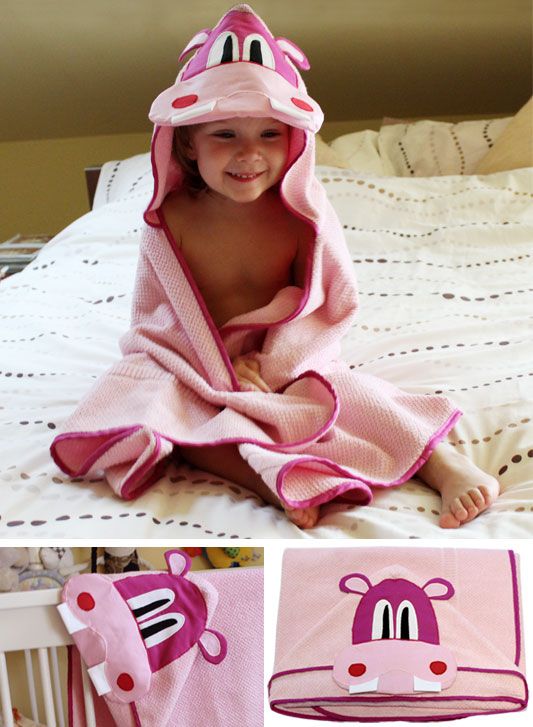
- Now cut out a rectangle or square of the required size. More often, it is square products that are sewn, since in this case the corner for the hood receives equal sides, which, of course, is convenient for hiding.
- Then for the hood, cut out a triangle from the piece of fabric left over from the previous step.
- Fold the two pieces, align the triangle with the sides of the main square and the corner, then sew. The line should be no wider than 0.7 cm. As a result, you will get a hood. nine0023
Important! You can make “ears” on it, it is recommended to attach them at this stage.
- Finish the edges. Stitch the facing in any way that is most acceptable to you. The easiest option is to fold the strip in half with the face outward, iron it, then sew it to the front side, turn it inside out, stitch clearly along the seam. You will get a wonderful finishing edging.
So you made a towel with a corner for newborns with your own hands. nine0003
Important! If you want, you can make a small embroidery, a cute pattern, an inscription with a baby's initials, or a funny little animal. Your child will certainly appreciate your efforts when they grow up.
back to contents ↑
How to care for a baby towel?
To keep the product in good condition for a long time, consider the following nuances in caring for it:
- Machine wash it only in the delicate wash cycle, be sure to include the extra rinse function. nine0023
- The water temperature must not exceed 60 degrees.
- Washing gels and powders are best used for children, specially designed for newborns.
- To add fluffiness, you can add a little salt when rinsing.
- The spin speed must not exceed 800 rpm.
- It is recommended to iron the towel at a temperature not exceeding 150 degrees.
to content ↑